
There’s a reason these bean-covered harvest spheres pop up every fall, and it’s not just because they’re charming. They’re inexpensive, wonderfully tactile, and they fill a bowl or tray with the kind of rich, earthy texture that usually costs a good bit more at the store. A plain foam ball and a bag or two of dried beans can turn into something that looks right at home on a Thanksgiving table, a mantel, or tucked into a wooden dough bowl with mini pumpkins.
I’ve always had a soft spot for dried beans in the kitchen anyway, so using them for decorating feels especially satisfying to me. If you like easy seasonal projects that don’t require fancy crafting skills, this is a lovely one to make on a quiet afternoon. The trick is packing the beans in tightly and finishing the sphere neatly, so it looks abundant and intentional rather than patchy.
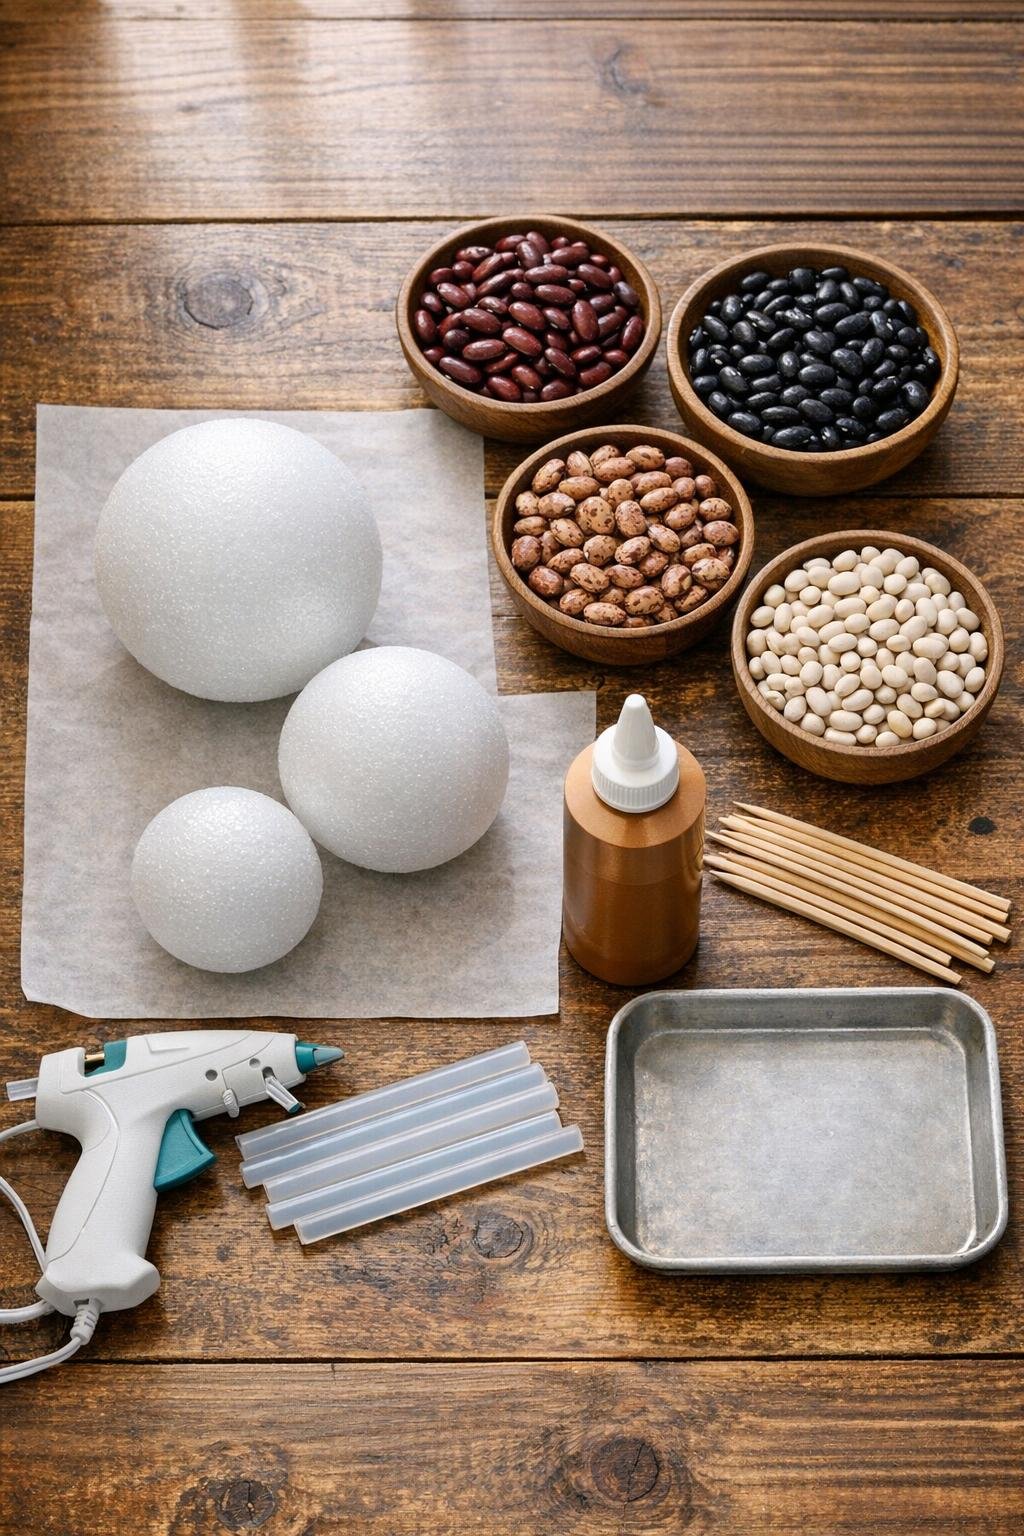
Materials
Instructions
1. Cover your work surface with parchment paper and set the foam balls on a shallow tray so runaway beans and glue stay contained.
2. Sort the beans into separate bowls and pick out any cracked pieces, because the smooth, whole beans give the spheres a much fuller finished surface.
3. Push a wooden skewer into each foam ball to use as a handle, leaving enough of the skewer exposed to hold comfortably while you work.
4. Start with the largest ball and spread a small patch of tacky glue, about 2 inches wide, then add a dot of hot glue under the first few beans so they grab quickly.
5. Press the kidney beans onto the foam one by one, placing them lengthwise and snug against each other so very little white shows through.
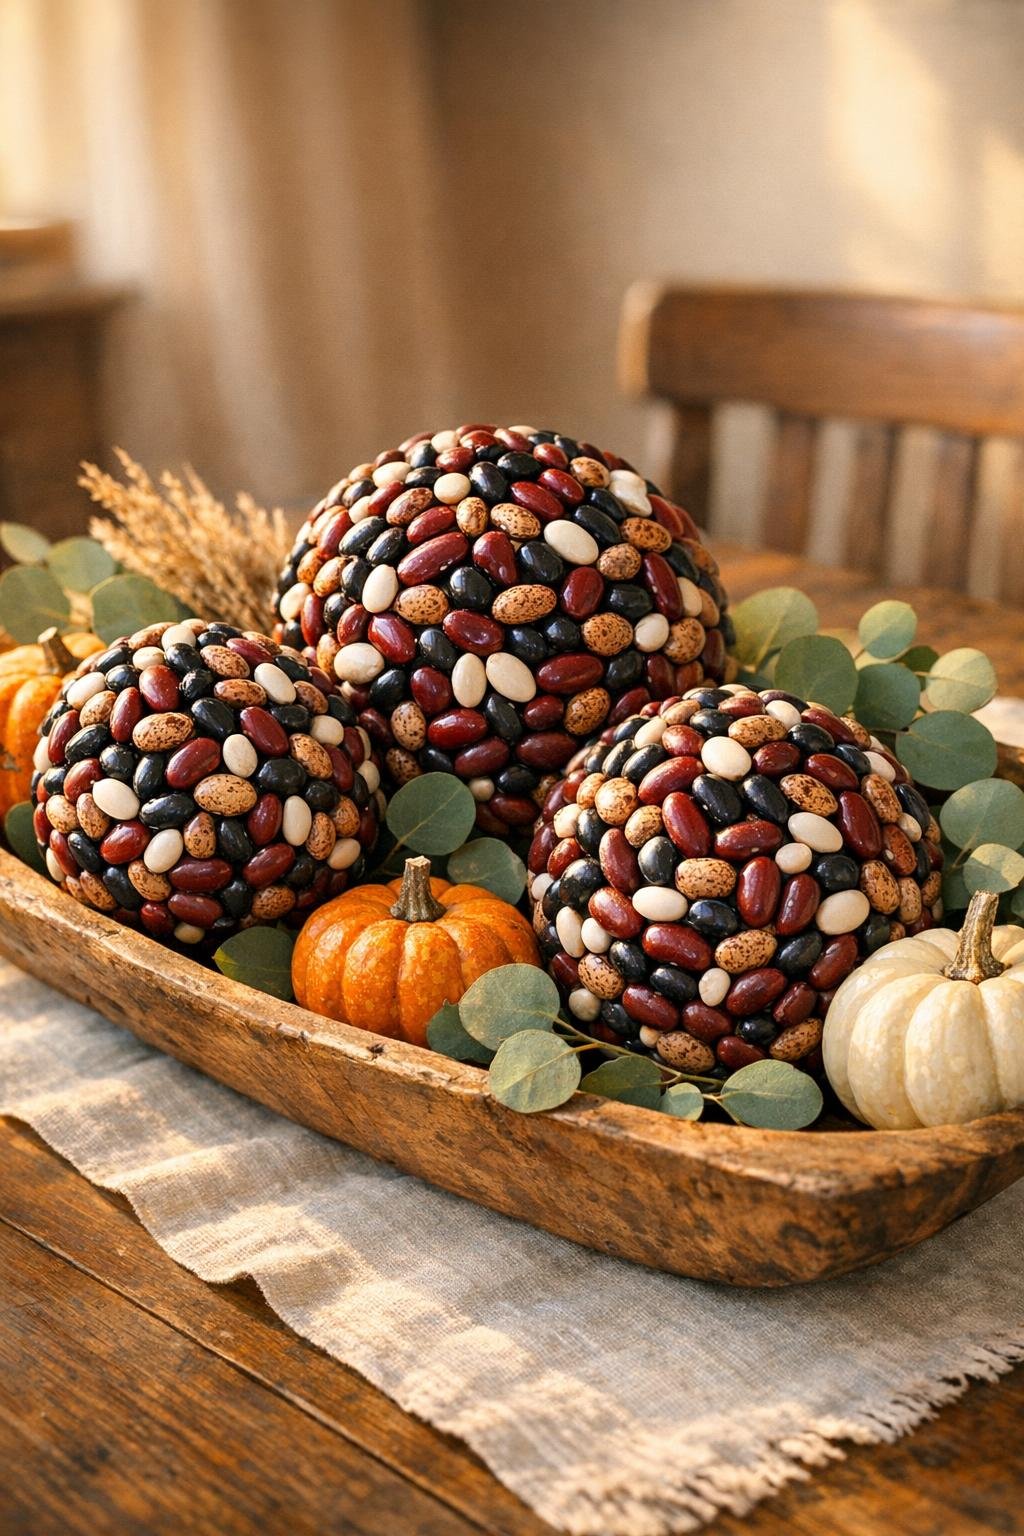
6. Keep working in small sections, turning the ball as you go, and alternate in a few rings of black beans and pinto beans to give the sphere a striped, harvest-inspired pattern.
7. Fill narrow gaps and little corners with the smallest white beans, pressing them into spots where larger beans would leave visible foam.
8. Stand the skewer upright in a jar or cup for 20 minutes so the glue can firm up without flattening one side of the sphere.
9. Repeat the same method on the medium and small foam balls, changing the bean pattern on each one so the grouped set looks layered and collected rather than identical.
10. Check each sphere from all angles and glue extra beans anywhere the foam peeks through, especially around the bottom and near color changes.
11. Remove the skewers gently and cover each small hole with one matching bean, then let the spheres dry for another 30 minutes.
12. If you want a little extra durability, mist the dried spheres lightly with clear matte sealer and let them cure completely before styling them in a bowl, tray, or centerpiece.
Variations & Tips
Single-bean elegance: If you want a more tailored look, cover each sphere in just one bean variety. Dark red kidney beans make a particularly handsome, glossy sphere all by themselves.
Centerpiece styling: I like grouping the three sizes together in a wooden bowl with mini pumpkins, acorns, or a few sprigs of faux bittersweet for a full harvest display.
Glue choice: Tacky glue gives you a bit of working time, while a touch of hot glue helps keep the beans from sliding. Using both makes the job easier and the finish sturdier.
Best bean placement: Save the prettiest, most uniform beans for the most visible top half of each sphere, and use smaller or slightly irregular ones near the bottom.
Moisture caution: These are for indoor decorating only. Dried beans can soften or loosen in damp weather, so I keep mine away from porches and kitchen steam.
Make-ahead tip: These store well from one season to the next if you wrap them loosely in tissue and keep them in a dry box, much the way we used to tuck away fragile holiday ornaments on the farm.