
When I’m trying to get a jump on spring, I’m always looking for the kind of garden trick that feels low-effort but genuinely useful. This little pre-frost raised bed warming brick is exactly that: you bake broken terracotta pot pieces, pack them into a breathable bundle with one common yard staple, and set it into the bed to hold and slowly release daytime warmth right where young roots need it most.
I love this project because it uses something I’d normally toss after a cracked pot incident, and it takes maybe half an hour of hands-on time. If you’re starting peas, lettuce, spinach, radishes, or hardy transplants in a raised bed while nights are still chilly, this is an easy old-school helper that adds a little buffer without turning your garden into a science experiment.
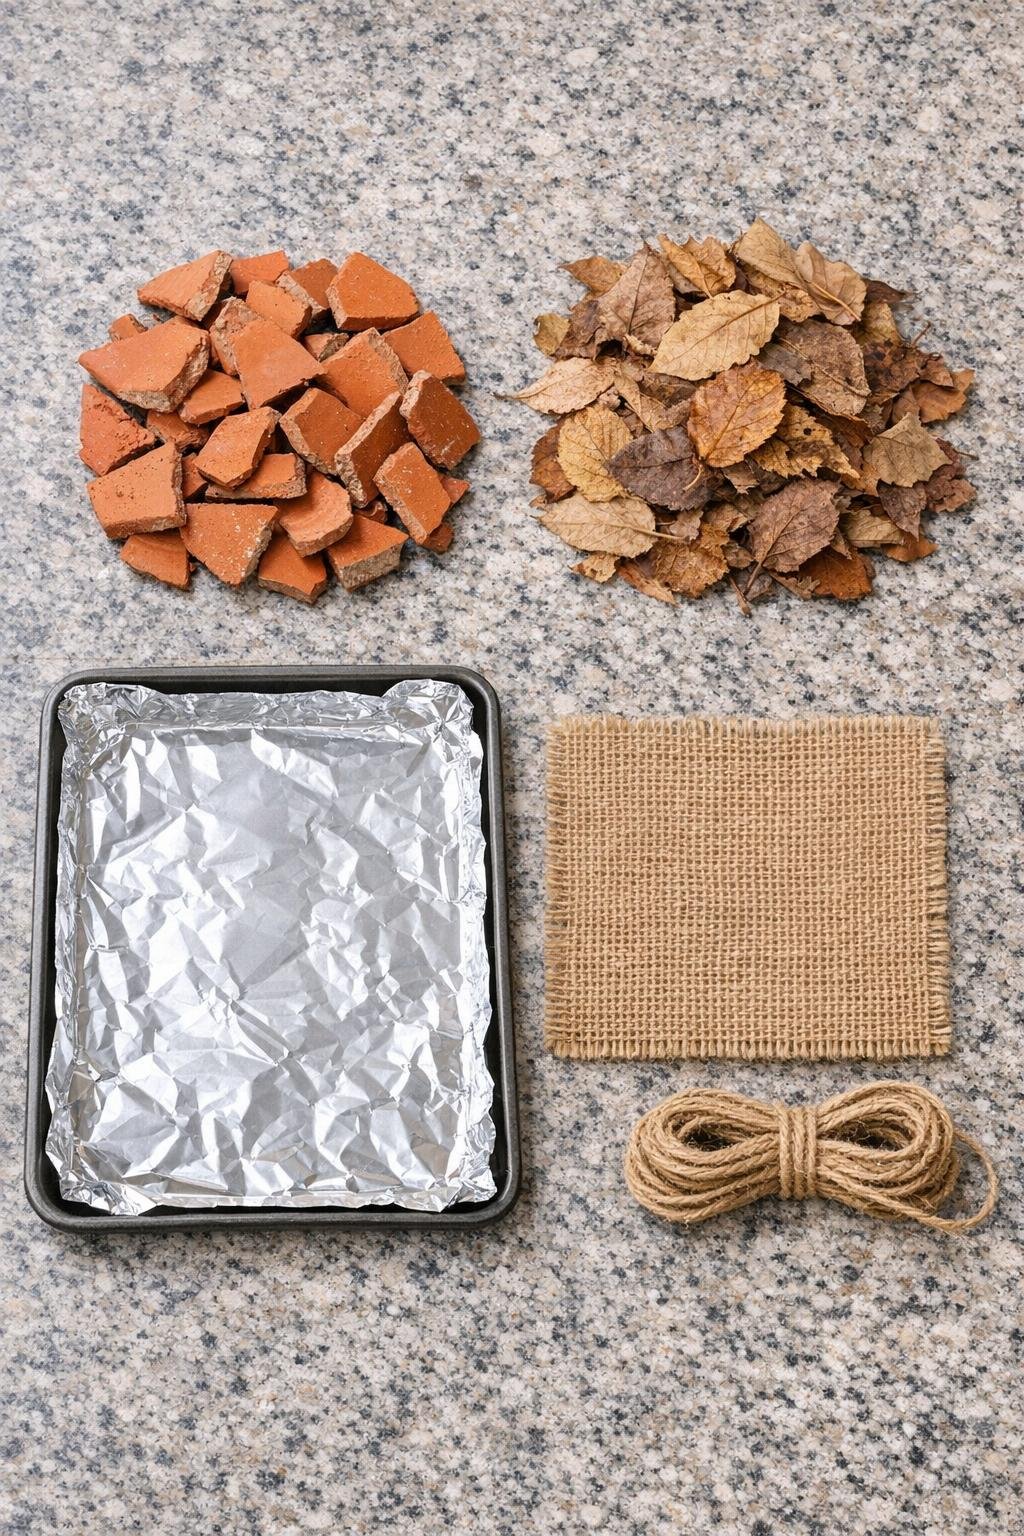
Materials
Instructions
1. Rinse any soil off the broken terracotta pieces, then let them dry completely so they bake evenly and store heat well.
2. Line a baking sheet with foil and spread the terracotta shards in a single, snug layer, keeping the pieces flat and not stacked too heavily.
3. Bake the shards at 250°F for 20 to 25 minutes, just long enough to drive out chill and moisture and thoroughly warm the clay.
4. While the shards bake, lay the burlap flat and mound the dry leaves in the center in a thick rectangle about 10 inches long and 6 inches wide.
5. Carefully remove the hot terracotta and immediately layer the warm shards over and slightly into the leaves so the heat is surrounded by insulation on all sides.
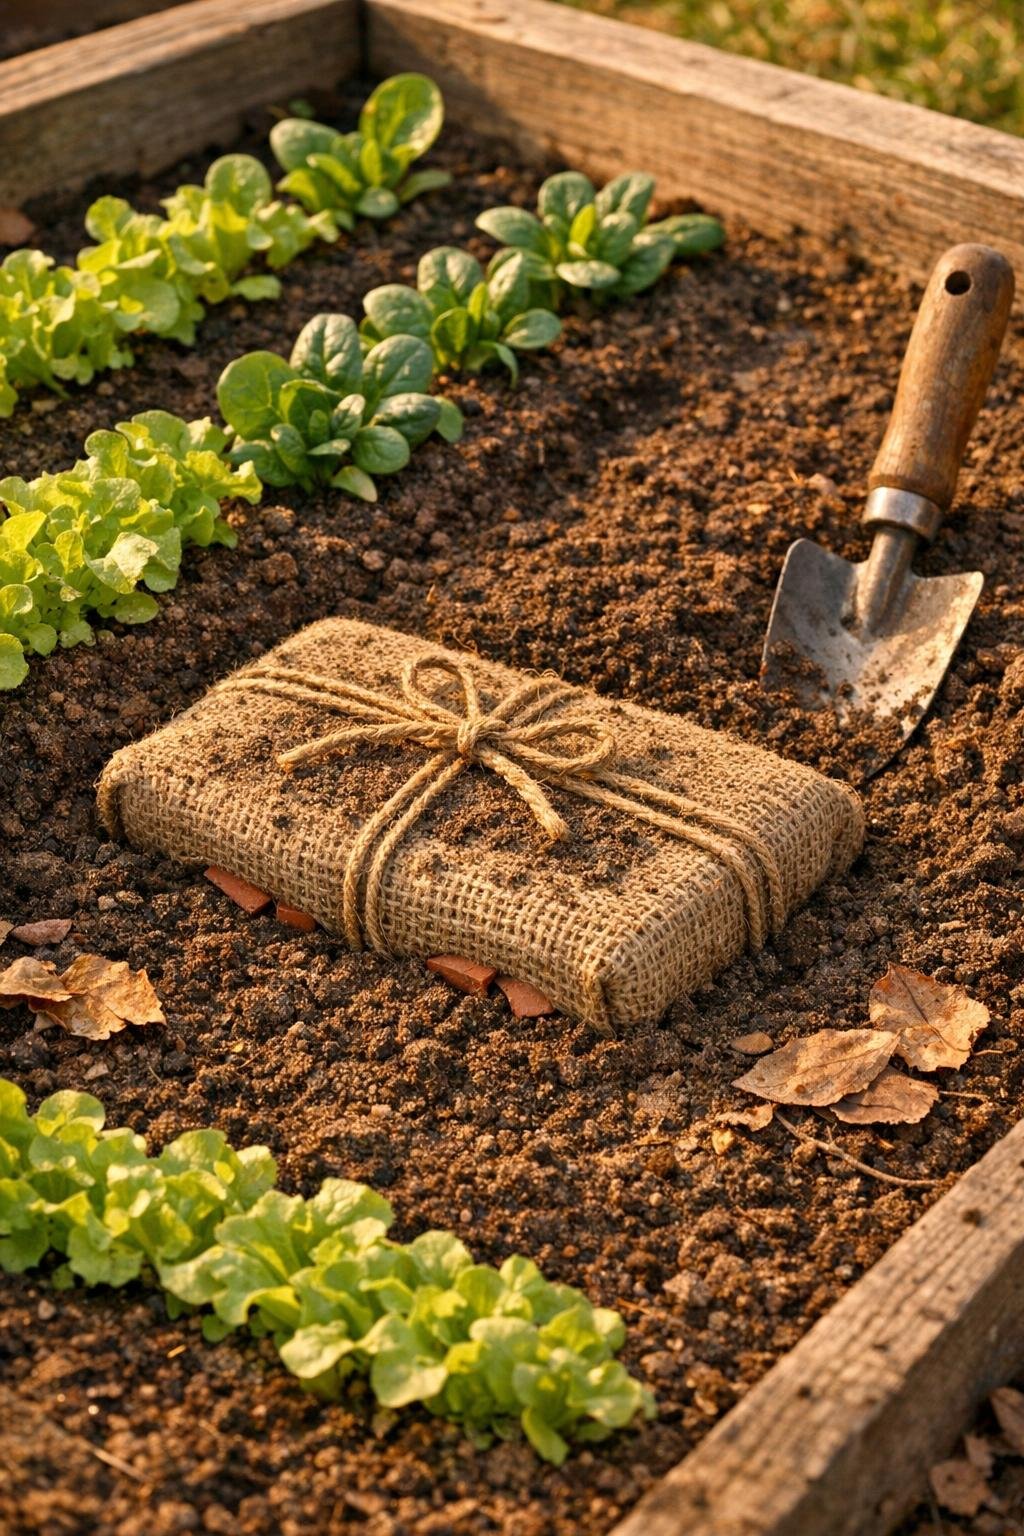
6. Pull the burlap up around the warm fill to form a tight, flat bundle like a compact brick, then tie it securely in both directions with the twine so it holds its shape.
7. Carry the bundle straight to the raised bed and nestle it 2 to 3 inches deep near the center of the planting area, then pull soil back over the sides while leaving the top just barely covered so warmth can still rise.
8. Place the warming brick in the bed in late afternoon before a cold night, spacing seeds or transplants 4 to 6 inches around it so the stored heat gently tempers the soil nearby.
9. Reheat and reuse the bundle as needed on especially cold nights, replacing the leaves if they ever become damp or compacted.
Variations & Tips
Leaf choice: Crisp oak or maple leaves work especially well because they stay fluffy and insulating instead of matting down right away.
Bundle size: For a 4-foot x 8-foot raised bed, I like making 2 to 3 warming bricks instead of one oversized bundle so I can move them where the cold-sensitive seedlings actually are.
Best crops: This trick is most useful for cool-season crops and newly planted hardy starts, not heat-loving summer plants that need consistently warm soil for weeks.
Safety tip: Use oven mitts when handling the baked terracotta, and don’t bake pieces with glazed paint or unknown coatings; plain unglazed terracotta is the safe, simple choice.
Moisture control: If the bed is very wet, set the bundle just under the surface but not in soggy soil, since dry insulation is what helps it release warmth slowly.
My practical routine: On busy weeknights, I’ll bake the shards while I’m already in the kitchen making dinner, then walk the bundle out to the garden at dusk. It’s one of those tiny tasks that makes me feel wildly prepared for whatever the Midwest weather decides to do next.