
By the time the gardening season winds down, I always end up with one raised bed that needs a little rescue work. Roots, pebbles, clumps, and stray bits of mulch seem to collect right where I want loose, clean soil for garlic, spring seedlings, or topping off containers. This simple raised bed soil sifter is one of those projects that looks surprisingly tidy and useful when it’s done, but it’s built from three basic items: wire hardware cloth and two inexpensive dollar store finds.
What I like most is that it solves a real problem without turning into a full workshop project. If you can cut wire mesh and secure it tightly, you can make this. The finished sifter sits right over a raised bed or wheelbarrow, gives you a generous screening area, and is sturdy enough to use year after year.
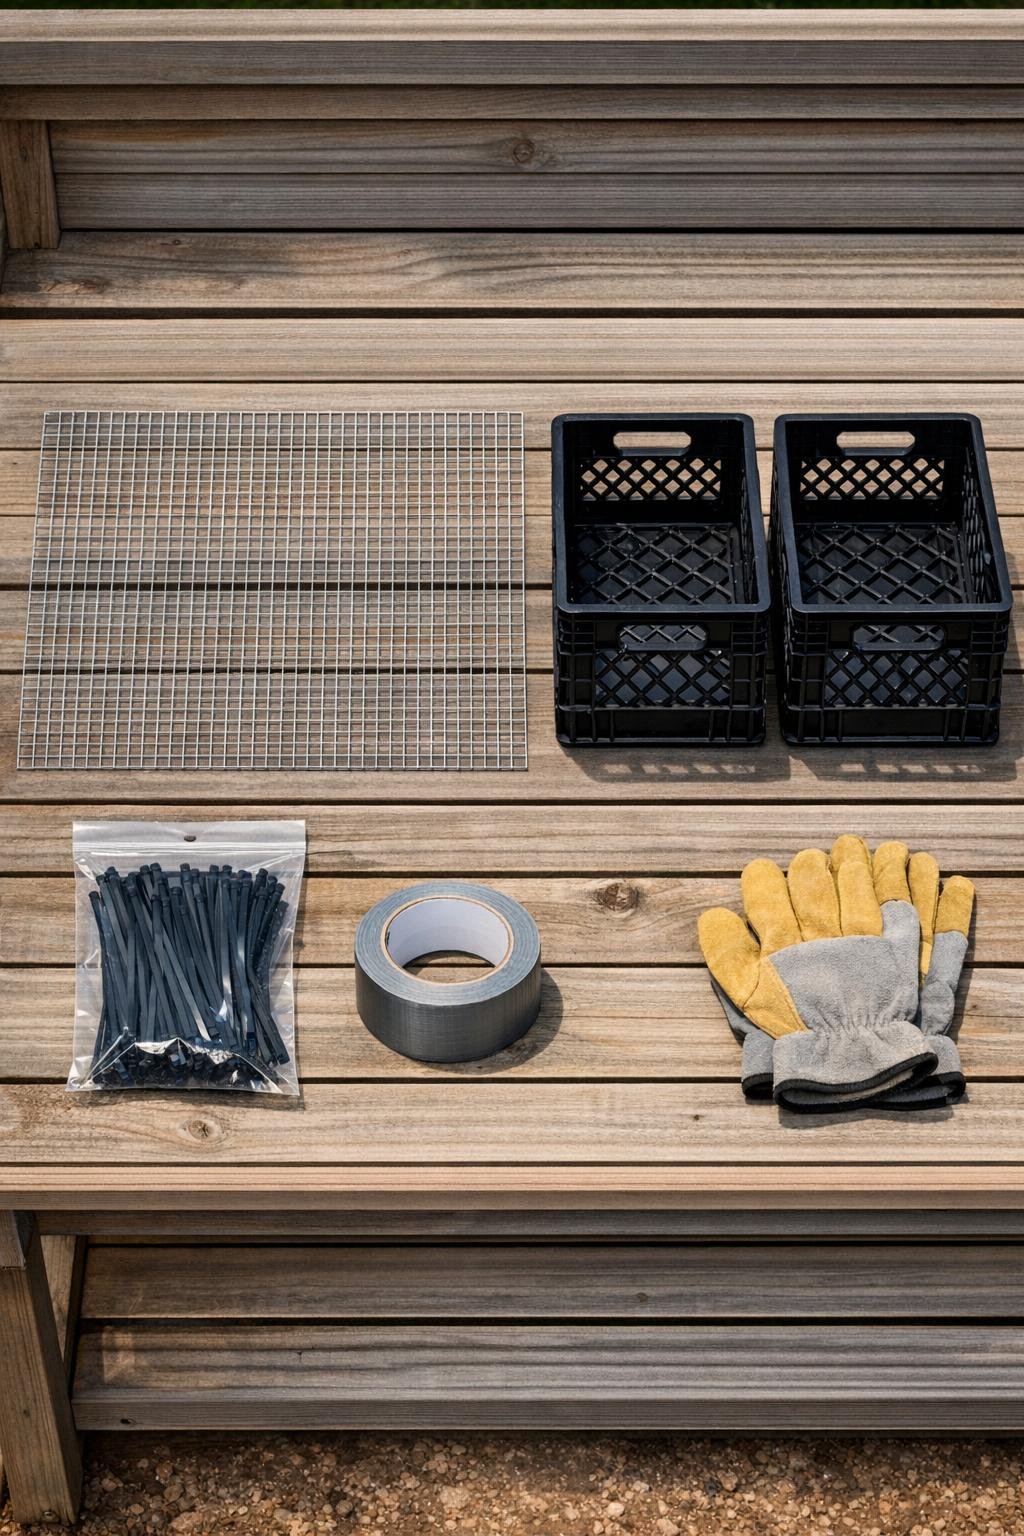
Materials
1 piece 1/2-inch galvanized wire hardware cloth, cut to 20 x 28 inches
Instructions
1. Set the two milk crates side by side with their open sides facing down so they form a stable rectangular base for the sifter.
2. Lay the 20 x 28-inch piece of hardware cloth over the tops of the crates and center it so there is an even overhang on all four sides.
3. Press the wire mesh down gently at the center seam between the crates so it conforms slightly and won’t slide around while you attach it.
4. Fasten one long side first by threading zip ties through the hardware cloth and the top openings of the crate, spacing them about 3 inches apart and pulling each one tight.
5. Secure the opposite long side the same way, stretching the hardware cloth firmly as you go so the screening surface stays taut instead of sagging.
6. Attach the two short ends with more zip ties, again spacing them about 3 inches apart, then add extra ties at the corners and along the center seam where the crates meet for strength.
7. Trim all zip tie tails flush so they don’t catch your gloves or sleeves while you work.
8. Fold any sharp hardware cloth edges down against the outside edges of the crates with gloved hands, making the perimeter as smooth and snug as possible.
9. Wrap duct tape over the folded wire edges all the way around the perimeter to cover sharp points and give the sifter a cleaner, more finished rim.
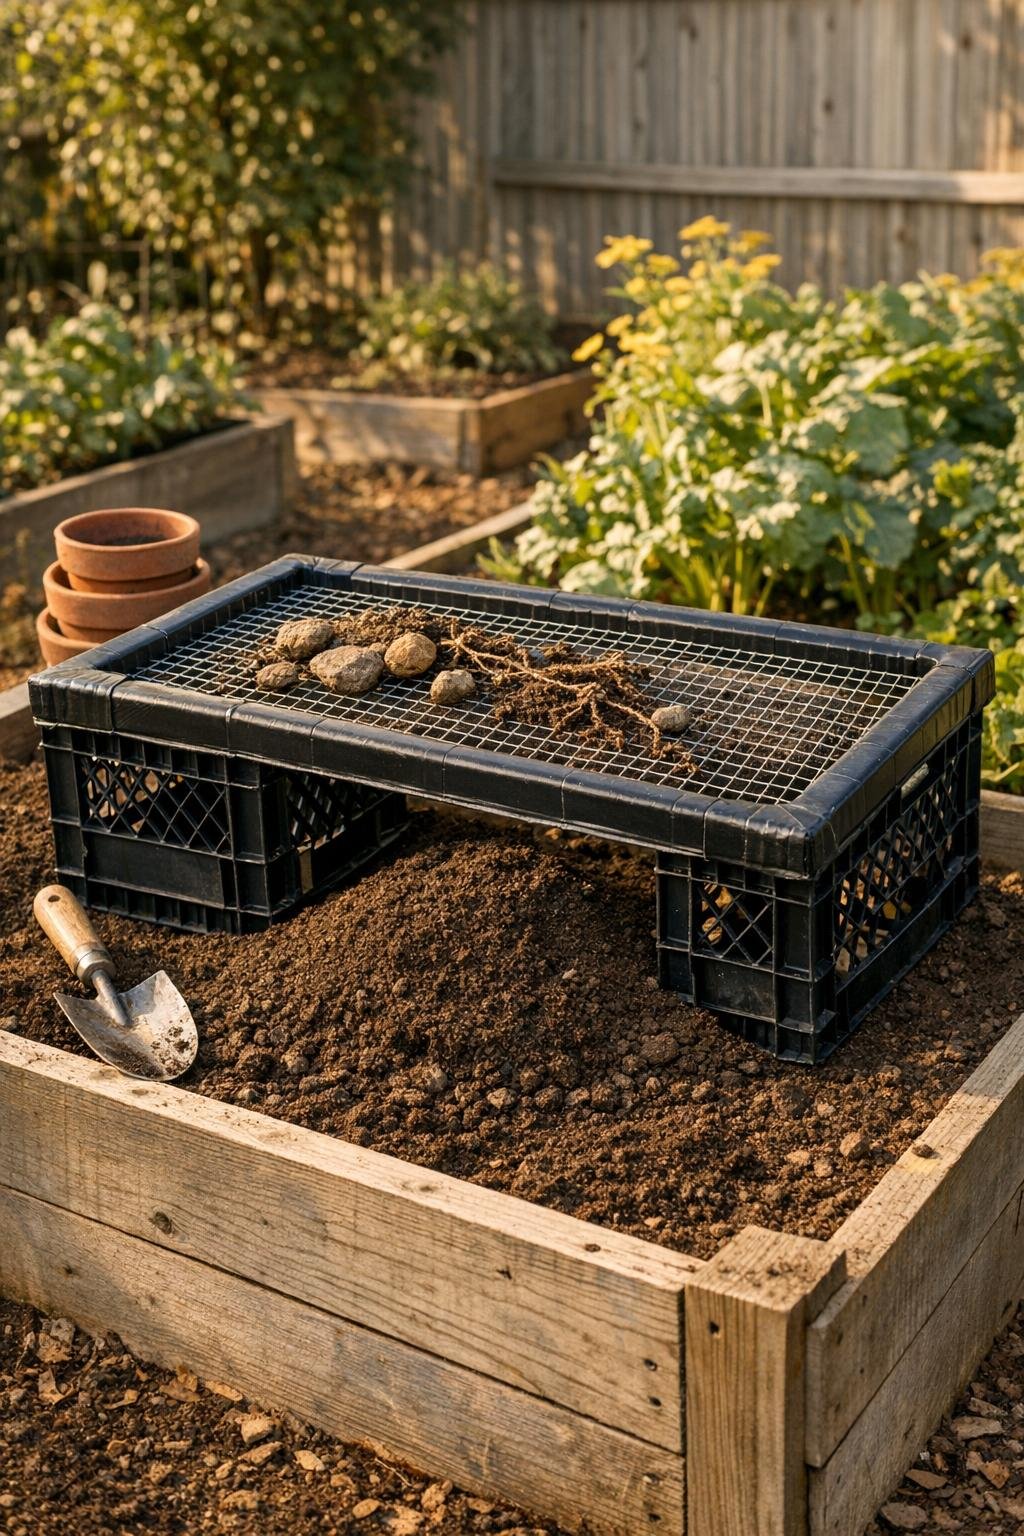
10. Set the finished sifter across the top of your raised bed or over a wheelbarrow, then shovel dry or slightly damp soil onto the mesh and rub it through with gloved hands to leave roots, rocks, and debris behind.
11. Shake the sifter lightly between batches to clear the mesh, and store it upright in a shed or garage when the bed cleanup is finished.
Variations & Tips
For finer soil: Use 1/4-inch hardware cloth instead of 1/2-inch mesh if you want a softer screening result for seed-starting mix or top-dressing beds.
For easier lifting: If the finished sifter feels awkward to move, thread two more zip ties into loops at the short ends to create simple handholds.
For a cleaner finish: Black duct tape usually blends in nicely with dark crates, while silver or gray tape disappears better against galvanized mesh.
For best performance: I’ve found that soil sifts fastest when it is dry to barely damp; wet soil clumps and clogs the mesh, much the way flour lumps if you rush it through a sieve in the kitchen.
For larger raised beds: Make a second sifter and keep one over the bed while the other rests over a wheelbarrow, so you can screen usable soil in one spot and dump debris in another.
For longer life: Store the sifter out of direct weather when not in use, and replace individual zip ties if they become brittle after a season in the sun.