
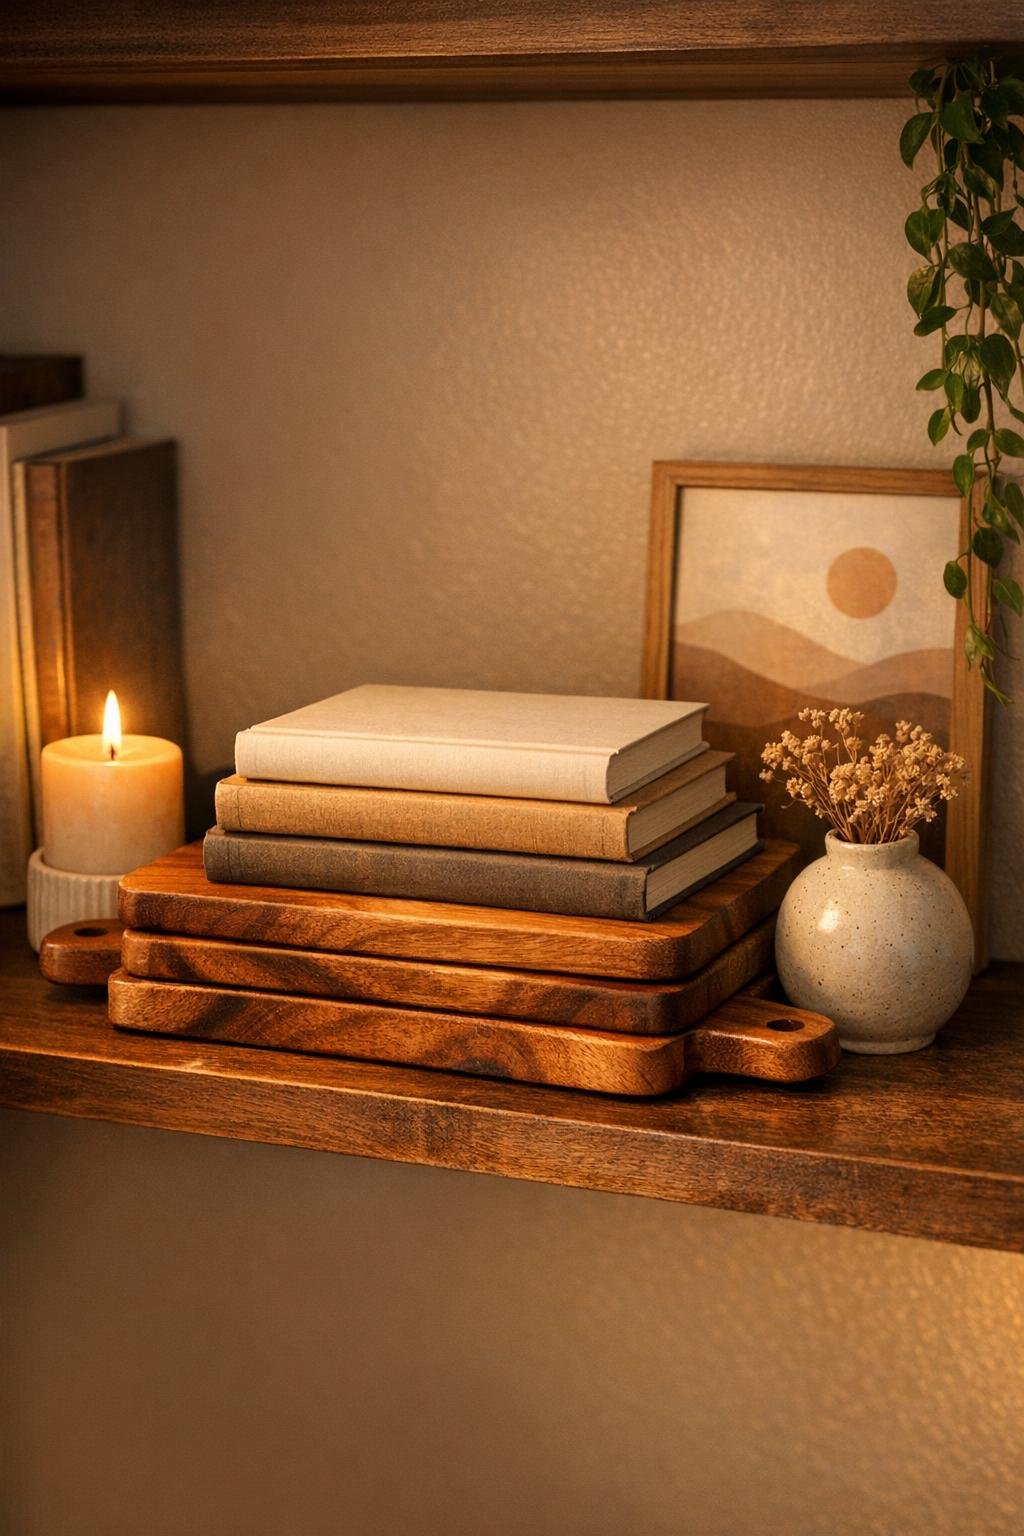
In a small living room, I’m always looking for ways to make shelves work harder without making them look crowded. This simple book riser trick uses thick wooden cutting boards stacked under decorative objects to create height, break up a flat shelf line, and make everyday styling pieces feel intentional. It’s one of those ideas that looks like you hired a stylist, but it’s really just smart layering with beautiful wood.
What I love most is that this project is fast, renter-friendly, and easy to adapt to what you already own. If you have a few compact acacia cutting boards, a stable adhesive, and a shelf that needs more dimension, you can build a set of warm, polished risers that lift candles, vases, small plants, or framed art while still keeping the natural board shape clearly visible.
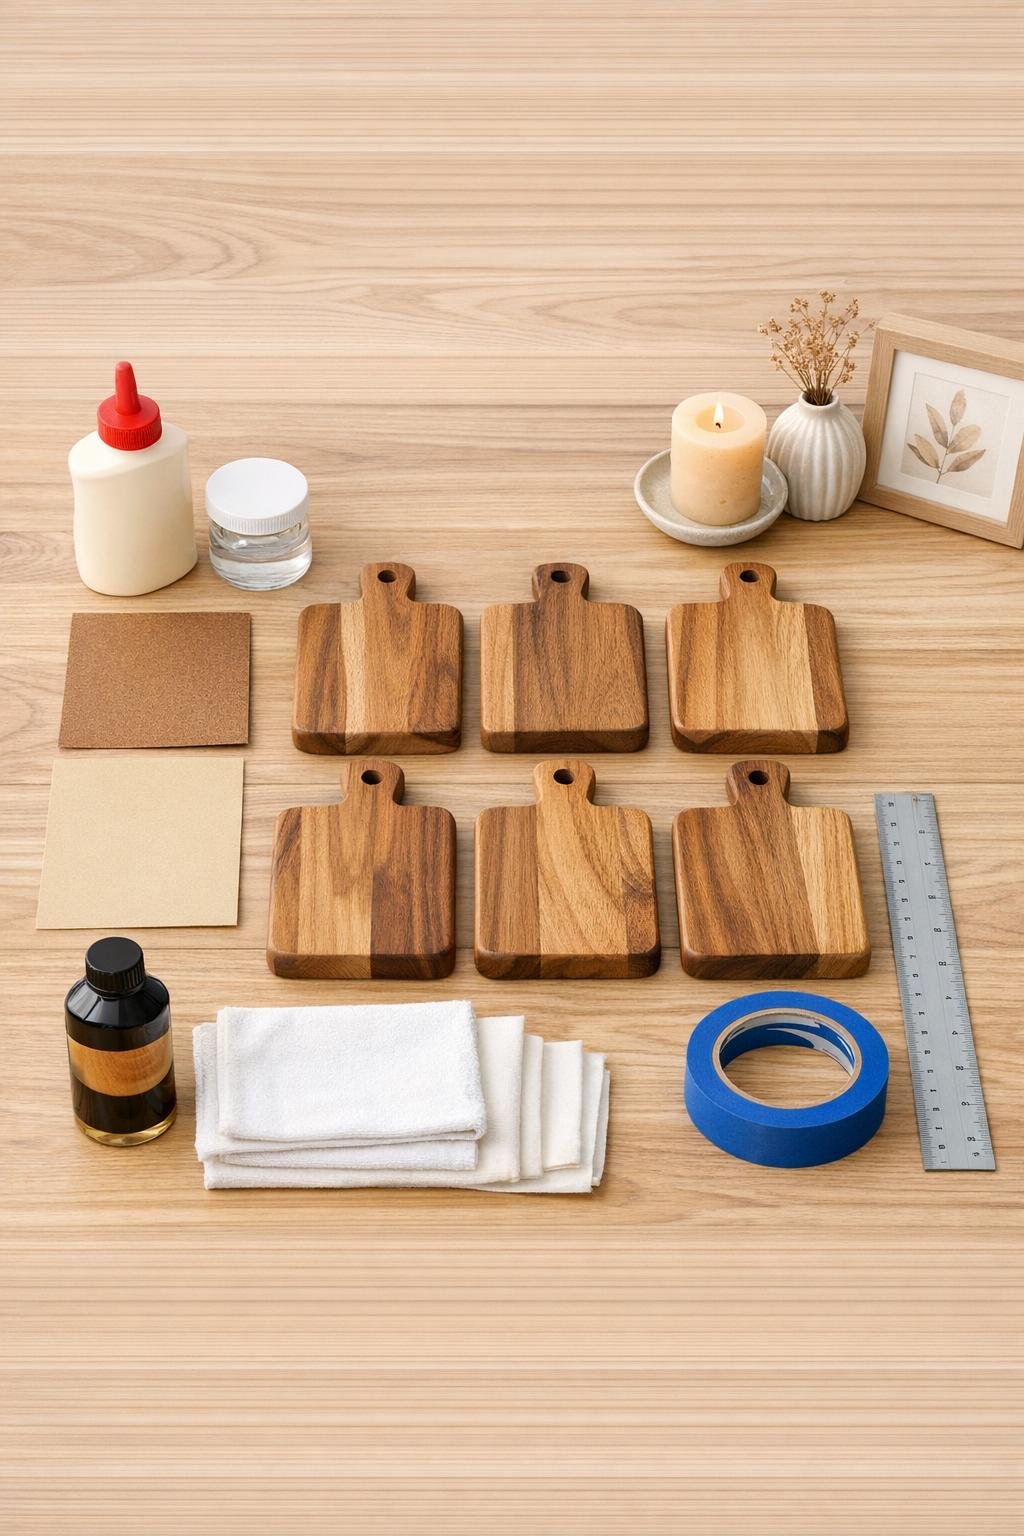
Materials
Instructions
1. Clear the shelf and measure the depth, height, and usable width so your risers will fit without crowding the decorative objects above them.
2. Arrange the cutting boards in pairs or stacks before gluing; for a full, layered look on one shelf, make three risers using two boards per riser.
3. Sand the faces and edges lightly with 120-grit paper, then smooth with 220-grit so the stacks look finished and feel clean to the touch.
4. Wipe away all dust with a dry lint-free cloth, paying attention to the edges and handle cutouts where dust likes to settle.
5. Brush or wipe a thin coat of polyurethane or furniture wax onto all sides of each board, then let them dry fully to enrich the grain and give the wood a polished furniture-like finish.
6. Stack each riser with wood glue between the boards, keeping the edges aligned and the handles either matched neatly or offset slightly for a more collected, styled look.
7. Wrap painter’s tape around each stack or clamp them gently, then place heavy books on top and let the glue cure according to the adhesive directions.
8. Once dry, remove the tape and sand any uneven glue squeeze-out from the sides so each riser looks clean and intentional.
9. Place the finished risers on the shelf with the tallest visual grouping toward one side, then add clear museum gel under each riser if you want extra grip on a slick shelf surface.
10. Style the risers with decorative objects in layers: set a candle or small plant on one riser, prop framed art behind another, and add a lower object beside the stacks so the shelf feels balanced rather than boxy.
Variations & Tips
Handle Direction: If your cutting boards have handles, face them all one way for a cleaner look or alternate them for a more relaxed, layered style.
No-Glue Option: If you want the risers to come apart later, skip the wood glue and use museum gel between boards to keep the stacks stable but removable.
Best Shelf Styling: I like to vary height in threes: one raised object, one medium object, and one lower piece beside it. That gives a shelf movement without that overpacked feeling small rooms can get so quickly.
Wood Finish Choice: Satin works especially well here because it looks polished without turning the risers shiny, which keeps them feeling like warm furniture instead of kitchen accessories.
Object Weight: Use these risers for decor, small plants, candles, and framed pieces, but avoid anything excessively heavy unless you’ve tested the stack on a sturdy shelf first.
Color Coordination: Acacia pairs beautifully with brass, black frames, cream ceramics, and greenery. In my own living room, those combinations help the wood read as intentional décor rather than repurposed cutting boards.