
There is something so satisfying about turning a plain paper towel roll into a little character with personality, and this owl family is one of those projects that really delivers for very little cost. By simply folding the tops into pointed “ears,” adding a good coat of paint, and layering on wings, eyes, and simple details, you end up with a whole sweet set of owls that looks far more charming than the humble materials would suggest.
I especially love this craft for families, classroom tables, rainy afternoons, or anyone who wants a low-stress project with a big payoff. I’ve made plenty of kid crafts over the years, and this is the kind that keeps everyone engaged because each owl can have its own expression and colors while still looking like a coordinated little family when they’re grouped together.
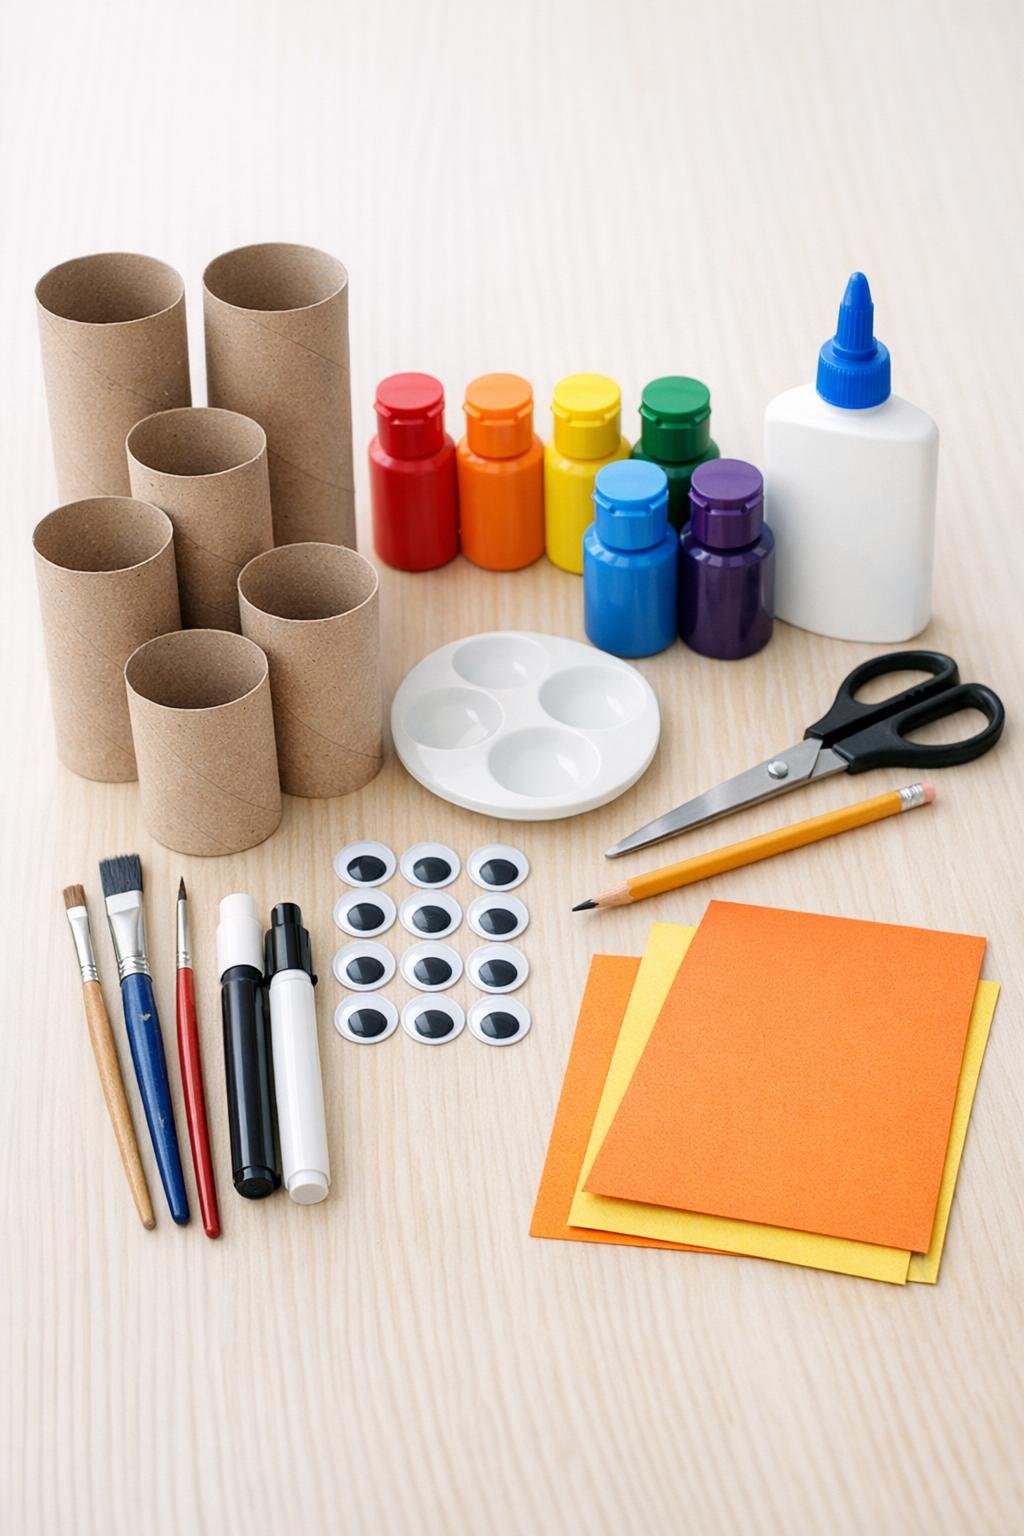
1. Cover your work surface and gather all of the rolls, then lightly press each roll back into a round shape if it has dents so your owls stand nicely when finished.
2. Pinch the top of one roll inward on both sides to create two curved points for owl ears, then repeat with all 6 rolls, keeping the folds even so the tops close neatly without collapsing the body.
3. Paint the outside of each roll in a solid base color, covering all the way around and just inside the top edge; use a mix of browns, creams, grays, blues, greens, or soft autumn shades for a fuller family look.
4. Let the first coat dry, then add a second coat wherever the cardboard still shows through so the colors look rich and polished instead of streaky.
5. Cut 12 wing shapes from cardstock, about 2 to 3 inches tall depending on your roll size, and round the edges so they look soft and feathery rather than sharp.
6. Cut 6 small triangles for beaks and, if you want extra detail, cut 6 chest pieces in a wide oval or scalloped shape to layer onto the front of each owl.
7. Glue one pair of wings to each roll, placing them low enough to leave room for the face, and press them firmly so they curve slightly with the shape of the cardboard.
8. Glue the beak in the center front of each owl, about 1 inch below the ear points, then attach two googly eyes above the beak so every owl has a clear, expressive face.
9. Paint or draw feather details around the eyes, across the wings, and on the chest using white, black, or contrasting paint; simple dots, scallops, short strokes, and V-shapes make the set look much more finished.
10. Add the chest pieces if using them, then layer more painted feather marks over the chest to give each owl a fuller, decorative look.
11. Let everything dry completely, then stand the owls together and adjust the bottoms with a gentle pinch if any one rocks instead of standing flat.
12. If you want extra durability, brush on a thin coat of clear matte sealer and let it dry before displaying your owl family on a shelf, windowsill, or as a sweet centerpiece.
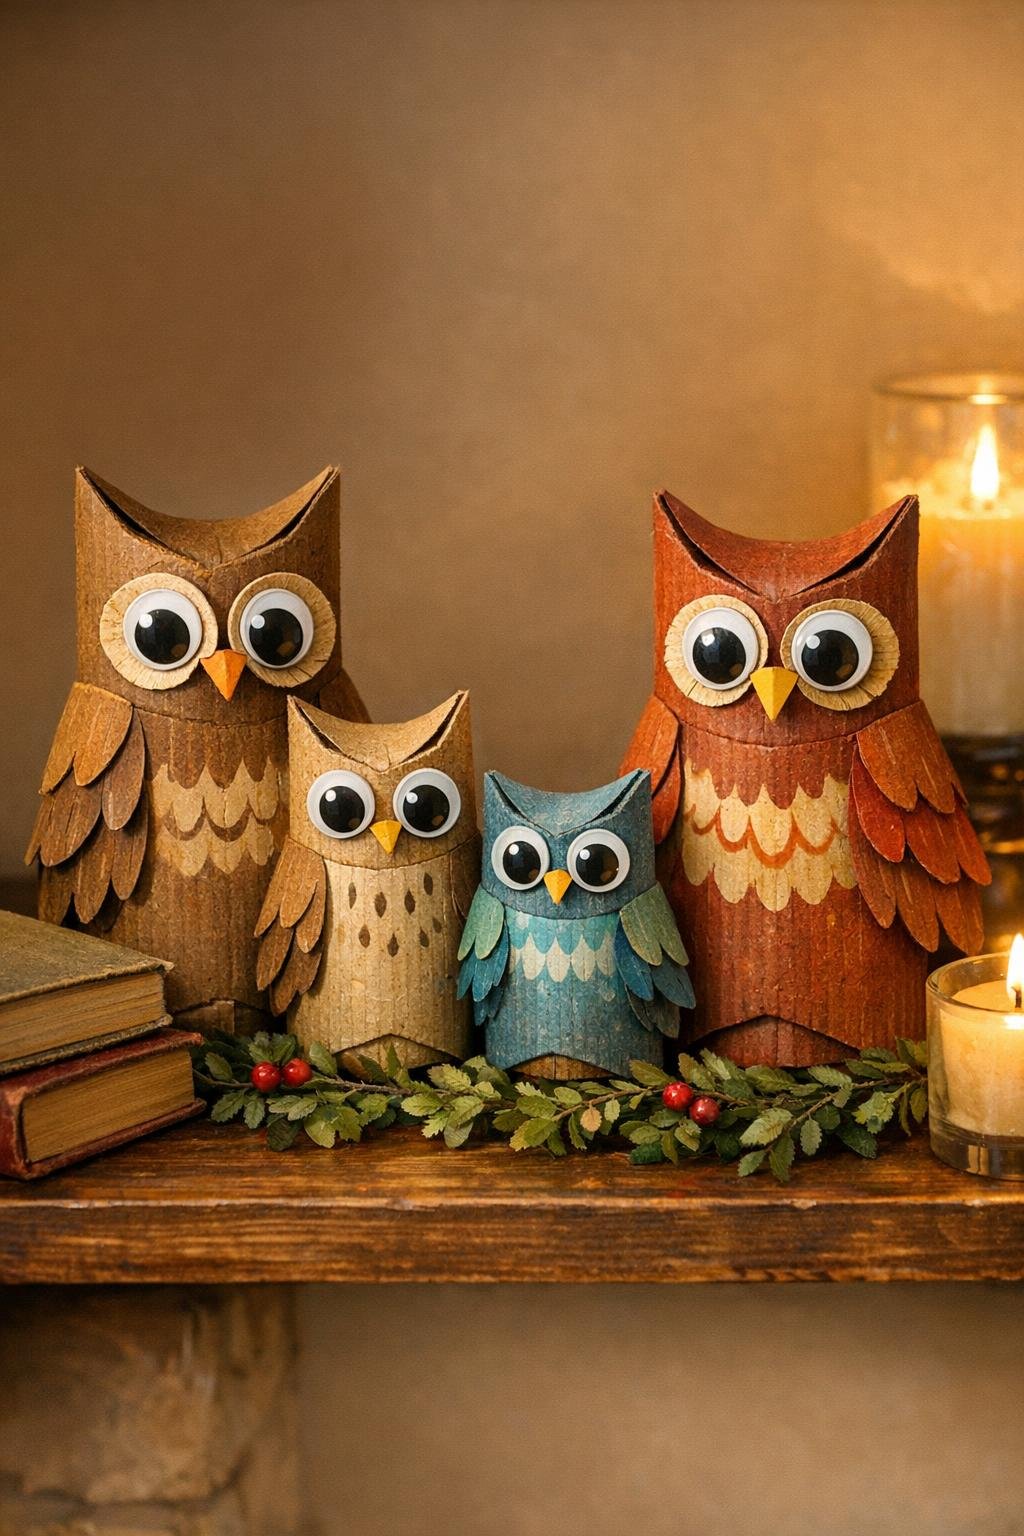
For younger kids: Pre-fold the rolls and pre-cut the wings and beaks, then let children focus on painting and gluing the faces. That keeps the project moving and avoids frustration.
For picky crafters: If someone does not enjoy lots of detail work, make one simple owl with just paint, eyes, and a beak, while others add layered feathers and chest pieces. They will still look adorable together.
Color palette idea: I like using a “family” of colors that go together, such as rust, mustard, cream, moss green, slate blue, and soft brown. The variety makes the group feel collected and intentional instead of random.
Make them look fuller: The secret is not stopping at the base coat. Wings, a contrasting chest patch, and a few rows of painted feather marks are what make these little owls look special.
Skip the googly eyes: Painted white circles with black dots in the center work beautifully if that is what you have on hand, and they can give the owls a sweeter, more handmade look.
Display tip: Group the owls in odd numbers and vary the heights by mixing full-height toilet paper rolls with halved paper towel rolls. That gives the finished family a more natural parent-and-babies look.
Seasonal version: Use warm browns and oranges for fall, icy blues and white for winter, or bright florals for spring. I’ve found that changing only the paint colors can make the same basic project feel brand new.
Storage tip: If you want to save them from year to year, wrap each owl loosely in tissue paper and store them upright in a shoebox so the ear points do not get crushed.