
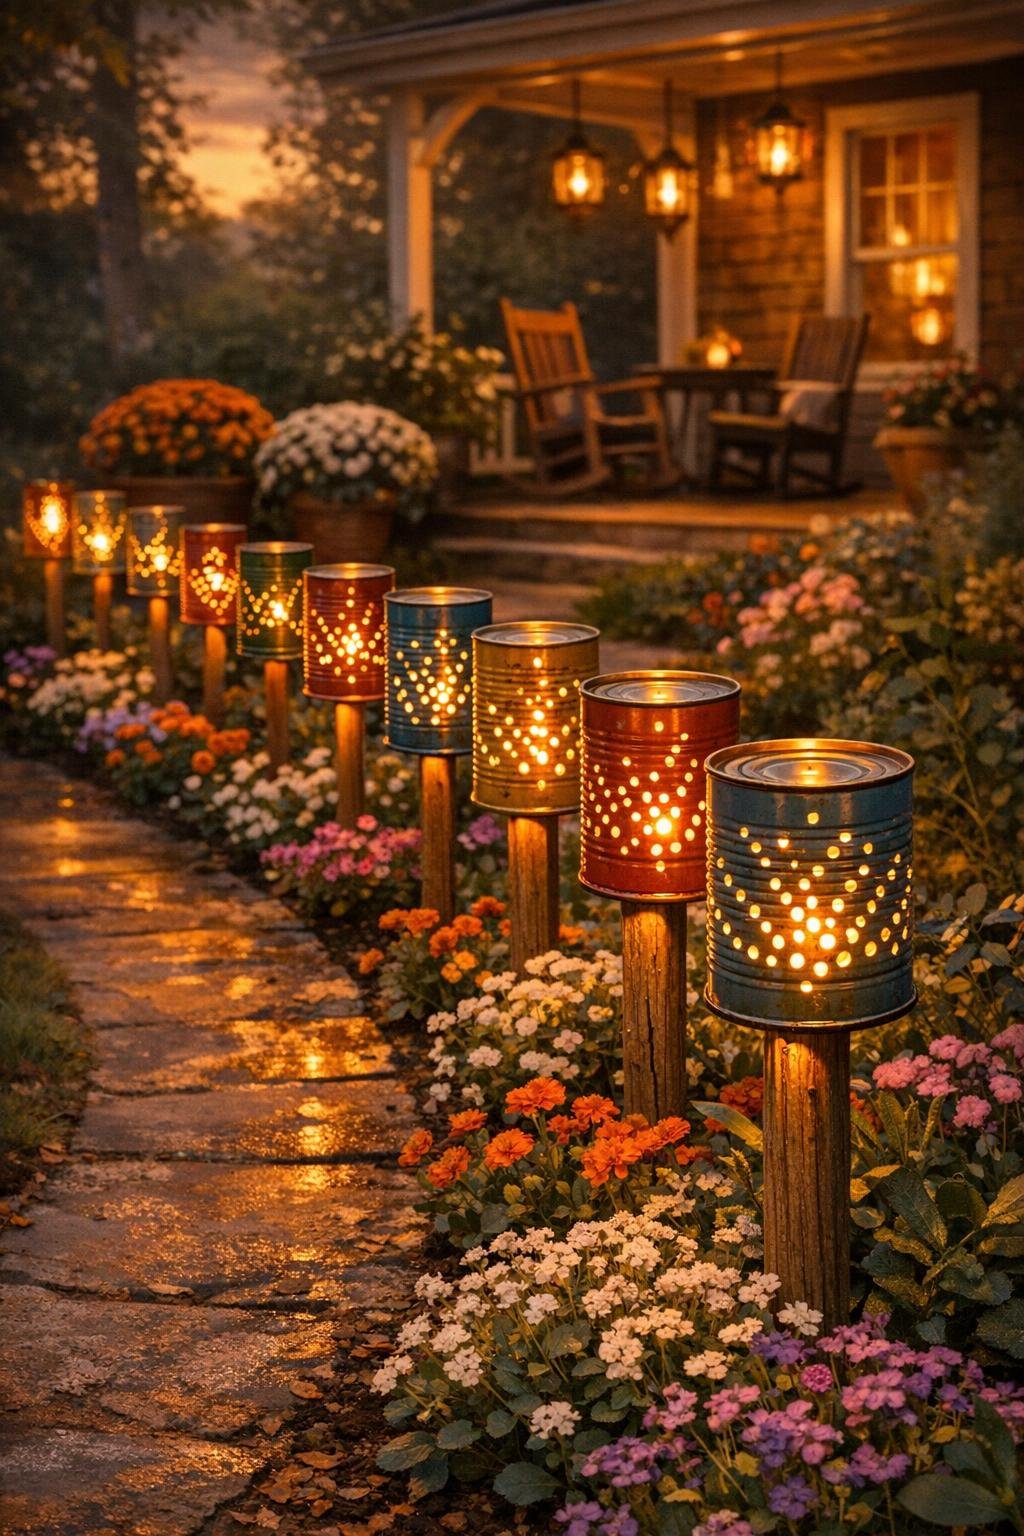
There is something mighty satisfying about turning a stack of plain old soup cans into a row of glowing lantern stakes for the yard. This is one of those projects that looks far fancier than the work involved, and all you really need is a hammer, a nail, and a little patience. Once the holes are punched and the candlelight starts shining through, those everyday cans take on the prettiest twinkle, especially lining a walkway or tucked into a flower bed at dusk.
I love projects like this because they remind me of the make-do spirit I grew up around here in the Midwest, where folks saved coffee cans, berry baskets, and bits of wire because “you never know when that might come in handy.” If you enjoy simple hands-on crafting, porch decorating, or adding a little homemade charm to your garden without spending much, these tin can lantern stakes are a wonderful weekend project.

Materials
Instructions
1. Wash all 40 cans well, remove the paper labels and glue, and smooth any sharp edges around the opening with pliers if needed.
2. Fill each can with water and set them upright in the freezer until solid; this keeps the can walls from buckling while you punch the designs.
3. Draw a simple dot pattern on each frozen can with the marker, spacing the holes about 1/2 inch apart in rows, stars, stripes, or little diamond bands.
4. Turn one frozen can upside down on the scrap wood and punch holes from the bottom up with the nail and hammer, following your marked design and rotating the can as you go.
5. Continue punching until the lower half of the can is densely patterned, then add a few scattered holes higher up so the lantern glows generously instead of looking sparse.
6. Repeat with all 40 cans, refreezing any can that softens too much before you finish punching it.
7. Let the ice melt completely, then dry every can inside and out so the paint will stick nicely.
8. Spray paint the cans in thin coats, covering the outside and the rim, and let them dry fully before adding a second coat for an even finish.
9. Mist on a coat of clear outdoor sealer and let the cans cure according to the can directions for longer-lasting outdoor use.
10. Push one wooden stake into the ground where you want a lantern, leaving about 24 inches above the soil so the lights sit up where they can be seen.
11. Set a can upside down over the top of each stake, then use two pieces of galvanized wire, about 8 inches each, threaded through opposite punched holes to tie the can securely to the stake.
12. Place one tea light under each can so the light shines through the punched pattern, then line the stakes along a walkway, garden edge, or porch path with about 18 inches between lanterns for a full glowing display.
Variations & Tips
Pattern ideas: Try alternating bands of dots, little starbursts, hearts, or simple quilt-block inspired geometry if you want the set to feel collected but still coordinated.
Best candle choice: Battery tea lights are my favorite for outdoor use because they do not blow out as easily and you can switch them on all at once before company arrives.
Paint finish: Matte black gives the most dramatic glow, but aged bronze is especially pretty in autumn and soft white looks lovely for summer evenings on the porch.
Stability tip: If your soil is loose, drive the stakes in with a rubber mallet and bury them 10 to 12 inches deep so the lanterns stay neat and upright.
Weather note: Bring wax candles indoors during rainy weather, and if you use these season after season, refresh the sealer once a year to keep rust in check.
Make it look extra special: Group the lantern stakes in gentle curves instead of a stiff straight line; that fuller sweep of repeating light is what makes the finished display look so stunning.