
I love a Halloween project that looks a little extra but is still completely doable on a weeknight, and these cotton swab ghost stakes are exactly that kind of craft. By the time you’re done, those plain foam cones turn into fluffy little lawn ghosts with tons of texture, and they look surprisingly high-end for something that starts with dollar-store supplies.
This is a great project if you want outdoor Halloween decor that feels playful instead of spooky, or if you need something easy enough to make in batches. I’m always looking for decorations I can finish after work without turning my kitchen table into a full construction zone, and this one checks every box while still giving that “where did you buy those?” payoff.
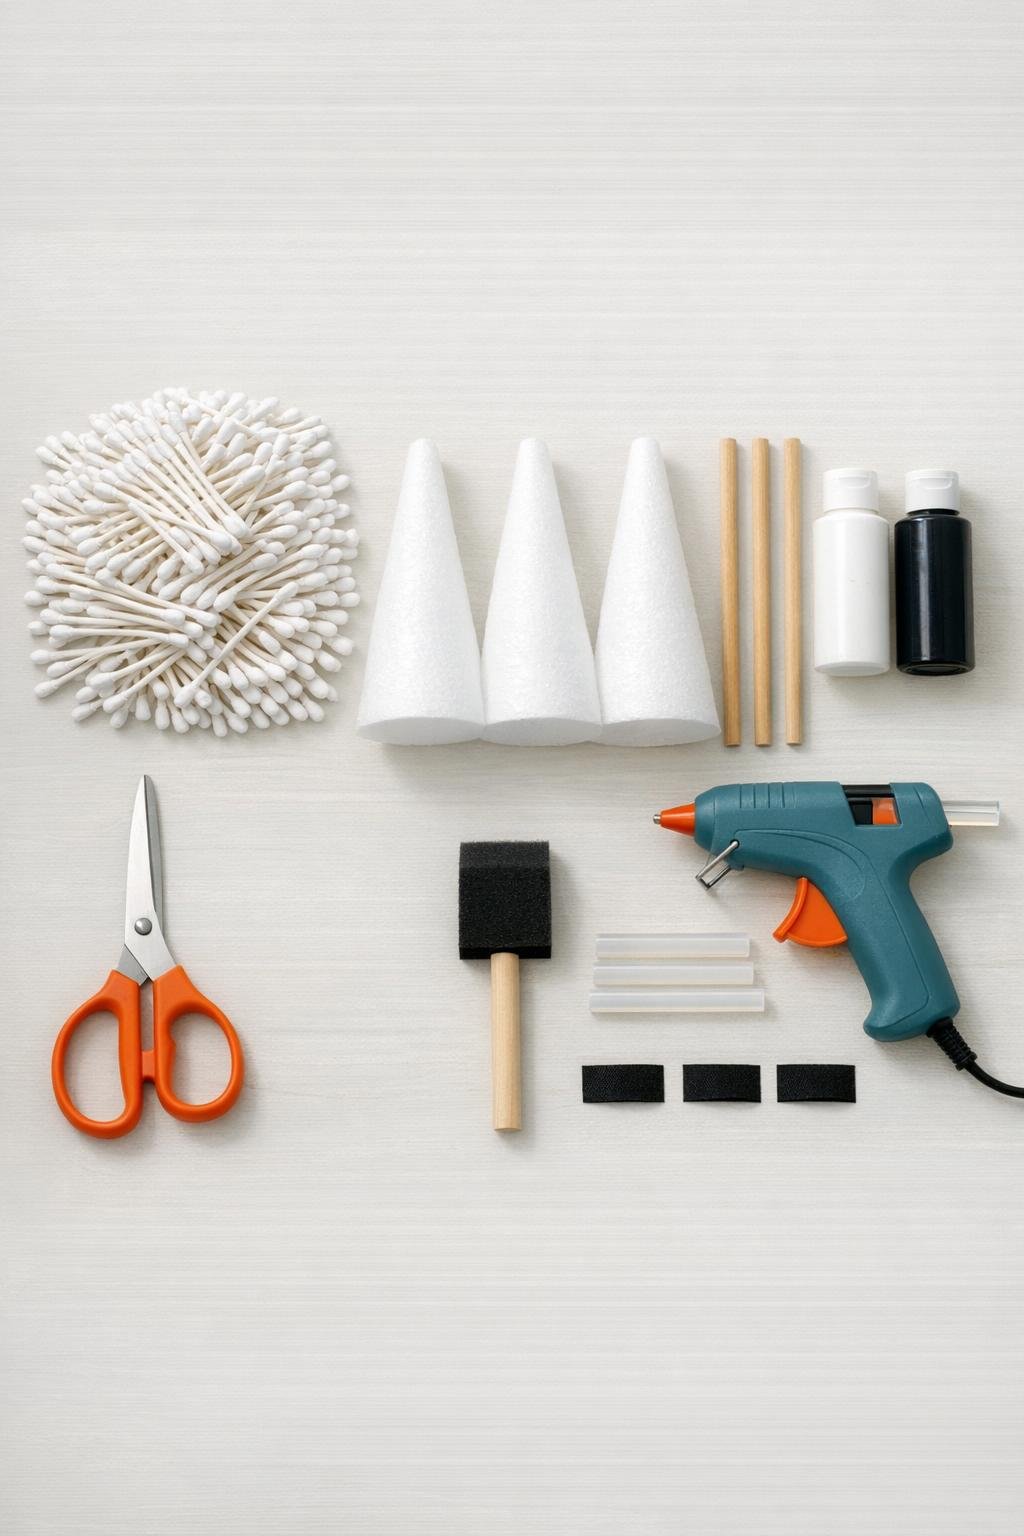
Materials
Instructions
1. Paint each foam cone white from top to bottom, including the base edge, then let them dry completely so no bright foam shows between the cotton swabs.
2. Trim one cotton tip off 170 of the swabs, leaving a stem with one rounded cotton end; keep 30 swabs uncut for arms, hanger details, or filling any gaps later.
3. Push a pencil or skewer into the bottom center of each cone to start a pilot hole, then insert a wooden dowel about 3 inches deep to check the fit before removing it again.
4. Starting at the bottom edge of one cone, run a 2-inch line of hot glue and press the cut end of each prepared cotton swab into the glue so the fluffy tip points outward and slightly downward like soft ghost fringe.
5. Continue around the cone in a full ring, placing the swabs side by side with almost no gap; this dense first row gives the ghost its full, fluffy look.
6. Build the next row 1 inch above the first, overlapping it enough to hide the stems, and keep working upward in rings until the cone is covered to within 2 inches of the top point.
7. Angle the top rows slightly upward as you go so the swabs follow the cone shape neatly, then fill any thin spots with extra trimmed swabs tucked into open spaces.
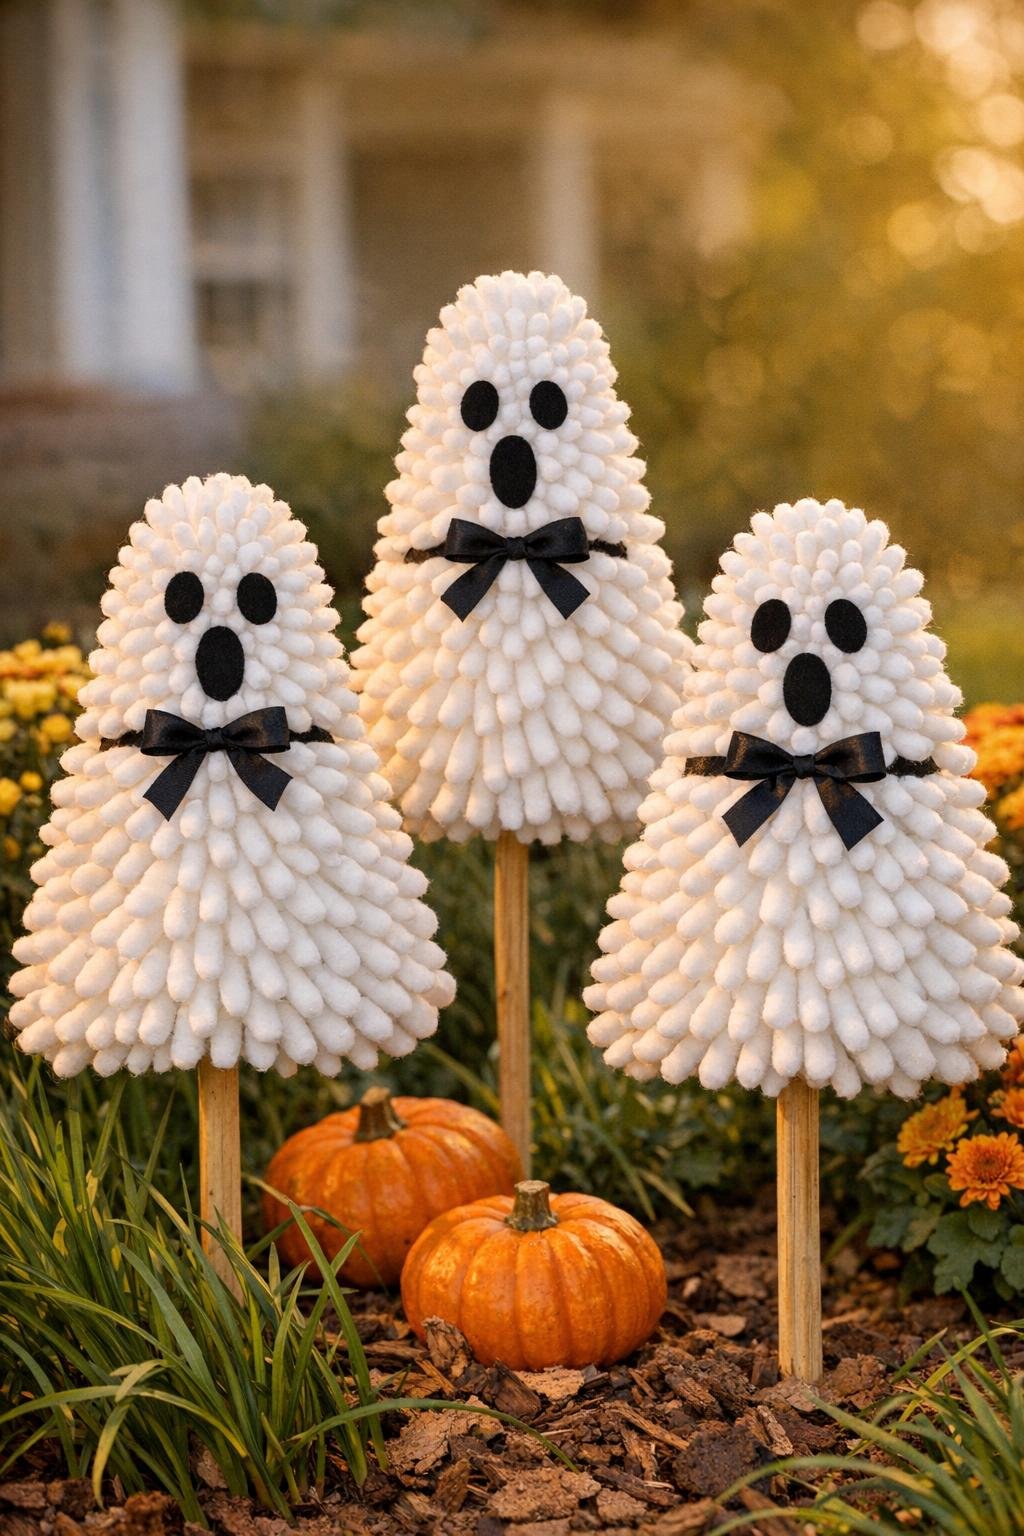
8. Use black paint to add two oval eyes and a small open mouth on one side of each cone, placing the face about 2 1/2 inches down from the tip so it stays visible above the fluffy texture.
9. For a simple polished detail, tie one piece of black ribbon into a small bow and hot glue it just below the face or near one side of the ghost’s “neck.”
10. Reinsert each dowel into its pilot hole with hot glue on the inside of the opening, then hold it upright until set so the ghost sits securely on its stake.
11. If you want a fuller silhouette, glue two uncut cotton swabs horizontally into the cone sides as tiny arms, then cover the insertion points with one or two extra trimmed swabs.
12. Push the finished ghost stakes 4 to 5 inches into flower beds, planters, or lawn edges, spacing the three ghosts a few inches apart so they read as a cute little group.
Variations & Tips
Make them taller: Use 12-inch cones instead of 9-inch cones and increase the cotton swabs to about 300 total for the same dense coverage.
Use fewer supplies smartly: If you only have 1 package of swabs, cover just the front and sides fully, then paint the back white and use a lighter row spacing where it won’t show as much.
Skip the ribbon: If you like a cleaner look, leave off the bows and vary the face shapes instead so each ghost has its own personality.
Keep them outdoor-friendly: These hold up best on a covered porch, in planters by the door, or in beds that don’t get direct sprinkler spray, since cotton swabs can get dingy in heavy rain.
Batch-craft tip: I like to trim all the swabs first while watching TV, then glue in assembly-line style; it makes the project feel much faster, especially if you’re making a whole ghost family.
Face placement matters: Paint the faces before attaching the bows and before staking them in the ground, and keep the features a little higher than center so they don’t get lost in the fluffy lower rows.
Stronger base option: For windy spots, add a little extra hot glue around the dowel opening and let each stake cure flat on the table for 10 minutes before putting it outside.