
These glue gun cobweb coasters are one of those crafts that look almost too pretty to be made from such simple supplies. You’re basically drawing loose spiral webs with hot glue on wax paper, then peeling them off and finishing them into sturdy little coasters that catch the light in the prettiest way. I love projects like this because they give you that “wait, I made that?” feeling without needing a whole afternoon or a giant craft stash.
As someone who is usually squeezing creative projects in between work, dinner, and the general weeknight shuffle, this is exactly my kind of DIY. It’s fast, inexpensive, and surprisingly forgiving, and the finished set looks especially magical on a coffee table with a mug, candle, or little dessert plate sitting on top.
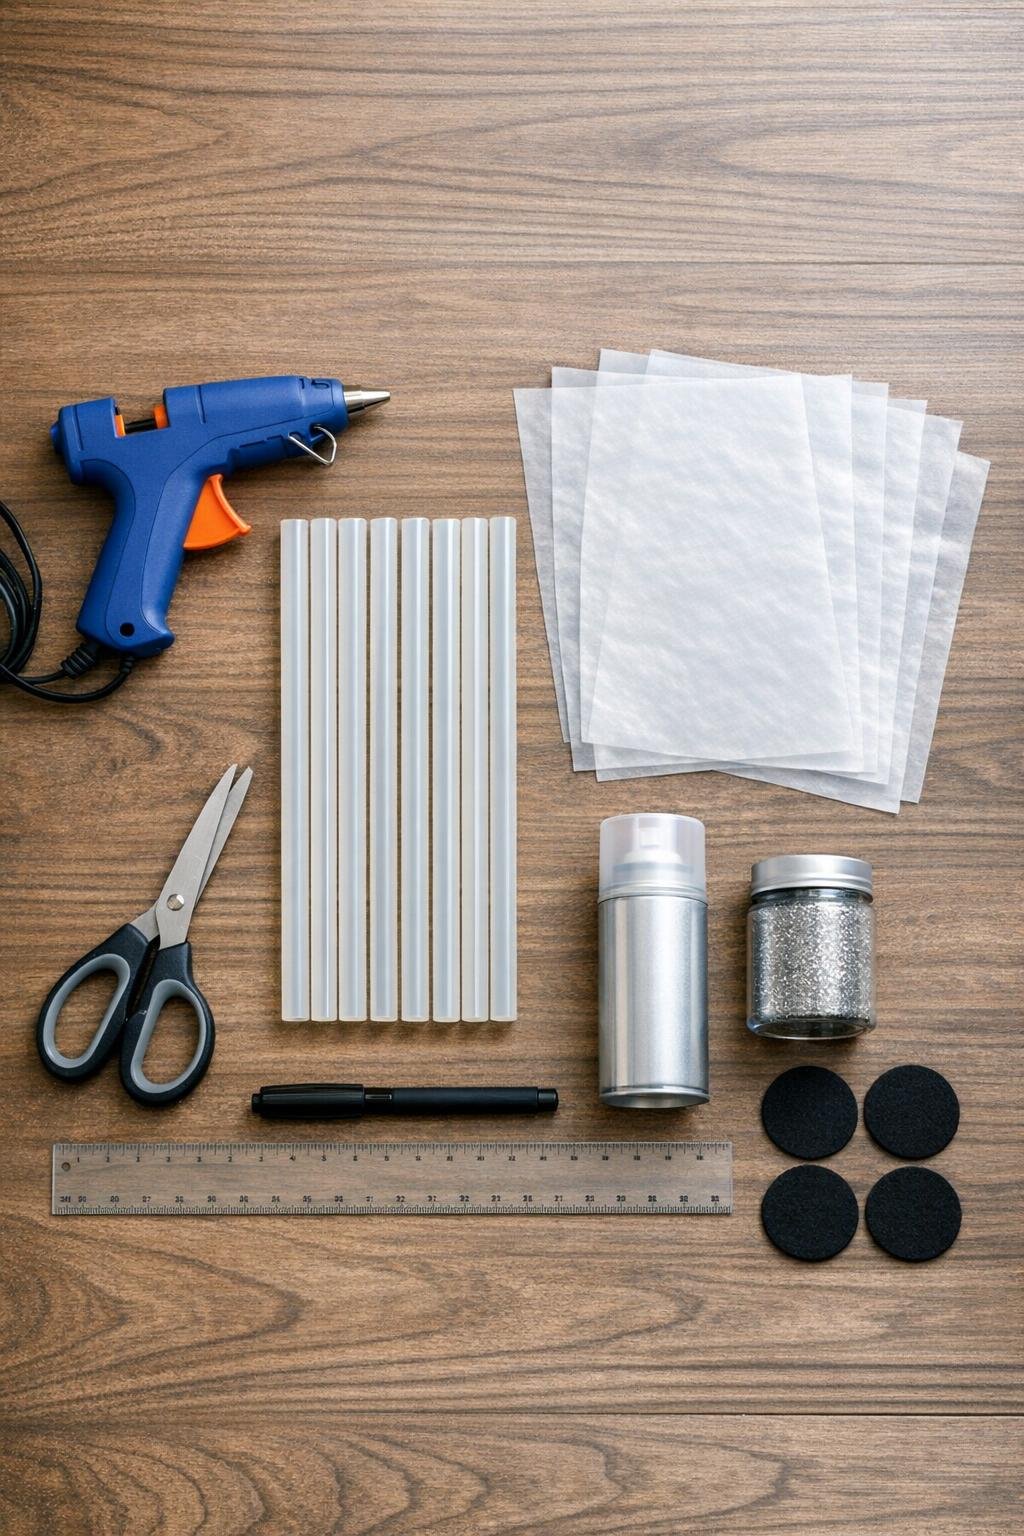
Materials
Instructions
1. Lay one sheet of wax paper on your work surface and use the marker to trace four 4-inch circles onto the dull side, spacing them at least 2 inches apart so the coasters are easy to peel off later.
2. Plug in the hot glue gun and let it heat fully for 3 to 5 minutes so the glue flows smoothly; this makes the spirals easier to draw in one continuous motion.
3. Starting in the center of the first traced circle, squeeze hot glue in a tight spiral outward, then loop back across the spiral with curved connecting lines to create a cobweb look; keep the design open but make sure plenty of lines touch so the coaster holds together.
4. Repeat the same web pattern inside the remaining three circles, building each one to about 3.75 to 4 inches across with enough glue coverage that a mug will sit securely on top.
5. If you want sparkle, lightly sprinkle a pinch of fine glitter over the glue while each coaster is still warm, pressing it in very gently with the side of a scrap wax paper sheet so it sticks without flattening the texture.
6. Let the glue cool completely for 10 minutes, then peel each cobweb coaster carefully off the wax paper and trim away any wispy glue strings with scissors.
7. Take the coasters outside or to a well-ventilated area and spray both sides with a light coat of clear acrylic sealer; this gives them a more polished finish and helps reduce tackiness.
8. Let the sealer dry according to the can directions, then add a second light coat if you want a sturdier, glossier result.
9. For extra table protection, glue one felt circle to the underside of each coaster, trimming the felt slightly smaller if needed so it stays hidden from the top view.
10. Set a mug or glass on each coaster to check stability, and if any area feels too open, add one or two extra glue lines, let them cool, and reseal that spot.
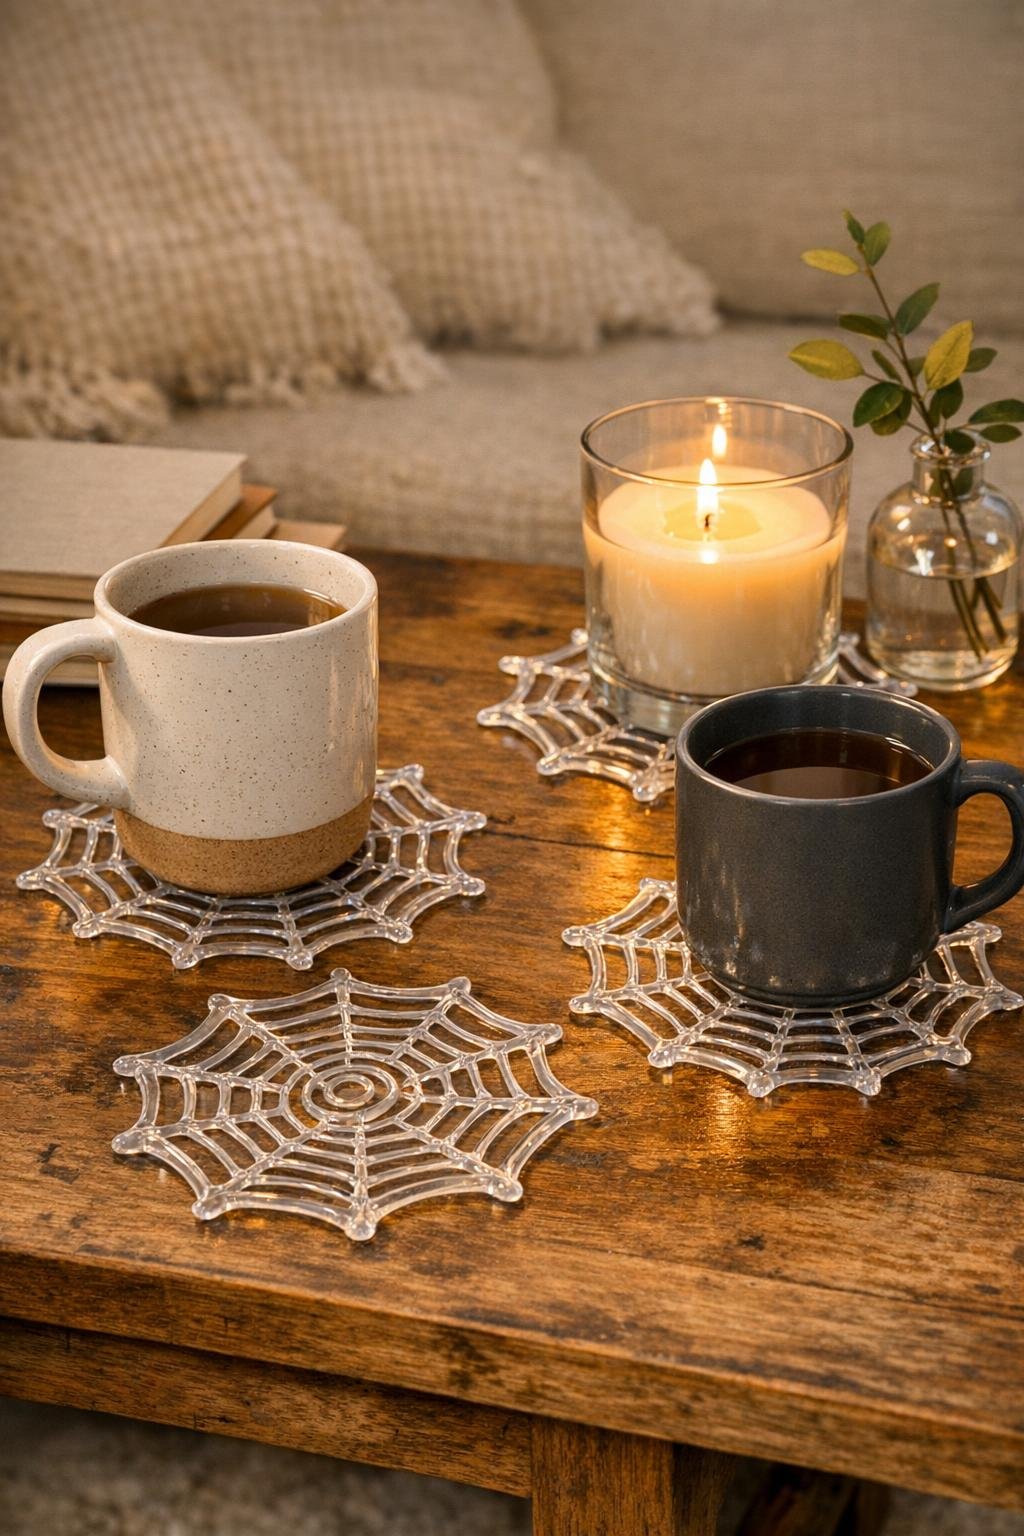
Variations & Tips
Metallic finish: If you want a more dramatic look, mist the finished coasters lightly with silver, gold, or matte black spray paint after sealing. I’d keep it to a thin coat so the web texture still shows through.
Halloween version: These are especially fun in black glue or painted black with a touch of iridescent glitter. I’ve used them under apple cider mugs in October and they instantly made the whole setup feel festive.
Everyday glam version: Keep the glue clear and add just a dusting of fine glitter for a subtle, glassy effect that works year-round. On a tray with candles, they look surprisingly chic.
Make them stronger: The trick is not making the web too sparse. Add enough cross-lines so the center and outer edge are connected in several places, otherwise the coaster can flex too much under a heavy mug.
Protect your table: Felt backing is worth the extra minute if you’re using these on wood furniture. It helps the coaster sit flatter and keeps the sealed glue from sliding around.
Batch-prep tip: I like to draw all the circles first and make the coasters assembly-line style while the glue gun is hot. It’s faster and easier than stopping and starting between each one.