
I love a garden project that feels a little unexpected, and this one absolutely does. We’re taking plain wooden clothespins, giving them that lightly baked, warm caramel color, and turning them into a practical seed-saving envelope holder using just two other simple shed staples: jute twine and a scrap wood board. The result is one of those pieces that looks charming in a potting shed, mudroom, or pantry corner, but it also genuinely helps keep all those saved zinnia, marigold, bean, and tomato seeds sorted instead of floating around in random jars and baskets.
As someone who’s always juggling work, dinner, and whatever I promised myself I’d “quickly” do in the garden before sunset, I’m a big fan of storage projects that are easy but still look finished. This is for gardeners who save seeds season after season and want a holder that’s compact, sturdy, and pretty enough to leave out on display.
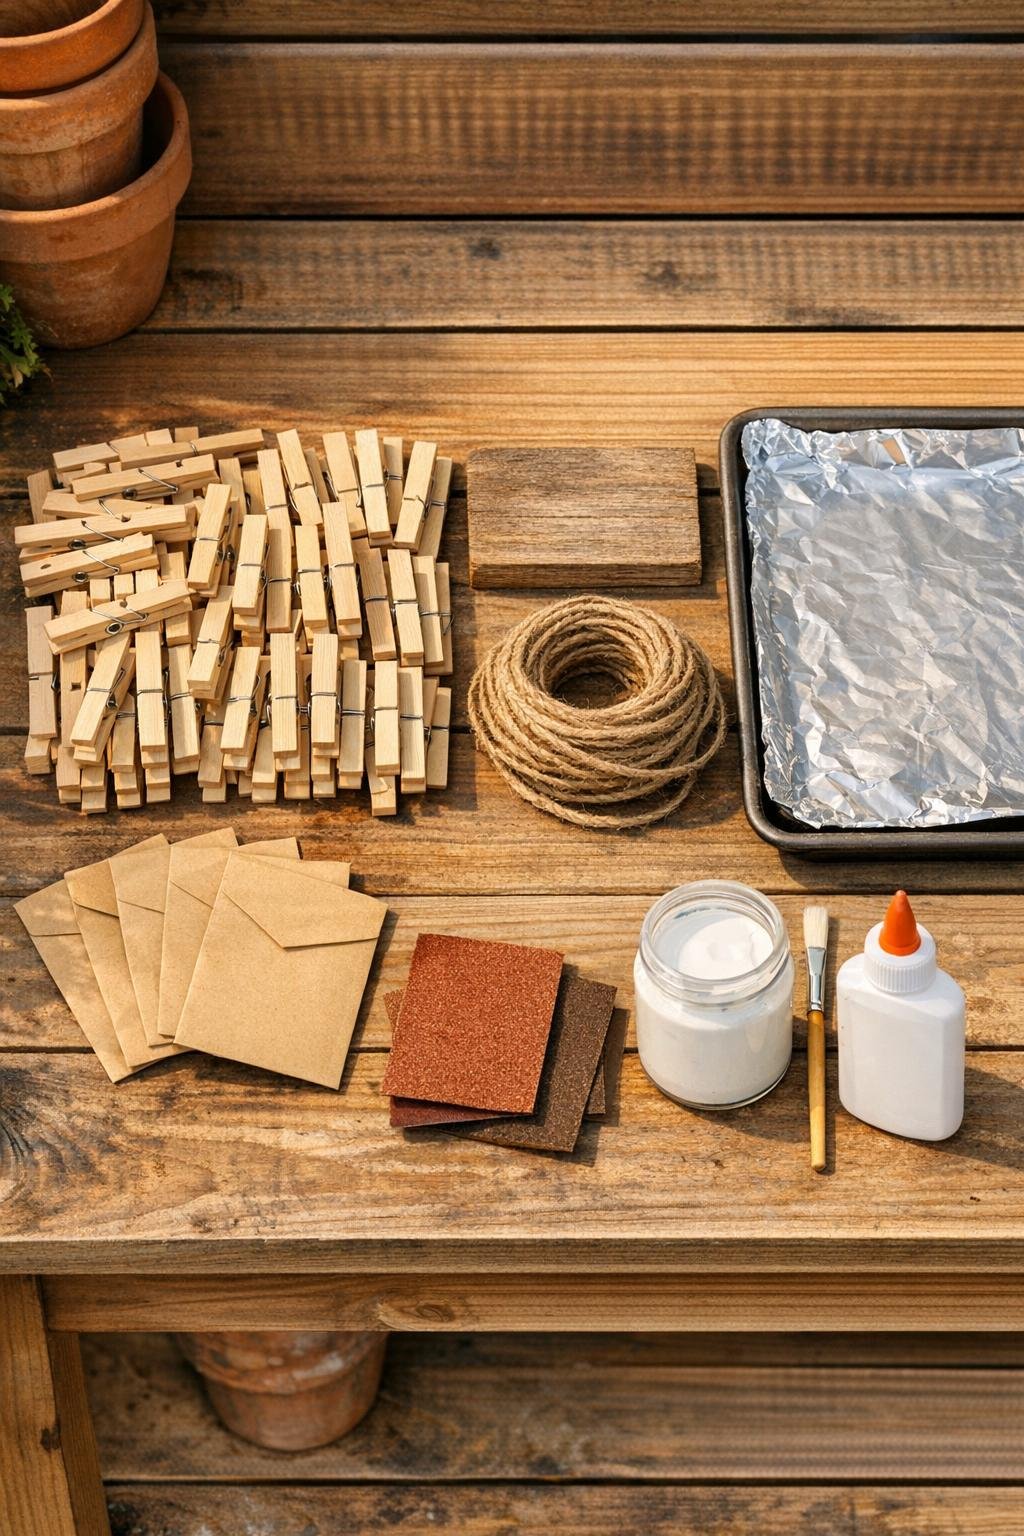
Materials
Instructions
1. Line a baking sheet with foil and spread the 24 wooden clothespins in a single layer so they are not overlapping.
2. Bake the clothespins at 300°F for 25 to 35 minutes until they deepen to a honey-brown color, then cool completely before handling.
3. Lightly sand the front of the wood board and the baked clothespins to smooth any rough spots, then wipe away dust with a dry cloth.
4. Brush a thin coat of white or cream paint around the outer edge of the board to create a soft frame, leaving the center mostly natural for a simple garden-style finish.
5. Seal the painted board and all the clothespins with a light coat of matte sealer and let everything dry fully so the finish holds up better in a shed or mudroom.
6. Cut three lengths of jute twine, each 12 inches long, and lay them horizontally across the board with even spacing from top to bottom.
7. Glue the ends of each twine strand to the back of the board, pulling them snug so they sit straight across the front without sagging.
8. Clip 8 baked clothespins onto the twine, spacing them evenly with 2 to 3 inches between each pin so seed envelopes have room to hang without crowding.
9. Add a tiny dot of hot glue behind every other clothespin where it touches the twine if you want the layout to stay perfectly spaced during use.
10. Slip seed envelopes into the clothespins, filling the top and middle rows first and then the bottom row until the board looks full and balanced.
11. Tie the optional ribbon into a small bow and glue it at the top corner, then tuck in 3 to 5 short dried stems for a finished fall-garden touch.
12. Lean the holder on a shelf or add a sawtooth hanger to the back if you want to mount it, making sure it stays in a dry spot away from direct weather.
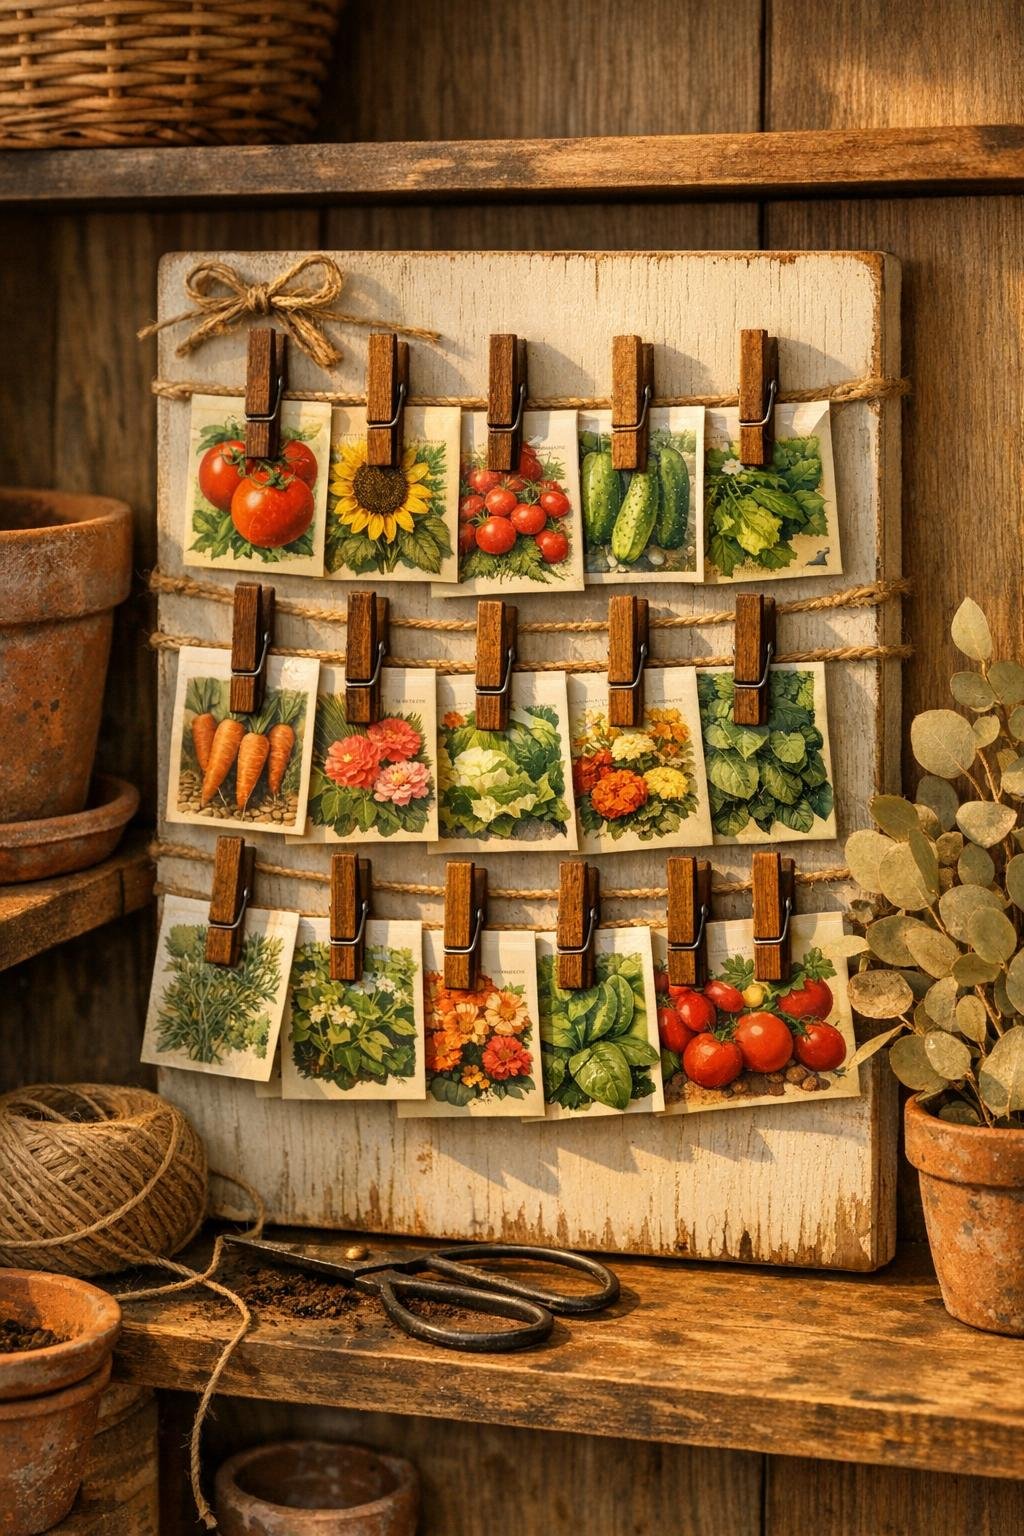
Variations & Tips
For more seed storage: Make the board taller, about 10 inches by 18 inches, and add a fourth row of twine so you can hold up to 32 clothespins instead of 24.
If you prefer no paint: Skip the border and rub the board lightly with clear wax or matte sealer only; the baked clothespins still give plenty of color and warmth.
Best envelopes to use: I like small paper coin envelopes or homemade folded kraft envelopes because they clip securely and let seeds breathe better than plastic bags.
Labeling trick: Write the plant name and year on each envelope before you fill it; when I try to “remember later,” I absolutely never do.
For extra fall style: Swap the ribbon for narrow plaid fabric or add a tiny cluster of faux mini leaves at one corner, but keep the decoration small so the envelopes stay easy to grab.
Storage tip: Keep the holder in a cool, dry room once your envelopes are filled; even a cute project works better when the seeds are protected from moisture and heat.