
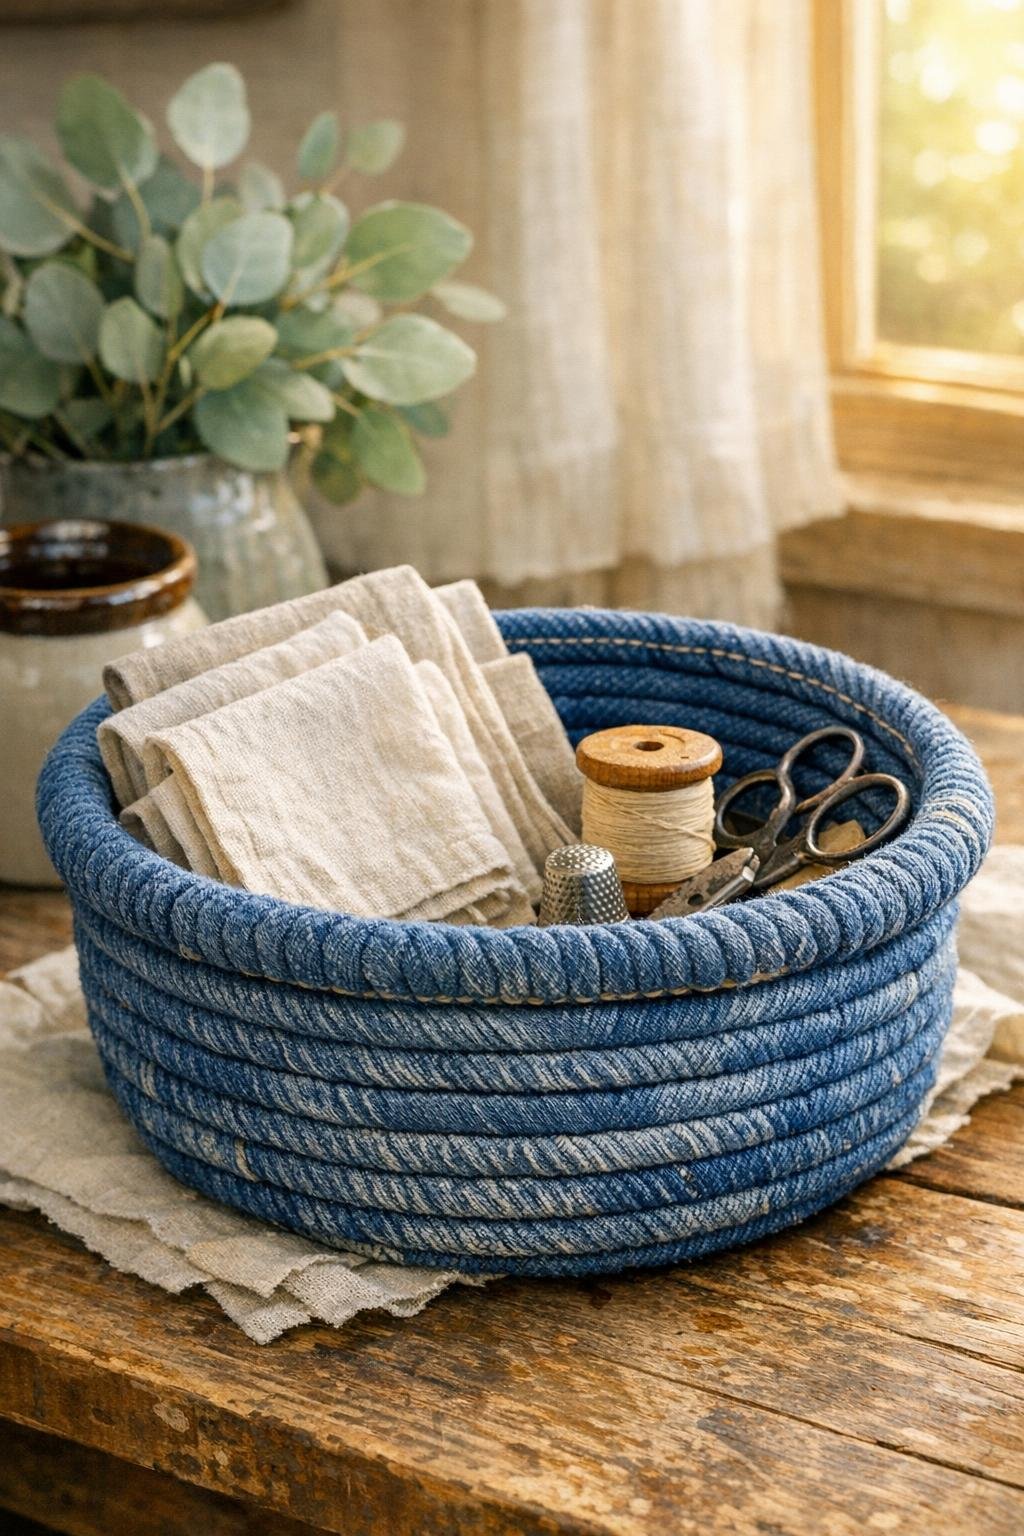
There is something mighty satisfying about taking a pair of worn-out blue jeans and turning them into something sturdy, useful, and pretty enough to leave out on the table. This rolled denim coiled basket starts with a plain dollar store plastic bowl and a pile of jean strips, and with a little hot glue and patient wrapping, it becomes a thick, textured basket with that soft faded-blue patchwork look only old denim can give.
I love projects like this because they feel thrifty in the best old-fashioned way. In my house, we always saved fabric that still had some life in it, and denim was too hardworking to waste. If you can wrap, glue, and keep a snug coil, you can make this basket. It is a fine beginner project, and the finished piece is useful for fruit, napkins, sewing supplies, or all those little things that like to gather on a kitchen counter.
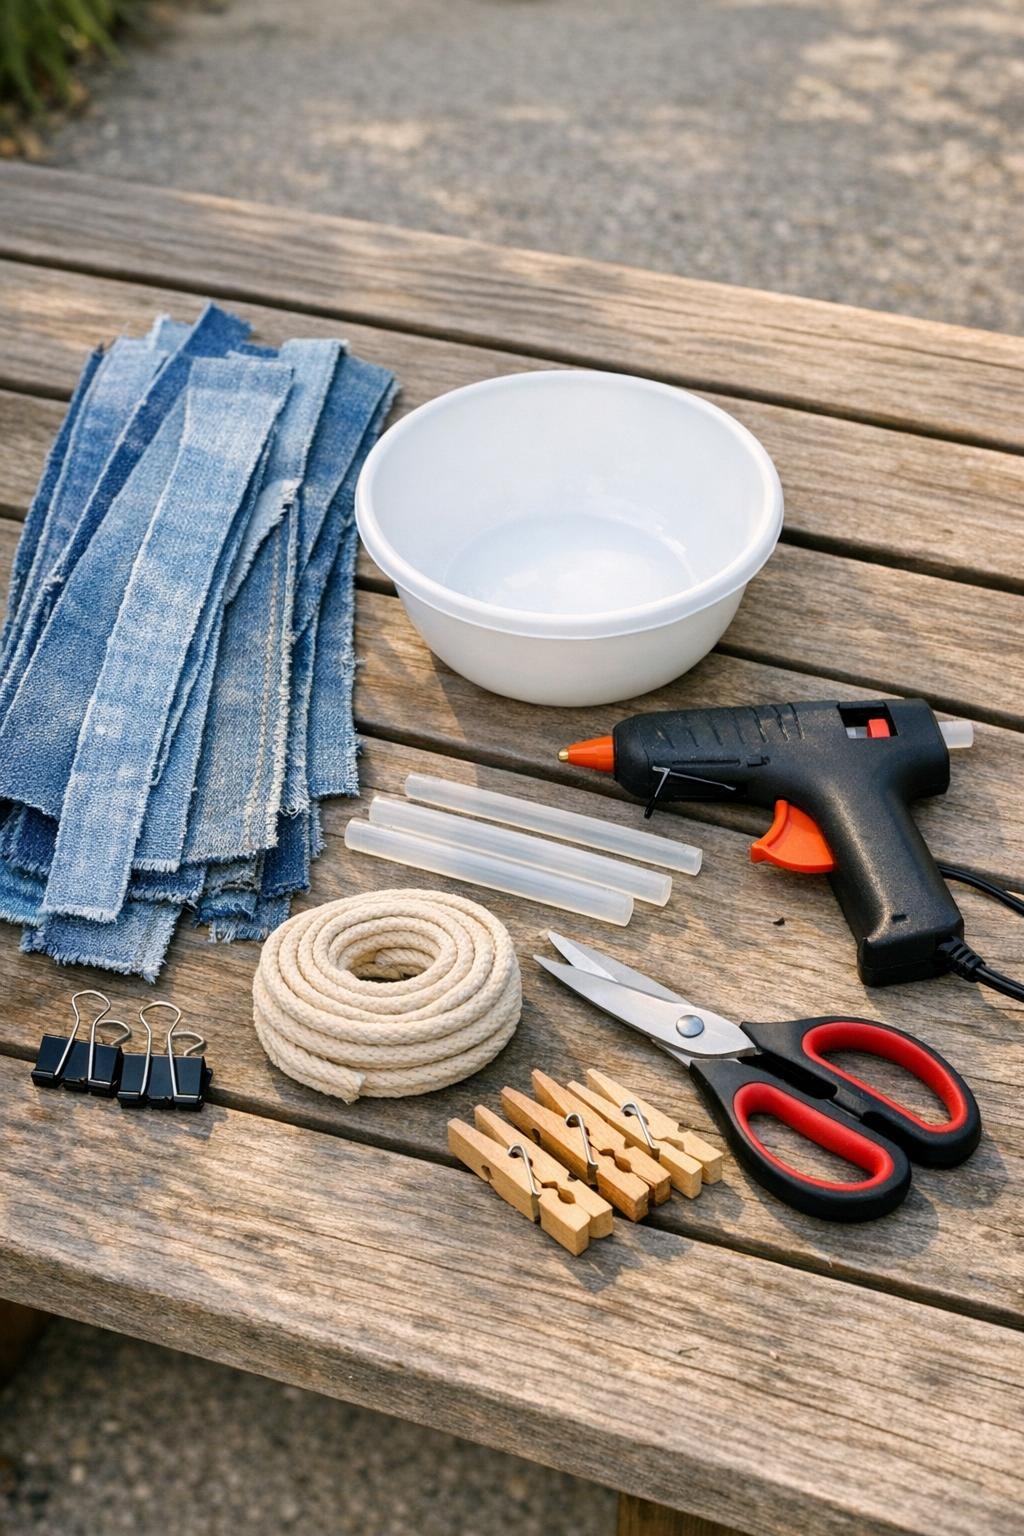
Materials
Instructions
1. Wash and dry the old jeans, then cut away thick seams and waistbands so you are left with flat sections you can slice into 1-inch-wide strips. Join shorter strips by overlapping the ends by 1 inch and securing with a dot of hot glue or a small piece of clear tape on the wrong side.
2. Turn the plastic bowl upside down so you are building on the outside, and if the bowl is very slick, lightly scuff it with sandpaper for better grip. Warm up the glue gun and set your denim strips, clips, and glue within easy reach.
3. Wrap the end of the cotton rope with one denim strip, adding a tiny bead of hot glue every inch or two, until you have a tightly covered 8-inch length. Coil that wrapped rope into a flat spiral about 1 1/2 inches wide and glue the spiral firmly to itself to make a sturdy basket center.
4. Glue the denim spiral to the center top of the overturned bowl and hold it in place for a few seconds so it grabs. This little center becomes your anchor for building the whole basket evenly.
5. Keep wrapping denim around the rope as needed, then continue coiling around the center in a tight circle, gluing the new round snugly against the previous one every 1 to 2 inches. Use clips as you go to hold fresh sections in place while the glue cools.
6. Cover the top of the bowl completely, working in steady rounds until you reach the bowl’s outer shoulder. Keep the denim pulled firm so the coil sits dense and full, with very little gap showing between rows.
7. As the bowl curves downward, guide the coil over the edge and along the sides, adding a slightly heavier bead of glue so each row hugs the bowl neatly. Press each new round upward against the last one for a smooth, basket-like wall without sagging.
8. Continue until you reach the rim of the bowl, then add one extra round that sits just past the edge to create a thicker finished lip. This little overhang makes the basket look more polished and generous.
9. Let the glue cool fully for 10 minutes, then gently ease the denim coil shell off the bowl. If a spot sticks, flex the plastic bowl inward a bit and release it slowly rather than tugging the denim.
10. Check the inside and rim for loose ends, then tuck and glue down any strip tails so the finish looks clean. If you want extra durability, run a thin bead of hot glue just inside the rim and smooth it with the glue gun tip without touching the denim directly.
11. Wrap one final denim strip around the rim edge, folding it neatly over the lip as you glue, to soften any rough spots and give the basket a finished band. Add a tiny dot of fabric glue or fray check to the final end so it stays put.
12. Set the basket upright and shape it gently with your hands, pressing out any slight dents while it is still a touch warm from the glue. Let it rest for another 15 minutes before filling it so the whole piece firms up nicely.
Variations & Tips
Use mixed denim shades: If you have jeans in light, medium, and dark washes, alternate them as you wrap. That gives the basket a striped, almost quilted look that really shows off the coil pattern.
Try a deeper basket: Use a taller bowl and keep the same method if you want more storage. Just be sure to make the wrapped center extra firm and use plenty of clips on the steeper sides.
Make the rim stand out: A strip from a seam or hem can be wrapped around the final edge for a slightly darker, more defined border. I like this when I want the basket to look a little more tailored.
Best denim sections: The thigh areas of jeans are usually easiest to cut into long smooth strips. Save the bulky seams for another project, because they make this coil lumpy in a hurry.
Keep the shape even: Rotate the bowl as you work instead of reaching across it. That simple habit helps the rounds stay level, which is the difference between homemade in the nicest sense and homemade in the crooked sense.
Where to use it: This basket is lovely on a coffee table, entry table, sewing corner, or kitchen counter. I especially like one holding cloth napkins or fresh mail, because the denim makes everyday clutter look downright intentional.