
The funny part of this project happens the very second you make the cut: slice one slit along the seam of a tennis ball, give the sides a squeeze, and that little “mouth” pops open on its own. That simple motion is the whole joke, and in my house it is exactly the kind of thing kids will do over and over while making up voices, feeding the monsters tiny treats, and laughing the whole afternoon.
This is an easy, low-cost craft that turns a pile of old tennis balls into something playful and party-ready with just paint, felt, and twine. I love projects like this because they feel big and festive without needing fancy supplies, and if you have a porch, mantel, playroom, or party table that needs a little personality, this one really delivers.
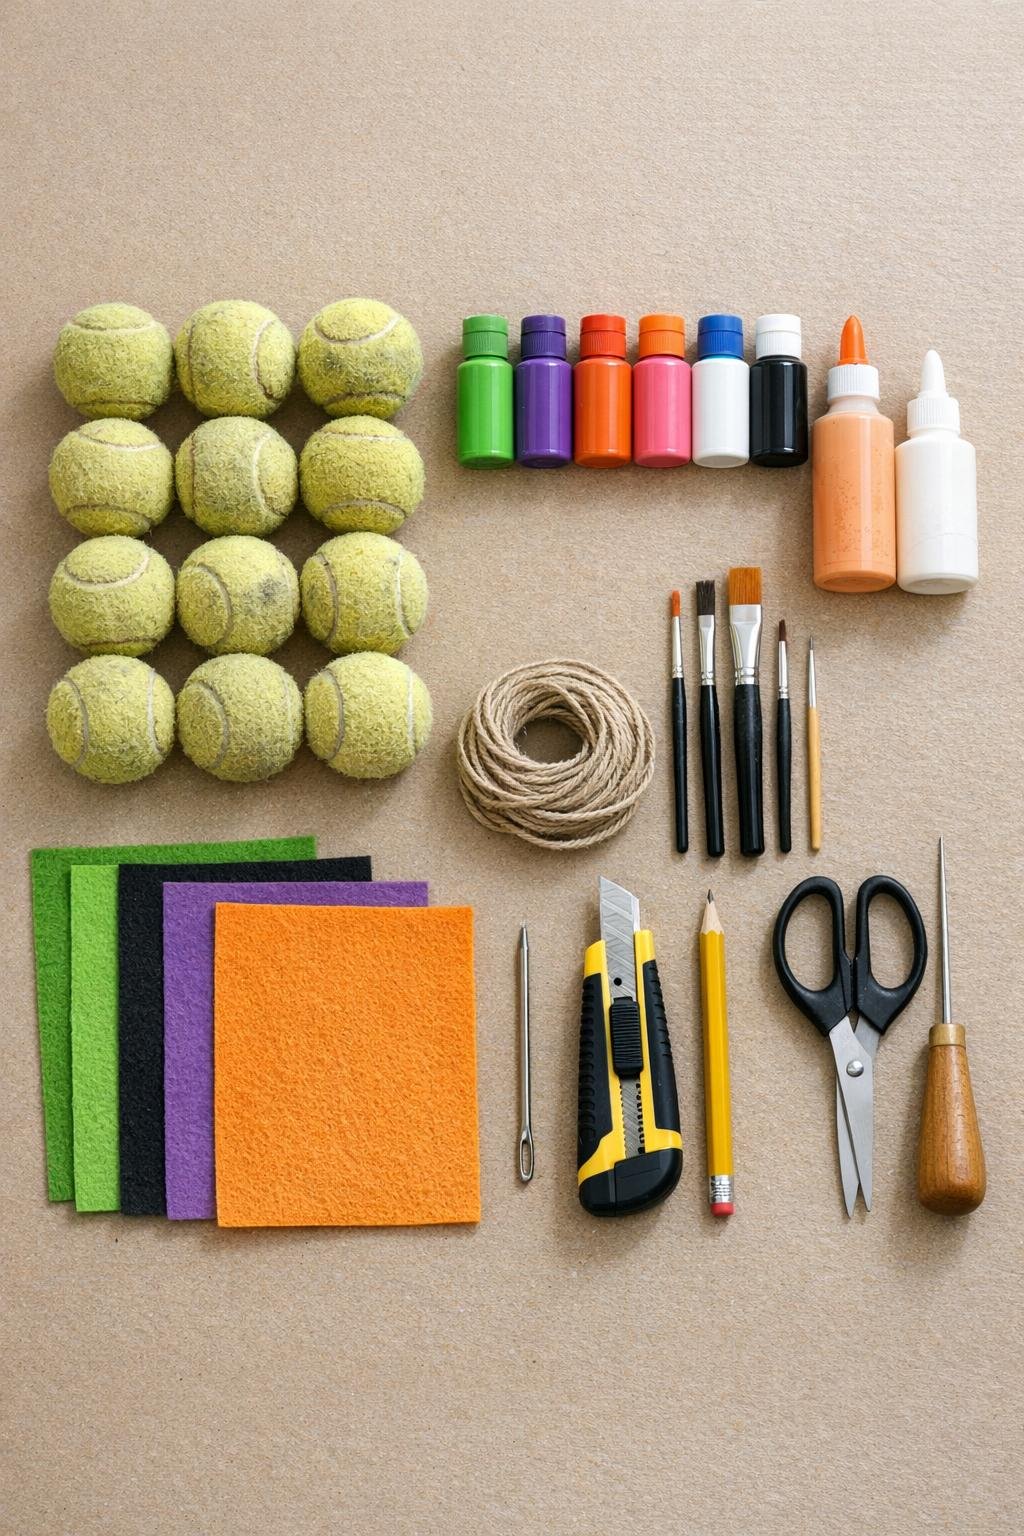
Materials
Instructions
1. Set the tennis balls on cardboard and plan your colors first, because the fun starts with the mouth: each ball gets one slit along the seam about halfway around, and once you squeeze the sides, the mouth springs open by itself.
2. Mark the slit line on each ball by following the existing seam for about half the ball’s circumference, keeping the cut centered so the mouth opens evenly.
3. Carefully cut along each marked seam with a box cutter, using light passes instead of one deep cut, just until the slit opens cleanly when the sides are squeezed.
4. Squeeze each ball gently to test the mouth; if one looks tight, extend the slit just a little along the seam until it opens wide with an easy press.
5. Paint the outside of the balls in bright monster colors, avoiding the inside of the mouth, and use two thin coats for bold coverage over the fuzzy surface.
6. Let the paint dry completely, then add big white eyes above the slit; make some monsters with one eye, some with two, and a few with three for a sillier mixed group.
7. Dot black pupils onto the white eyes, making them slightly off-center if you want the monsters to look extra goofy and animated.
8. Cut 48 to 72 small felt triangles, about 3/4 inch tall each, so every monster gets a generous row of teeth instead of just a few scattered ones.
9. Glue the felt triangles just inside the top and bottom edges of each mouth, alternating sizes and angles a little so the mouths look playful, full, and jagged.
10. Make two small holes in the top of each ball, about 1/2 inch apart, and thread the twine through with a large needle so the monsters sit upright with their faces forward.
11. If the tennis balls are too tough to thread neatly, tie a snug loop of twine around each ball instead and secure the loop with glue at the top where it will be least visible.
12. Space the monsters 8 to 10 inches apart along the twine or rope, knotting on each side of every ball if needed to keep them from sliding together.
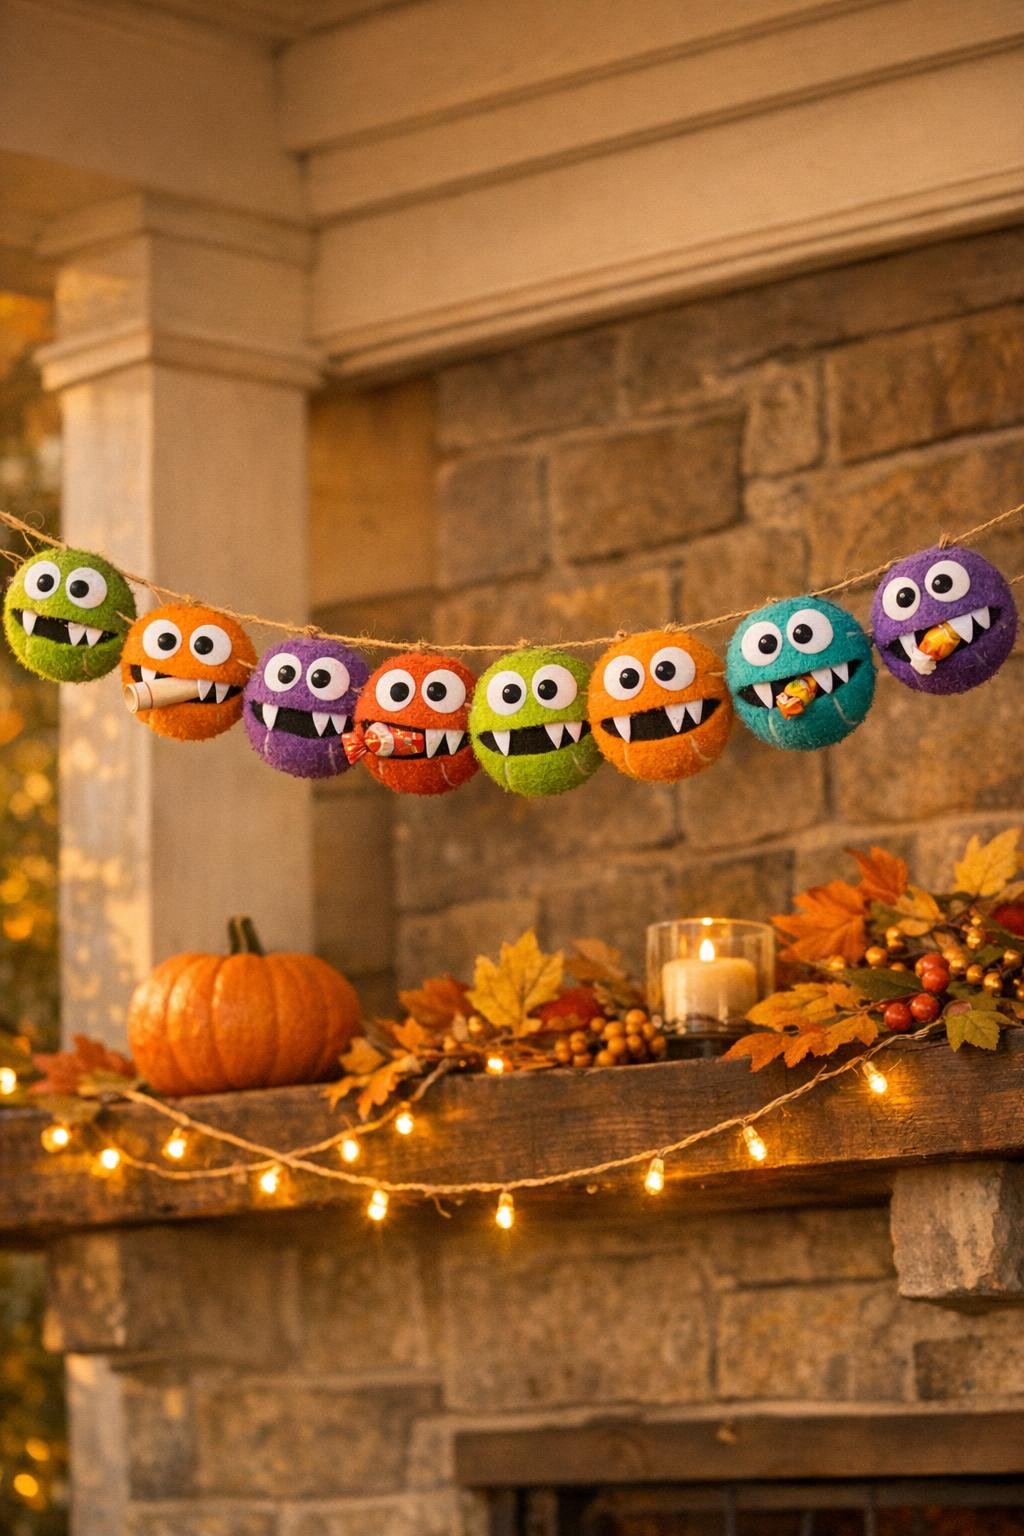
13. Hang the garland across a porch railing, doorway, mantel, or party table backdrop, then give each monster a final squeeze so all those funny mouths pop open and show off the teeth.
Variations & Tips
For younger kids: I do the cutting step myself first, then let kids handle painting, eye designs, and tooth placement. That keeps the project safe while still giving them the fun parts.
Color mix: Use 3 balls in each of 4 colors for a full, balanced garland, or make every monster different if you like a more quirky look. Bright colors show up especially well on porches and mantels.
Eye personalities: One big eye looks sweet, two looks classic, and three always gets the biggest laugh at my house. Slightly uneven pupils make the faces much more expressive.
Best paint finish: Thin coats work better than one heavy coat on fuzzy tennis balls. If the surface still peeks through a bit, that actually adds charm and keeps the source material recognizable.
Hanging method: Threading through two holes gives the cleanest look, but wrapping and gluing a twine loop is completely fine if you want the easier route. I would rather finish the garland than fuss over perfection.
Treat dispenser bonus: The mouths are just the right size to hold a rolled note, joke, or one wrapped candy, which makes this garland extra fun on party night or trick-or-treat evening. Tuck the treats in after hanging so the mouths stay perky and visible.
Indoor display: If you hang this on a mantel, add a few small battery lights underneath to cast little shadows in the mouths. It makes the monsters look even sillier without any extra work.
Storage tip: Store the garland flat in a shallow box with tissue or paper towels between layers so the eyes and teeth do not stick or bend before next season.