
This is one of those wonderfully low-cost Halloween projects that delivers far more atmosphere than it has any right to. You’re taking a dozen empty glass bottles from the recycling bin, tinting water in eerie little shades, adding one odd object to each, and turning the whole collection into a glowing witch’s apothecary display. It feels theatrical, but the process is pleasantly simple—more like an evening of mixing, labeling, and arranging than a full-on craft marathon.
I love projects like this because they rely on color, silhouette, and a bit of storytelling rather than expensive supplies. If you enjoy setting a seasonal mood without filling your house with complicated décor, this is for you. It’s also a very kid-friendly project once the bottles are washed; in my experience, the labeling stage becomes the part everyone lingers over.
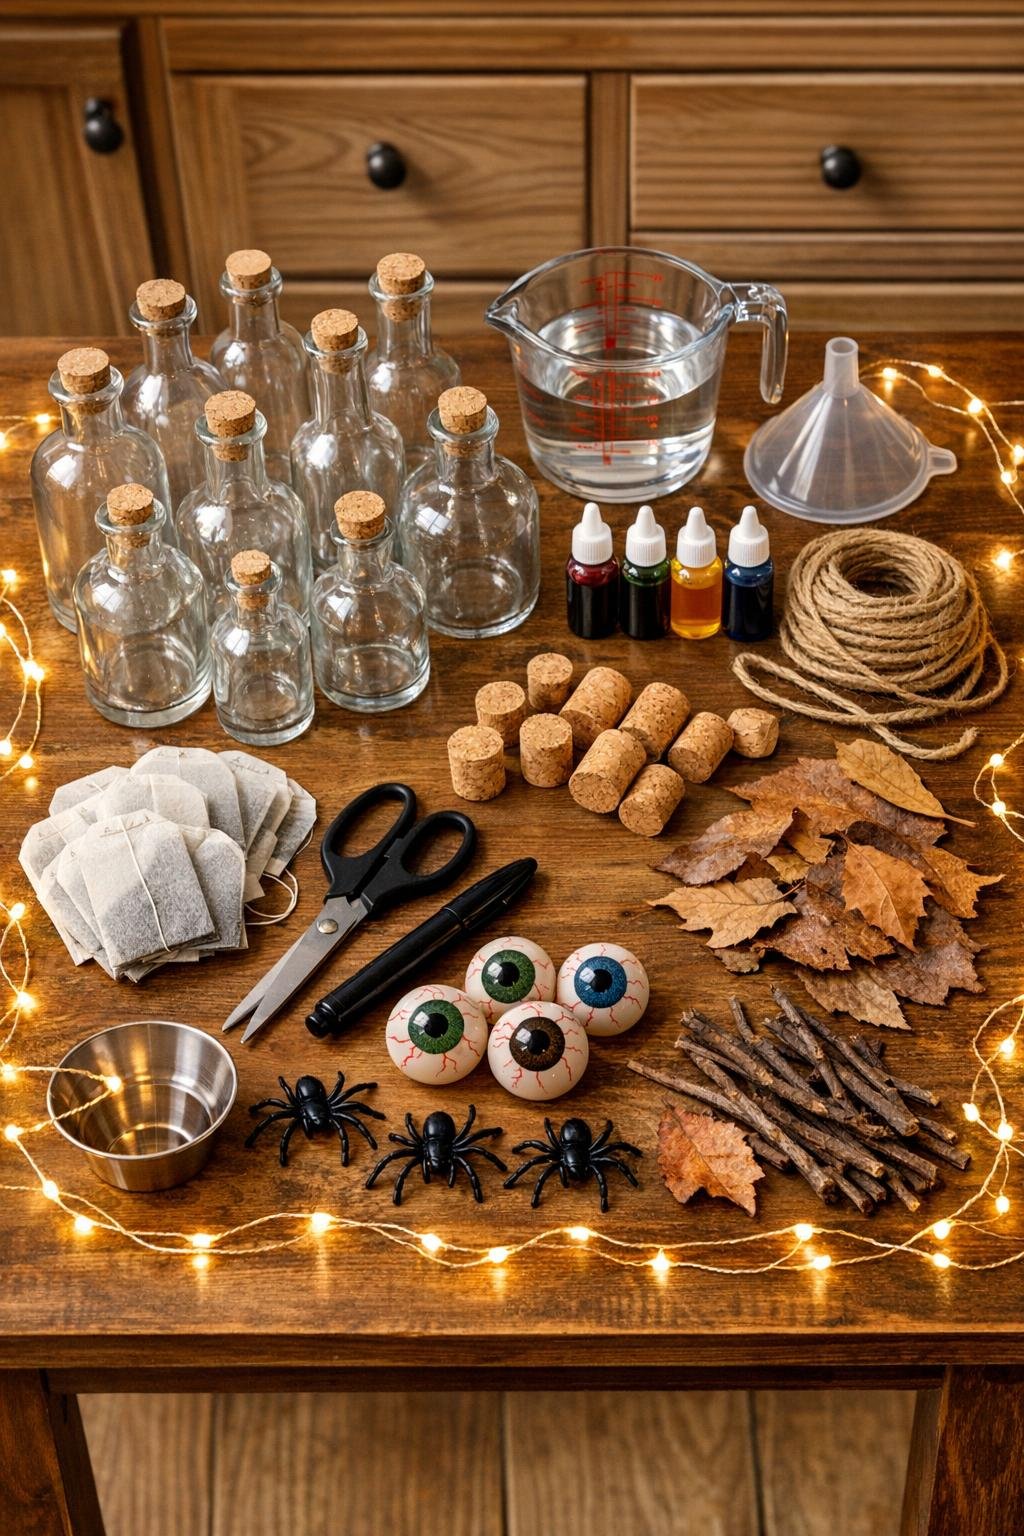
Materials
Instructions
1. Wash and dry all 12 bottles thoroughly, then remove any remaining label glue so the glass stays clear and the colors show cleanly.
2. Sort the bottles by height and shape, and plan a balanced mix so your final lineup has tall, medium, and small bottles instead of all one size clustered together.
3. Stain the label paper by rubbing both sides with wet tea bags, then crumple each piece lightly and let them dry with wrinkles for an aged apothecary look.
4. Write 12 spooky labels in a shaky hand once the paper is dry; good names include Wolfsbane, Bat Wing Tincture, Swamp Water, Do Not Open, Midnight Draught, Bog Elixir, Raven Tonic, Hemlock Mist, Spider Venom, Ghost Syrup, Blood Root, and Eye of Newt.
5. Cut or tear the label edges slightly uneven if you want them to look older, then punch or snip a tiny hole in each and tie on a length of twine.
6. Set out your measuring cup and mix one color at a time before pouring so each bottle has an intentional shade instead of random drops added directly inside.
7. For a poison green, mix 1 cup water with 1 drop green and 1 drop yellow, stir, then pour it into one bottle through the funnel and drop in a twig or a few dried leaves.
8. For swamp water, mix 1 cup water with 2 drops blue and 1 drop black, stir well, then pour into a bottle and add a plastic spider or a small bit of moss.
9. For a blood effect, mix 1 cup water with a single drop of red, stir gently, then pour into a bottle and add a rubber eyeball or one curled dried leaf.
10. Make three or four more shades by varying the same simple formulas: yellow plus a touch of green for sickly chartreuse, extra blue for deep potion teal, and clear water with one tiny drop of red for the palest pinkish tonic.
11. Continue filling all 12 bottles, using about 3/4 to 4/5 cup liquid per bottle depending on size, and place just one object into each so every bottle reads clearly through the glass.
12. Adjust any color that looks weak by pouring it back into the measuring cup and adding one more drop at a time; the prettiest shelf has distinct, readable colors rather than 12 bottles that all look the same.
13. Cork each bottle firmly once you like the color, then tie on the labels at different heights around the necks for a collected-over-time apothecary look.
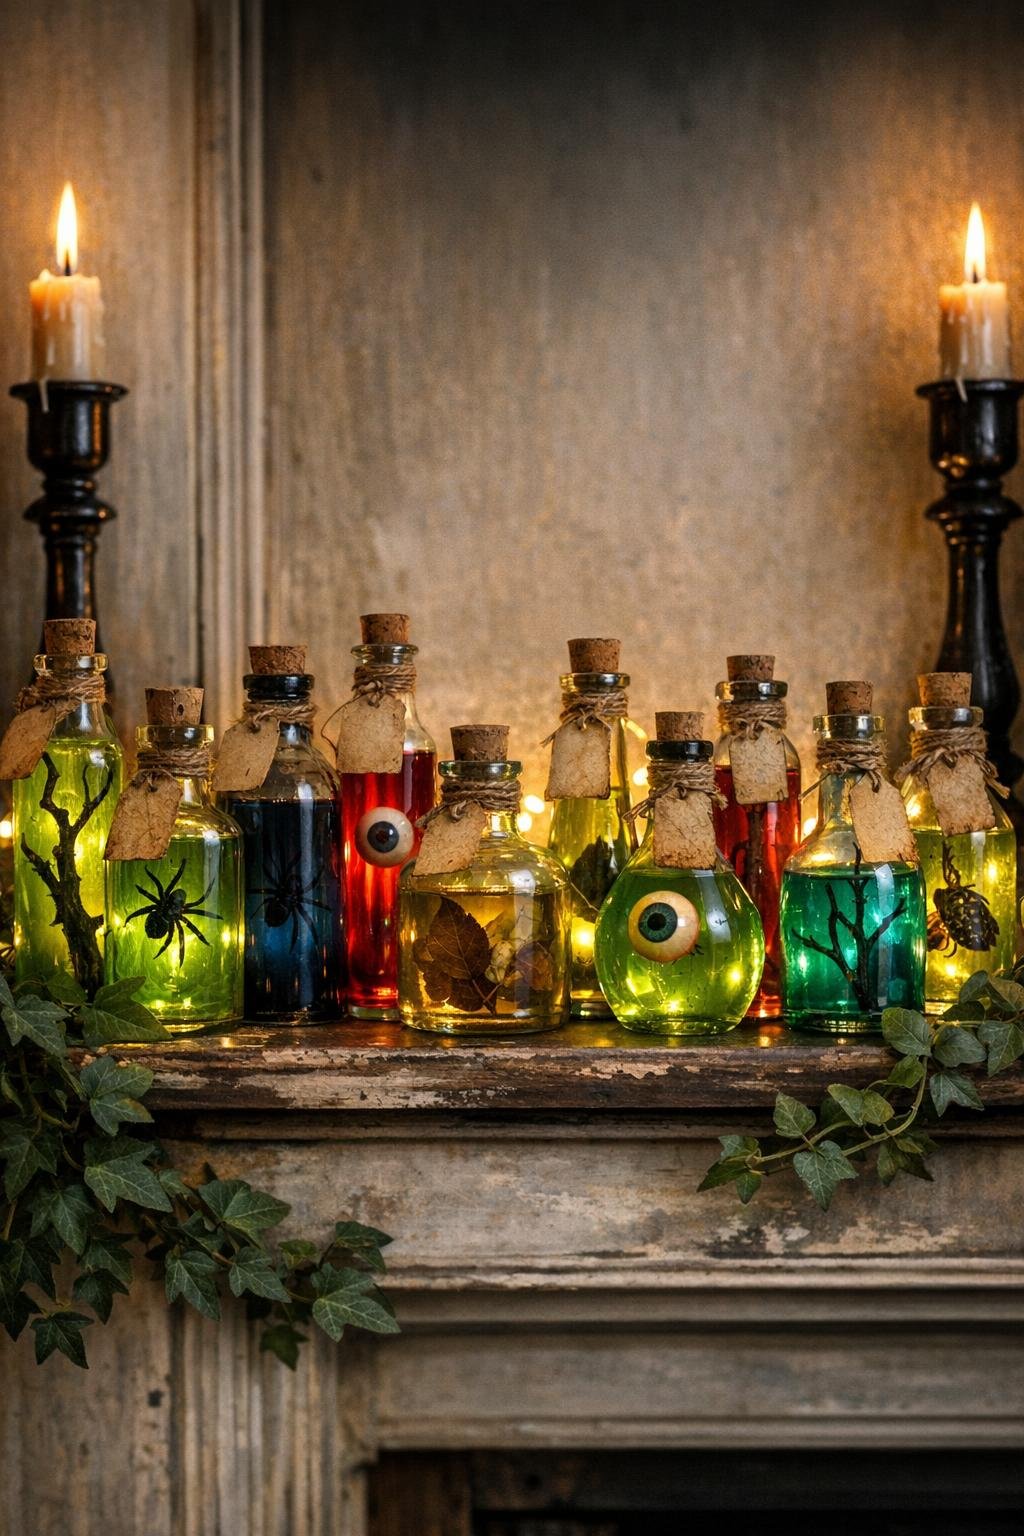
14. Arrange the bottles on a shelf, windowsill, or mantel with the tallest bottles near the back and the smallest toward the front so every color stays visible.
15. Tuck a strand of warm white lights behind the bottles and switch it on so the tinted water glows through the glass and gives the whole display that spooky finished effect.
Variations & Tips
Color planning: Keep a scrap bottle or glass nearby for testing color strength first. One extra drop can shift a bottle from moody to muddy, so I always mix lightly and deepen gradually.
Best bottle mix: A combination of old syrup bottles, sparkling water bottles, and small sauce bottles gives the shelf more character than 12 matching bottles. Different necks and shoulders catch the light beautifully.
Kid-friendly version: Let kids choose the objects and invent the names while an adult handles the glass and the food coloring. The labeling is the part that usually turns into the evening’s entertainment.
Label shortcut: If the paper curls too much after tea staining, set a heavy book on top once it is almost dry. It will still look old and crinkled, just easier to write on.
Longer-lasting display: Distilled water stays clearer a bit longer than tap water if you plan to leave the bottles out for several weeks. Keep the shelf out of direct sun so the colors don’t fade as quickly.
Easy cleanup: On November first, pour out the water, rinse the bottles with warm soapy water, and let everything dry. The objects, corks, and twine can go right into a zip-top bag for next year.
Extra drama: If your shelf is deep enough, stagger the bottles in two rows with the darkest shades in back and the palest in front. That layered arrangement makes the glow look richer without adding any extra work.