
If you want a Halloween trick that looks wildly effective for almost no effort, this is one of my favorite make-ahead party projects. You fill rubber gloves with water, freeze them overnight, and end up with eerie ice hands that look amazing in a punch bowl or poking out of a porch ice bucket. The key is simple and worth saying right up front: fill each glove only about three-quarters full, squeeze the air out, and twist it shut. Ice expands, and if you overfill, the fingers split and you lose the whole effect.
I love projects like this because they fit real life. On a busy weeknight, I can spend ten minutes setting these up, forget about them until the next day, and still have something that gets a big reaction. This is perfect if you want a dramatic Halloween detail without buying specialty decor, and it works whether you're hosting a full party or just making trick-or-treat night feel a little extra.
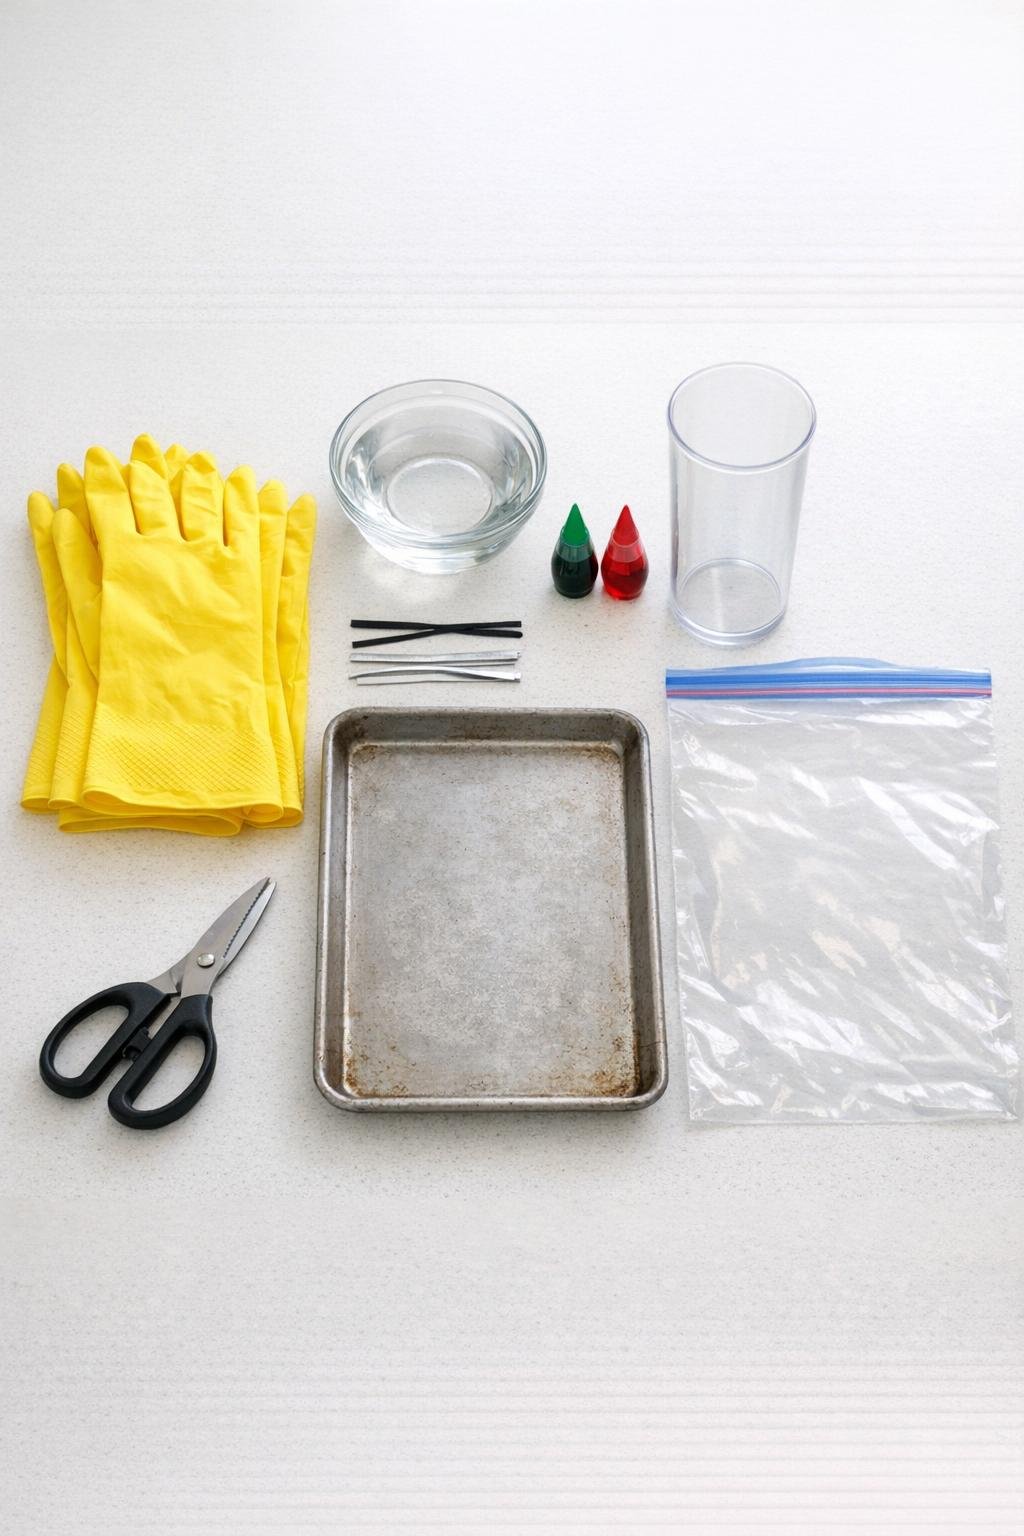
Materials
Instructions
1. Rinse the gloves if needed and check each one for tiny holes, because even a pinhole will leak as it freezes.
2. Open one glove under the tap and fill it only three-quarters full with cold water, keeping the hand shape visible but leaving expansion room.
3. Squeeze out as much air as you can from the glove, then twist the cuff tightly and secure it with a twist tie or rubber band.
4. Add one drop of green food coloring to the water before sealing if you want a murky drowned look, or leave the water plain for a cleaner icy hand.
5. Add one tiny drop of red coloring near the wrist area if you're making these for a punch bowl crowd and want that dramatic gory edge.
6. Repeat with the remaining 5 gloves until you have 6 filled and tied hands ready to freeze.
7. Stand the gloves fingers-down in a tall container if you want straighter fingers, or lay them flat on a rimmed tray so they freeze without curling awkwardly.
8. Transfer the gloves carefully to the freezer and freeze them overnight, or for at least 12 hours, until completely solid.
9. Remove one frozen glove at a time and let it sit for 1 to 2 minutes, just long enough for the outer rubber to loosen slightly.
10. Snip the cuff with scissors and unroll the glove away from the ice hand, peeling it off slowly instead of yanking so the fingers stay intact.
11. Place finished ice hands in a freezer bag and keep them frozen until party time; they hold best when made the night before and stored as extras.
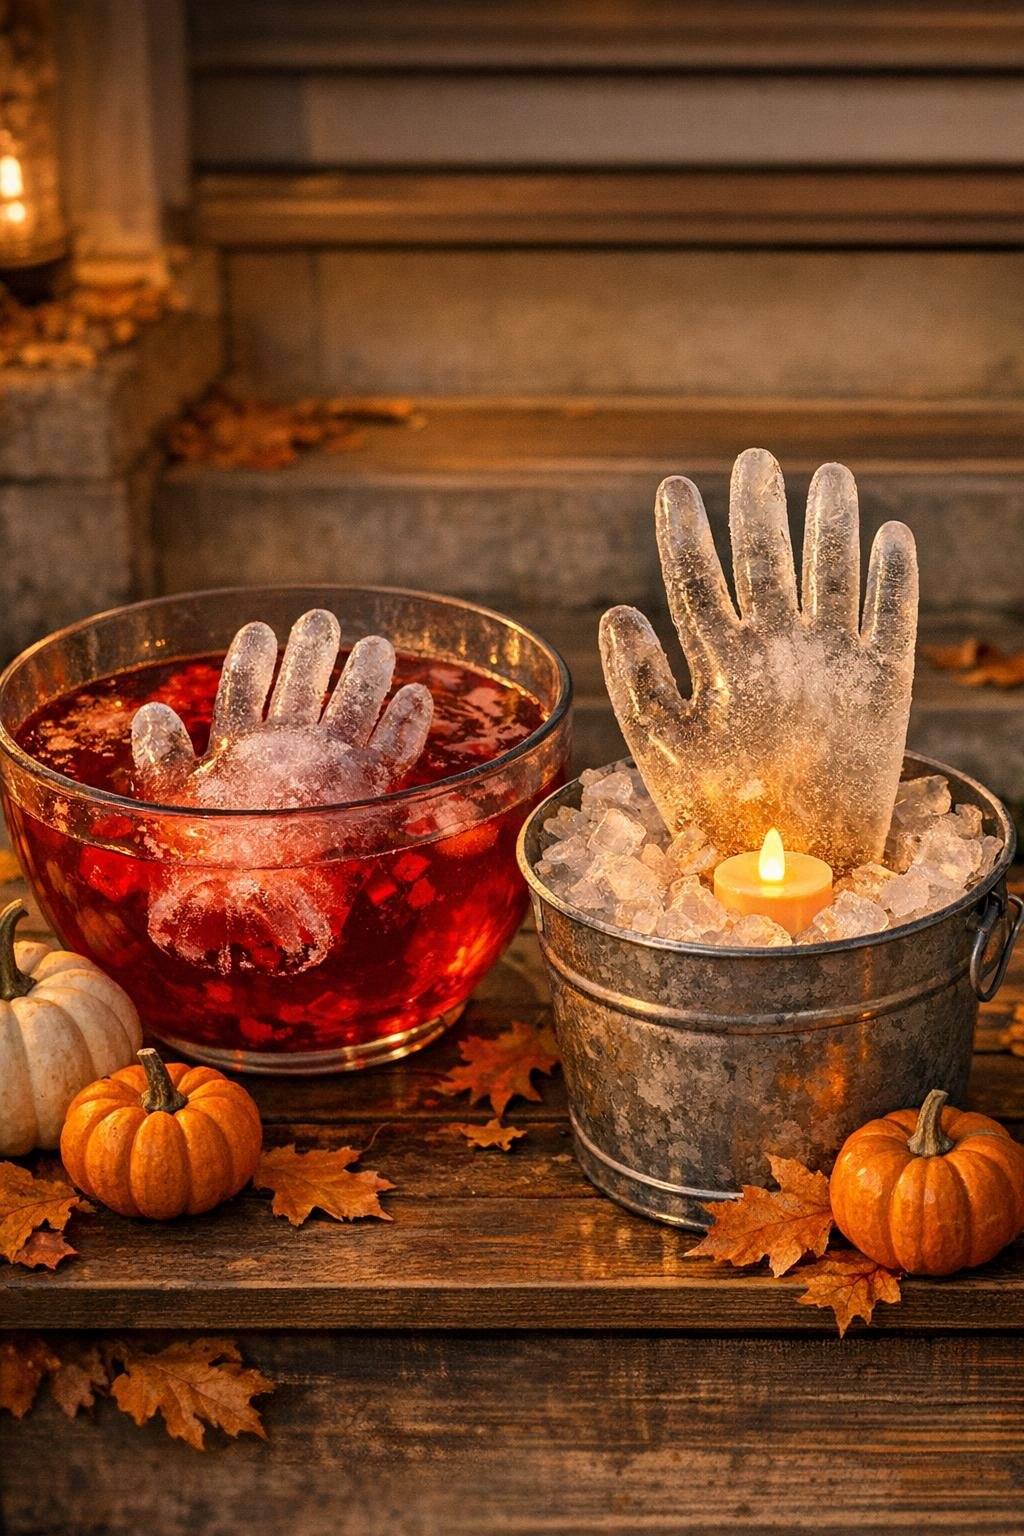
12. For the first use, float 1 to 3 frozen hands in a punch bowl filled with red punch or ginger ale, where they will last about 2 hours and look wonderfully creepy.
13. For the second use, tuck a single frozen hand upright into a porch bucket filled with ice and nestle a battery tea light nearby so it glows for trick-or-treat night.
Variations & Tips
Plain Ice Version: If you want the classier version, skip the food coloring completely and let the clear frozen hand be the surprise. It looks especially good in ginger ale or lemon-lime punch.
Drowned Green Version: One drop of green is enough. More than that can turn the ice too dark and muddy, and you lose that translucent creepy effect.
Gore at the Wrist: Keep the red to a tiny amount near the cuff area only. I learned the hard way that too much red diffuses everywhere and looks more like fruit punch than horror.
Freezer Space Trick: If my freezer is packed, I freeze the gloves flat on a tray first, then stack the finished hands in a freezer bag once solid. It makes party prep much easier.
Best Shape Tip: Fingers-down in a tall container gives the most natural hand shape. Laying them flat works too, but the fingers can spread a bit wider and look more stiff than hand-like.
Safe Removal: Always cut and unroll the glove off the ice hand. Pulling hard at the fingers can snap them, especially the pinky and thumb.
How Many to Make: Six is a great batch size because you can use a few in drinks and still have one for the porch. If you're hosting a bigger crowd, make a second batch the next night rather than trying to overcrowd your freezer.
How Long They Last: Expect about 2 hours in a punch bowl and most of an evening outdoors on a properly cold night. For the best reveal, bring them out right before guests arrive.