
Small laundry rooms teach you very quickly that every inch has to earn its keep. I’ve always believed even the plainest chore goes a little smoother when the things you use all the time are easy to grab, neat to look at, and tucked where they belong. This simple dryer sheet holder does exactly that by turning a clear acrylic tissue box cover into a tidy dispenser that keeps those floppy fabric softener sheets contained instead of sliding around on a shelf.
What I like most about this project is that it takes just a few minutes, no special crafting skill, and gives you a finished result that looks clean and intentional. If you’ve got a cramped laundry nook, a shelf over the machines, or one of those narrow spaces where bulky packaging is always in the way, this is the kind of clever little fix that makes the whole room feel calmer.
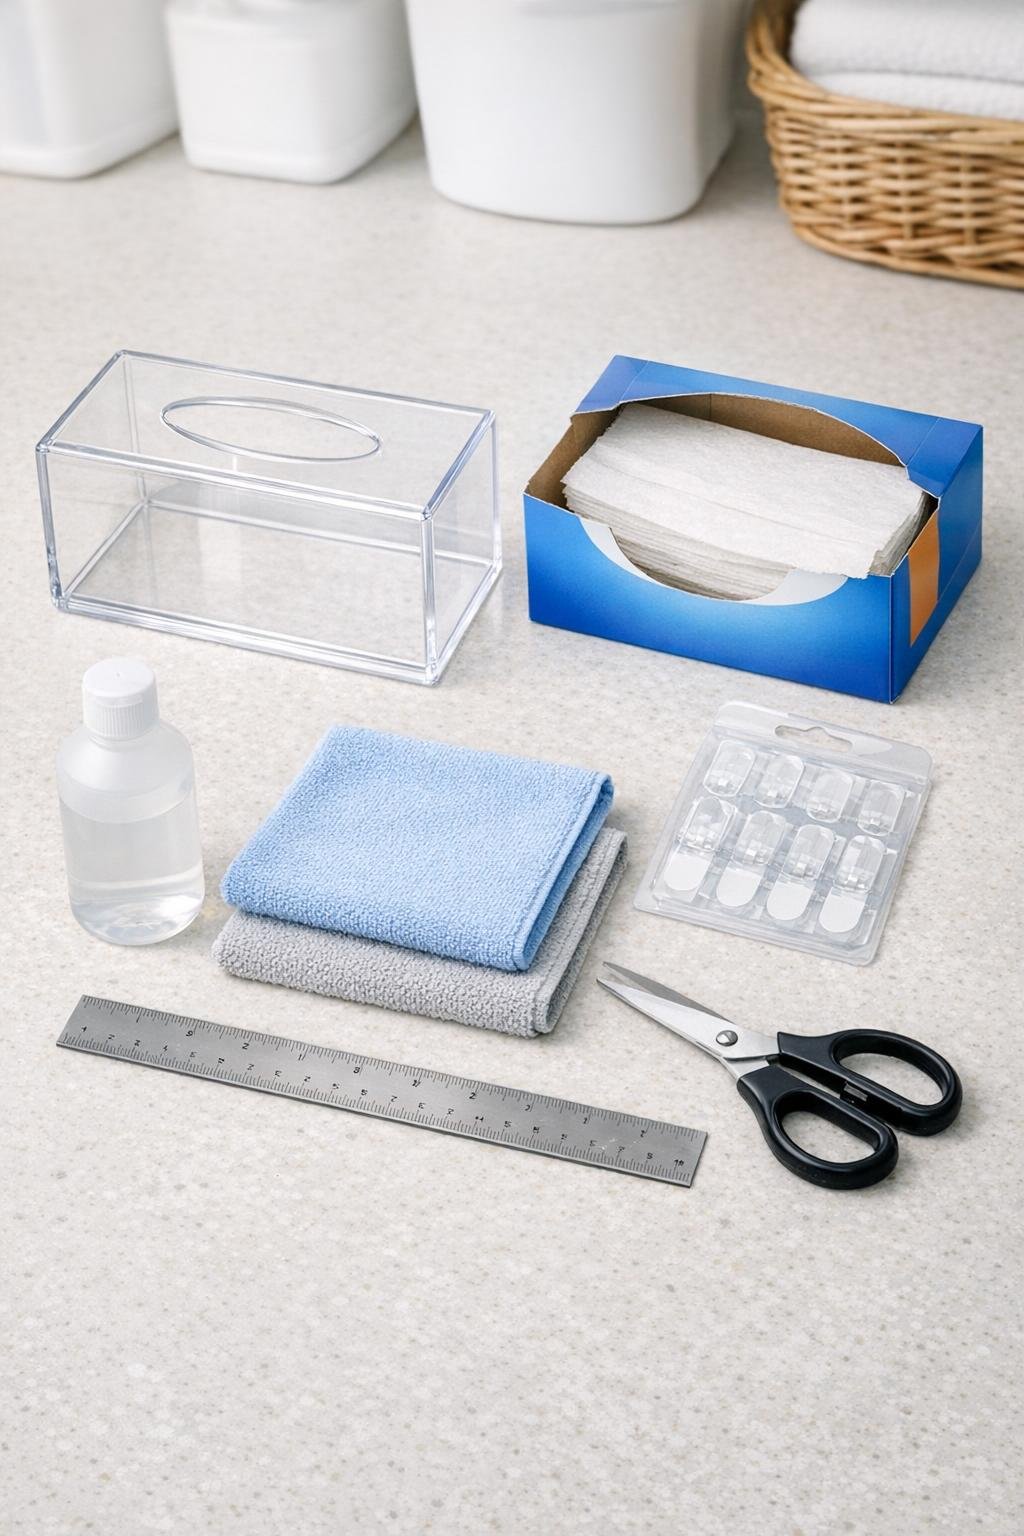
Materials
Instructions
1. Empty the acrylic tissue box cover of any packaging and wipe it inside and out with rubbing alcohol or glass cleaner so the finished holder looks crystal clear.
2. Set the cover with the long opening facing up and check that the opening is wide enough for a single dryer sheet to pull through without bunching too tightly.
3. Open the dryer sheet box and remove the stack carefully, keeping the sheets flat and aligned so they slide smoothly once loaded.
4. If the stack is very tall, divide it in half and gently tap the edges on the counter to square it up; a straight stack feeds much better than a loose one.
5. Fold the first dryer sheet loosely into a soft U-shape and thread the center of it a little way through the top slot of the acrylic cover to create your starter pull.
6. Lower the rest of the dryer sheet stack into the acrylic cover beneath that starter sheet, keeping the pile centered and flat so the sheets do not curl against the sides.
7. Pull the starter sheet up just enough to leave a small tab above the slot; this gives you an easy grip without making the stack spill upward.
8. Test the dispenser by pulling one sheet out slowly, then adjust the stack if needed so the next sheet rises neatly into place.
9. Choose a mounting spot near the dryer or on a side wall where you can reach it comfortably without blocking doors, knobs, or machine vents.
10. Clean the mounting area well and let it dry fully; in my experience, adhesive always behaves better on a truly clean wall than on one with laundry dust on it.
11. Apply the clear mounting strips or adhesive dots to the back or lower side edges of the acrylic cover, placing them evenly so the holder stays level.
12. Press the holder firmly into place for 30 seconds, then let the adhesive set according to the package directions before using it fully.
13. Refill the holder whenever the stack gets low by pulling out the remaining sheets, adding a fresh stack, and threading one sheet back through the slot exactly the same way.
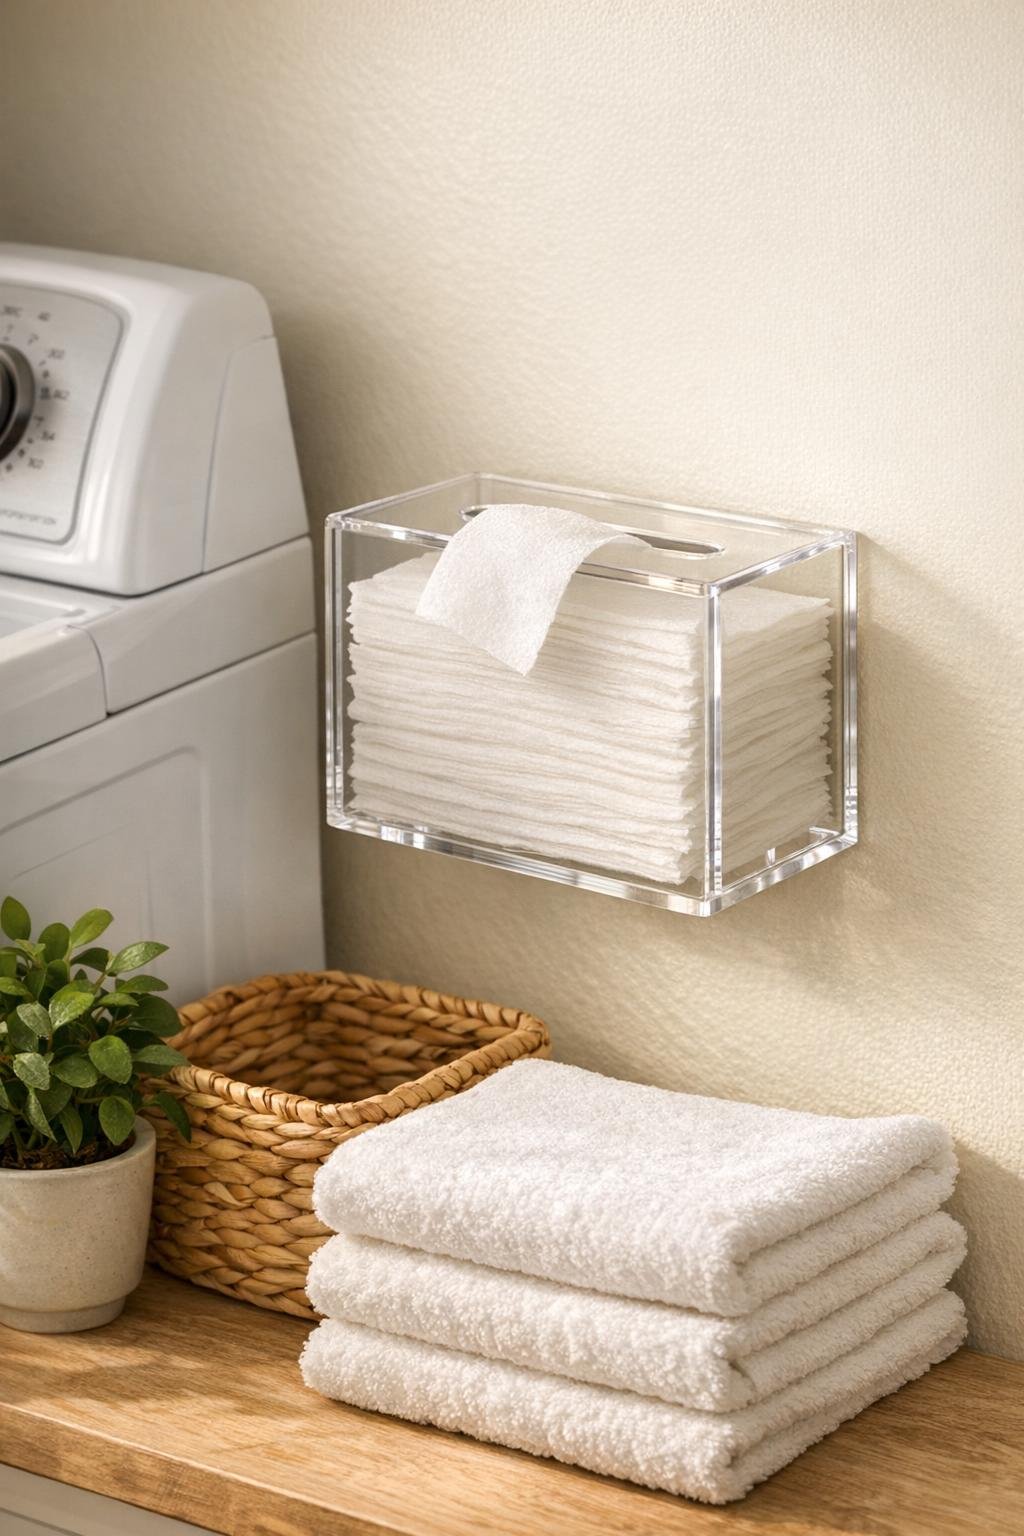
Variations & Tips
Countertop Version: If you don’t want to mount it, simply set the filled acrylic cover on a shelf or on top of the dryer with the slot facing up. A small non-slip shelf liner square underneath helps keep it from scooting around.
Extra-Full Look: For a fuller, more polished dispenser, load 80 to 120 sheets at a time instead of a half-empty handful. The holder looks better and dispenses more consistently when the stack has some body to it.
For Narrow Shelves: Turn the holder so the long side runs parallel with the wall or machine edge. That keeps the footprint tidy and makes use of slim, awkward spaces that usually go wasted.
Easy Cleaning: Wipe the acrylic with a damp microfiber cloth every week or two to keep lint from dulling the finish. I avoid rough scrubbers because they can cloud clear acrylic.
Matching Laundry Room Style: If you enjoy a coordinated look, pair this clear holder with matching clear bins for clothespins, stain sticks, or wool dryer balls. It’s one of those little touches that makes even a hardworking room feel put together.
Refill Tip: When loading a fresh stack, keep the sheets aligned and don’t cram them in crooked. Just like stacking tea towels in my kitchen drawer, a few extra seconds of straightening at the start saves fuss later.