
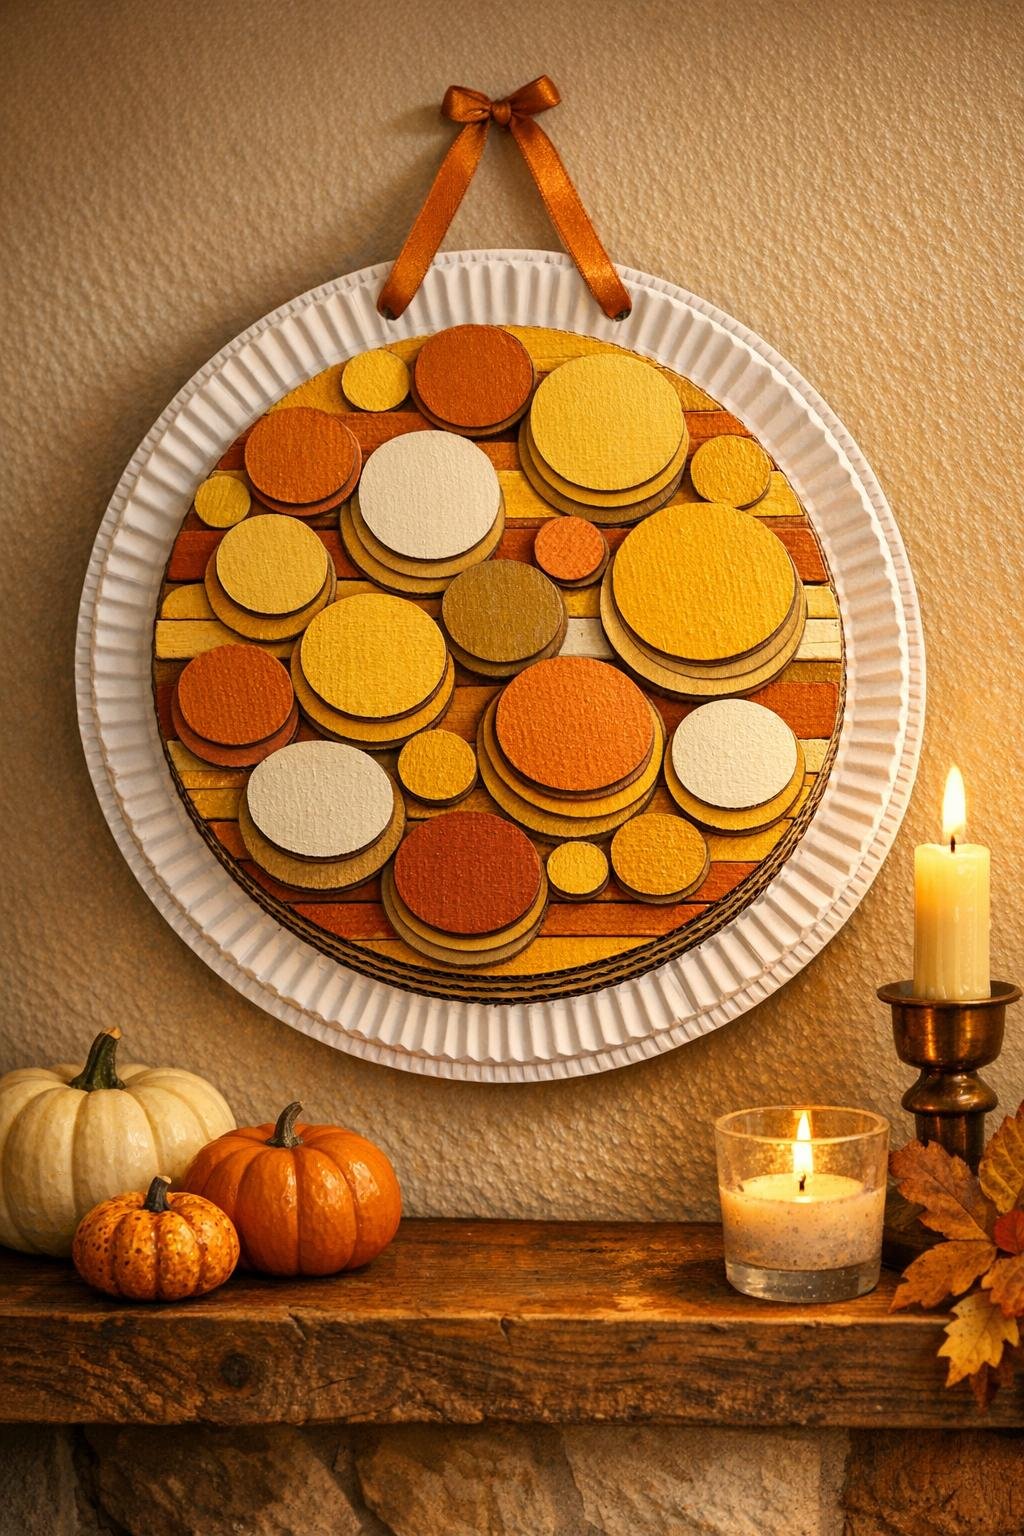
This harvest moon art is one of those cardboard projects that looks far fancier than the supplies would suggest. I’m taking a plain paper plate and building it up with 40 nested cardboard circles and rings, then finishing it in warm moonlit harvest colors so the whole piece has depth, glow, and that cozy early-fall feeling.
I especially love this project for families, classroom crafters, or anyone who saves cereal boxes and hates to waste them. The steps are repetitive in the best way, so it’s easy to settle in at the kitchen table and make something really striking without needing special tools.
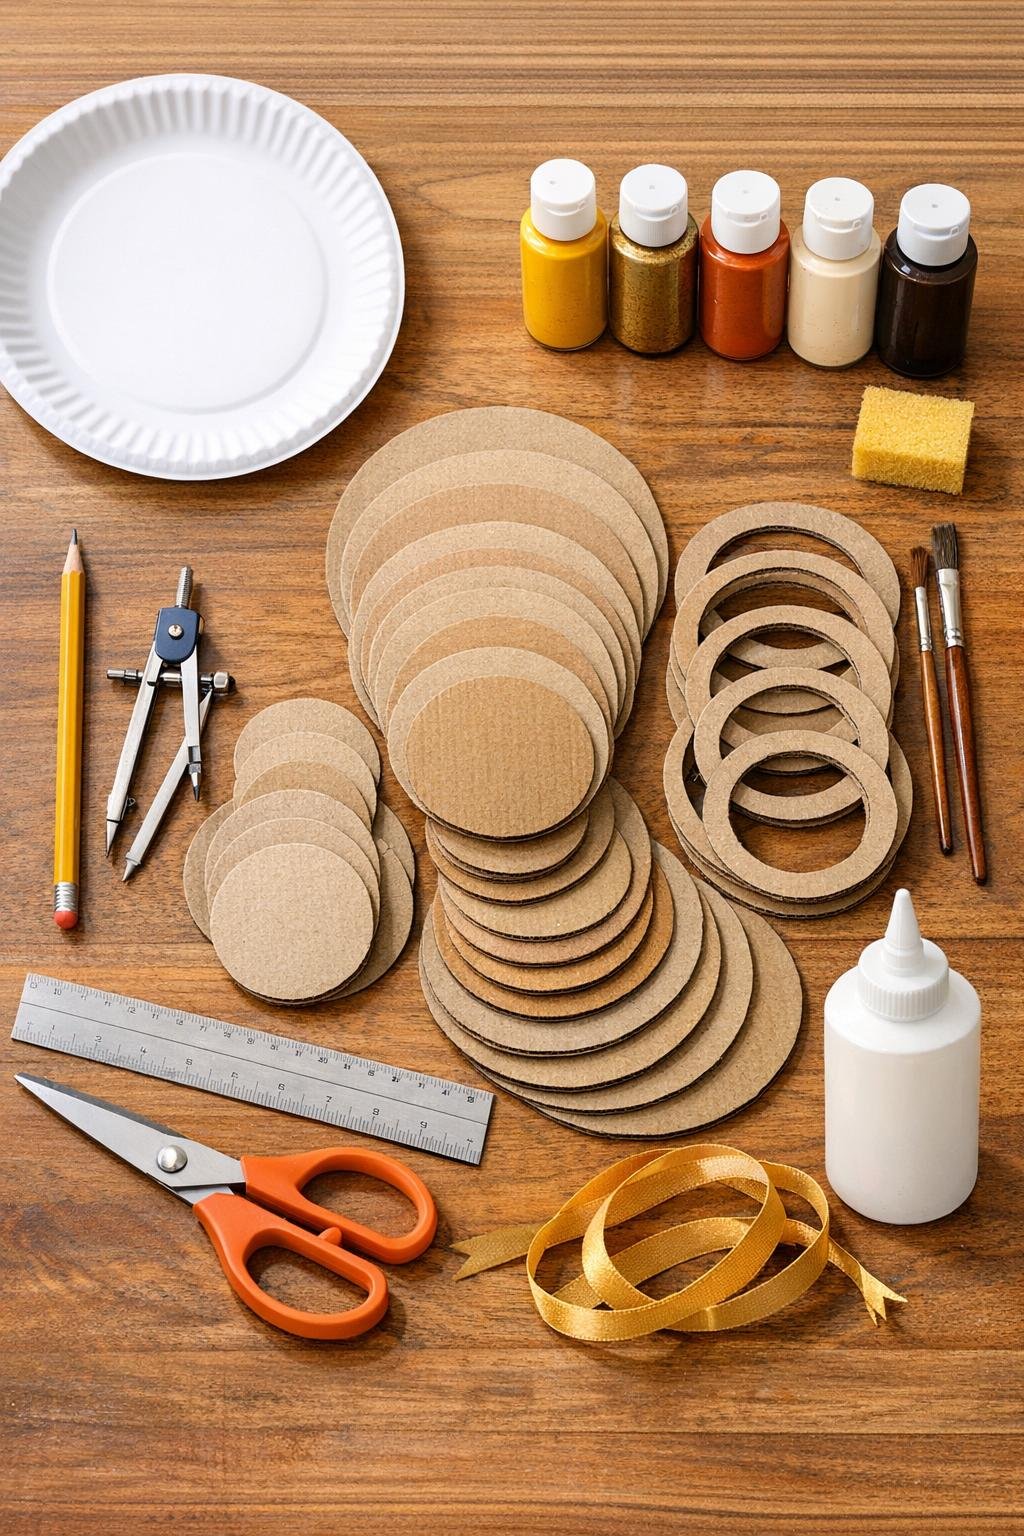
Materials
Instructions
1. Cover your table, then sort your cardboard so you can cut 40 graduated pieces that will fit neatly inside a 10-inch paper plate with a little rim still showing.
2. Trace circles from about 9 inches down to about 1 inch, mixing full circles and hollow rings so the finished piece has lots of layered depth instead of reading flat.
3. Cut out all 40 cardboard pieces, keeping the edges as smooth as you can; if you’re making rings, fold the cardboard slightly and start the center cut with scissors or a craft knife.
4. Dry-fit the pieces inside the paper plate before gluing, stacking them from largest to smallest and shifting a few slightly off-center so the design feels organic like a glowing moon surface.
5. Paint the paper plate front cream or pale gold, including the inner well and rim, and let it dry completely so any small gaps between layers still look finished.
6. Base-paint the largest 10 to 12 cardboard pieces mustard yellow and warm gold, alternating shades to create a rich harvest glow.
7. Paint the middle-size circles and rings with burnt orange, cream, and mixed gold-yellow tones, brushing lightly around the cut edges so the layers look finished from every angle.
8. Add depth to the smallest pieces with a little brown dry brushing and tiny touches of black in a few spots, keeping it subtle so the project stays warm and magical rather than muddy.
9. Once the paint is dry, sponge a little metallic gold across selected raised areas and ring edges to catch the light without covering the cardboard texture completely.
10. Glue the largest circle to the center of the plate, then keep layering the rest from largest to smallest, using a thin bead of glue near the outer edge of each piece so the centers stay slightly lifted.
11. Alternate full circles and rings as you build upward, checking every few layers that the stack still looks round, balanced, and generously full all the way to the middle.
12. Press each new layer gently for a few seconds, especially the rings, so they sit flat and make crisp shadows between the layers.
13. Finish with the smallest center circle, then add a tiny halo of gold paint around it to give the middle a soft moonlit focal point.
14. Dry brush cream and gold over a few upper edges if needed to sharpen the contrast and make the 40 layers stand out more clearly.
15. Let the whole piece dry flat for at least 1 hour, then tape or glue a loop of twine or ribbon to the back if you want to hang it.
16. Display your finished harvest moon art on a wall, shelf, or mantel where side light can catch all those cardboard ridges and show off the beautiful stacked texture.
Variations & Tips
For younger kids: Pre-cut the circles and let kids handle the painting and layering. It keeps the fun part intact and saves a lot of frustration.
If you want more texture: Tear the edges of a few small circles slightly before painting them. That gives the moon art a more rustic, cratered look.
For picky decorators: If bright orange feels too autumnal for your space, lean heavier on cream, tan, and gold for a softer neutral version that still feels warm.
To make it sturdier: Use tacky glue instead of basic school glue, and let the project dry overnight under a light book placed gently over the center.
For extra sparkle: A very light final dry brush of metallic gold on just the highest edges makes this especially pretty in evening light. I always remind myself to stop early here—a little shimmer looks magical, while too much can hide the lovely cardboard layering.
Easy display idea: This looks especially nice tucked into a mantel vignette or leaned on a plate stand in the dining room during fall dinners. I love crafts that can sit near the table and make everyday meals feel a little more special.