
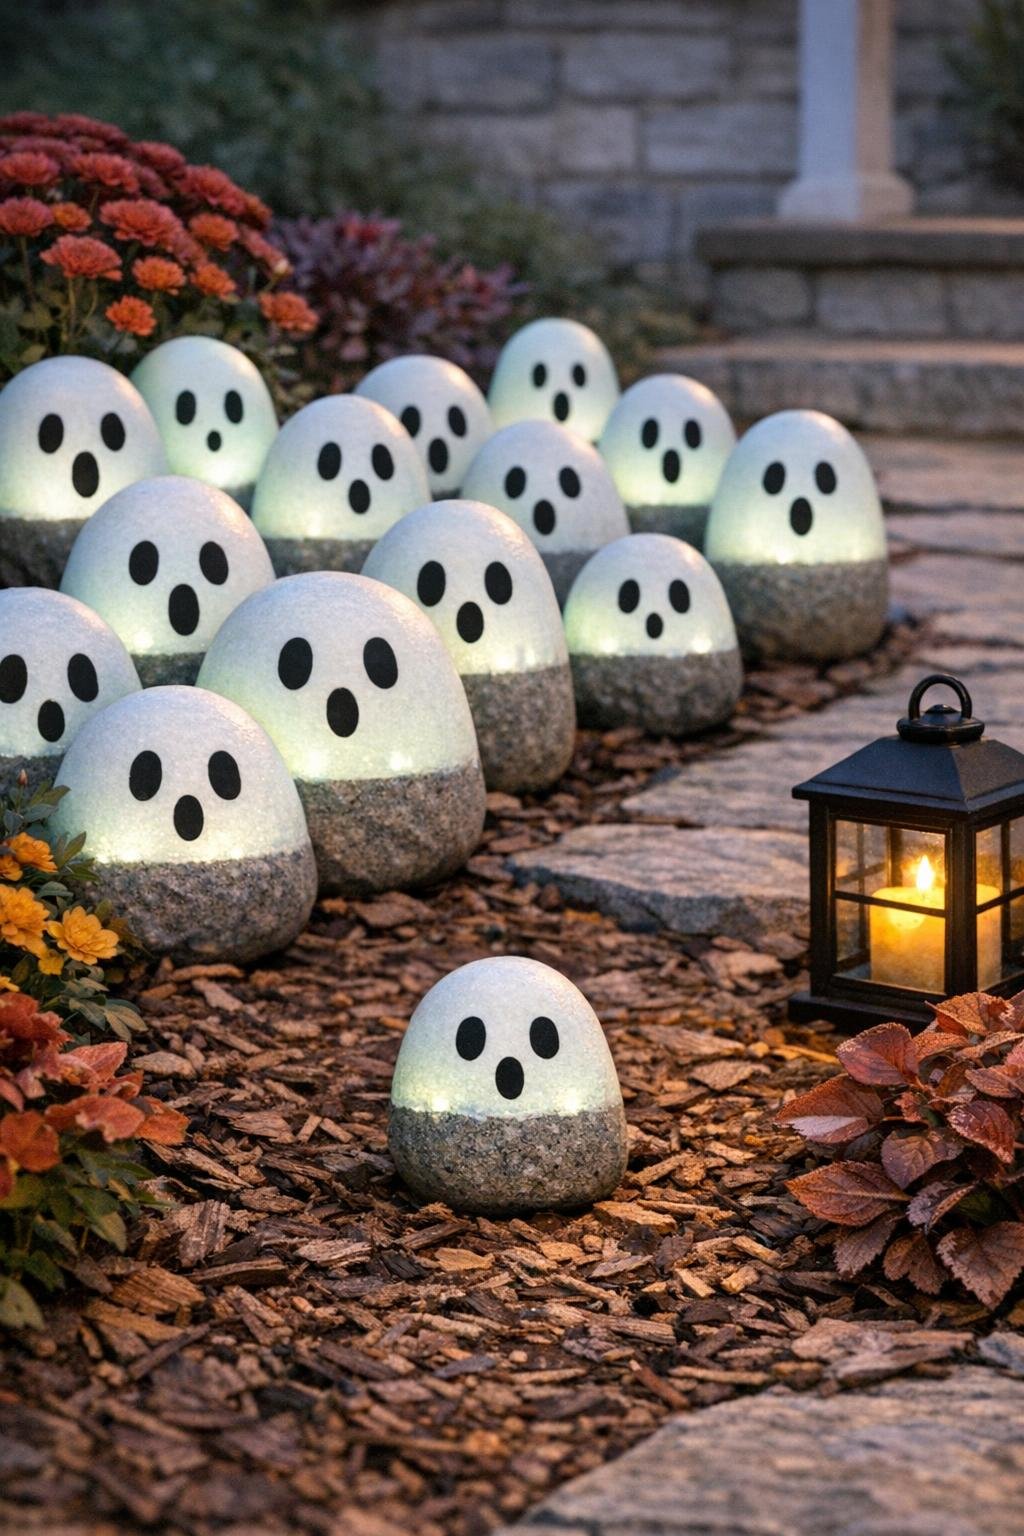
The trick that makes this project work is simple: paint only the top two-thirds of each oval river rock white and leave the bottom gray. That unpainted base makes each little ghost look like it is rising right out of the ground, and once I tried it that way, I never went back to fully painted rocks. This is one of those wonderfully forgiving afternoon projects that looks polished in the garden without requiring fancy supplies or much money at all.
I especially love this for families, beginner crafters, or anyone who wants a playful Halloween touch that still feels tasteful tucked into a flower bed or along a front walk. You can gather the rocks for free, use one bottle of white paint, and spend the little extra on glow-in-the-dark paint—which, in my opinion, is the one upgrade absolutely worth making because those faintly glowing ghosts at dusk are the whole charm.
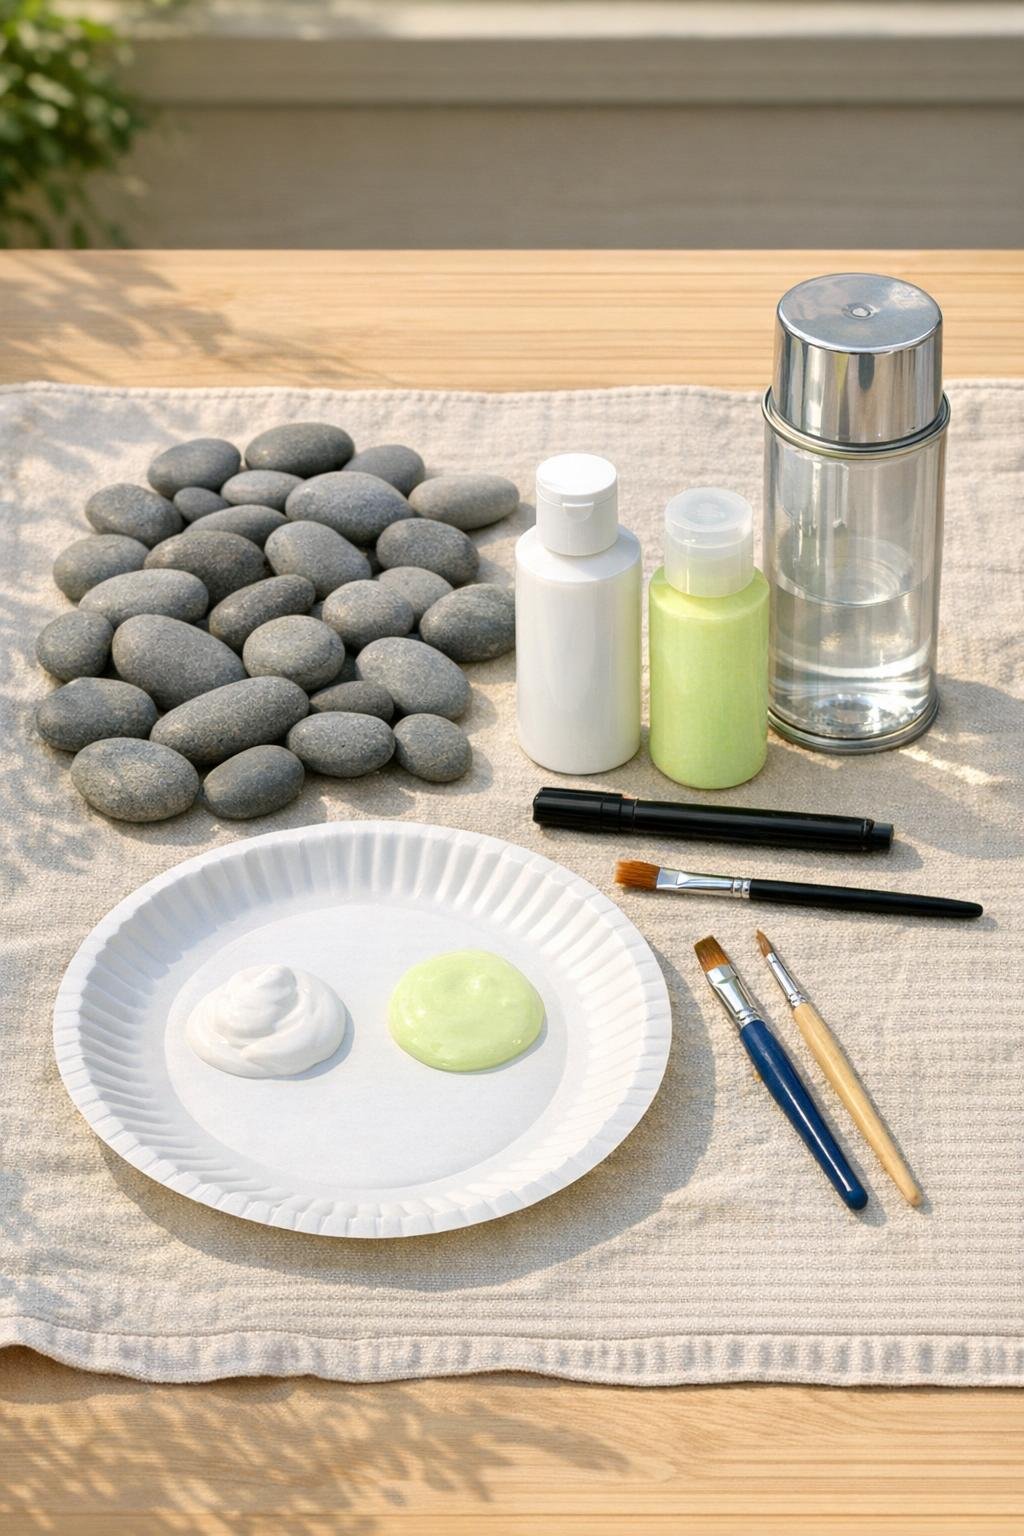
Materials
Instructions
1. Wash the river rocks with water and a scrub brush if needed, then let them dry completely. Pick mostly oval rocks with a smooth front because that shape reads best as a floating ghost.
2. Set up your painting area with a drop cloth, the dry rocks, and your white paint. Arrange the rocks by size so you can make a few larger “parent” ghosts and at least one tiny one for the front of the group.
3. Paint the top two-thirds of each rock with a thin coat of white paint, following the oval shape and softening the lower edge into a gentle curve. Leave the bottom third gray on every rock so the ghosts will look like they are rising from the soil.
4. Let the first coat dry, then add a second thin coat of white to each rock. Two thin coats cover far better than one thick coat and keep the painted surface smooth instead of gummy.
5. Once the white paint is fully dry, draw the faces with a black paint pen. Make two tall oval eyes and one small “o” mouth on each ghost, then vary the spacing, tilt, and size slightly so every one has its own expression.
6. Brush a light, even coat of glow-in-the-dark paint over all the white areas, staying off the gray bottoms as much as possible. Let it dry fully, then add a second coat if you want a stronger glow at dusk.
7. Take the rocks outside or to a well-ventilated area and spray them with a clear outdoor sealer. Coat the fronts, let them dry, then turn them if needed and lightly seal the backs so they hold up through the season.
8. Charge the finished ghost rocks in daylight for a few hours before displaying them. This step makes a noticeable difference, especially if you plan to enjoy them in the early evening.
9. Place the rocks along the walk to your door with the gray bottoms tucked slightly into mulch, gravel, or soil so the white tops appear to float upward. For a fuller display, cluster a ghost family in a flower bed with the tallest rocks in back and one tiny ghost right in front.
Variations & Tips
Best rock shape: Oval river rocks are the secret here. Flat round stones can work, but elongated ovals give you that classic ghost silhouette with almost no effort.
Kid-friendly setup: If I’m making these with children, I paint all the white bases first and let the kids add the faces. It keeps the project moving and still gives each ghost plenty of personality.
Expression ideas: Keep the faces simple, but change them a little from rock to rock—wide eyes, slightly closer-set eyes, a smaller mouth, or a slightly tilted face. Those tiny differences make the grouping look much more alive.
For stronger glow: Use two coats of glow paint and place the rocks where they get several hours of sun. Glow finishes are always a little subtle, so charging them well matters more than people expect.
Display tip: Tucking the unpainted gray bottoms into mulch is what sells the effect. If the whole rock sits on top of the soil, it looks like a painted stone; when the bottom disappears slightly, it suddenly looks like a ghost rising up.
Weather protection: Clear sealer is worth the extra few minutes, especially in a Midwestern fall where dew, wind, and temperature swings can be hard on painted surfaces. A fresh topcoat also keeps the black pen lines crisp.
Easy grouping formula: For a balanced display, use 12 to 15 rocks along a short walkway or all 30 in a flower bed cluster. I like to mix sizes and build a little “family,” because one tiny ghost in front always gets the most attention.