
There is a little trick to these that makes all the difference, and I like to say it right up front: paint the inside of each bottle cap white, then glue three caps open side up in a line on ribbon so that pretty crimped rim stays visible around each white circle. That ridged edge becomes the frame, and suddenly plain old caps from the recycling bin look like something special with hardly any fuss at all.
I love a project like this for a quiet evening at the kitchen table. It is thrifty, easy enough for little hands to help with, and it turns what would have been thrown away into something sweet and sturdy that will not shatter if it gets dropped. With 30 caps, a dab of paint, and a bit of ribbon and fleece, you can make ten ornaments in one sitting, and if you are anything like me, you may end up stringing a whole row of them across a window before you are done.
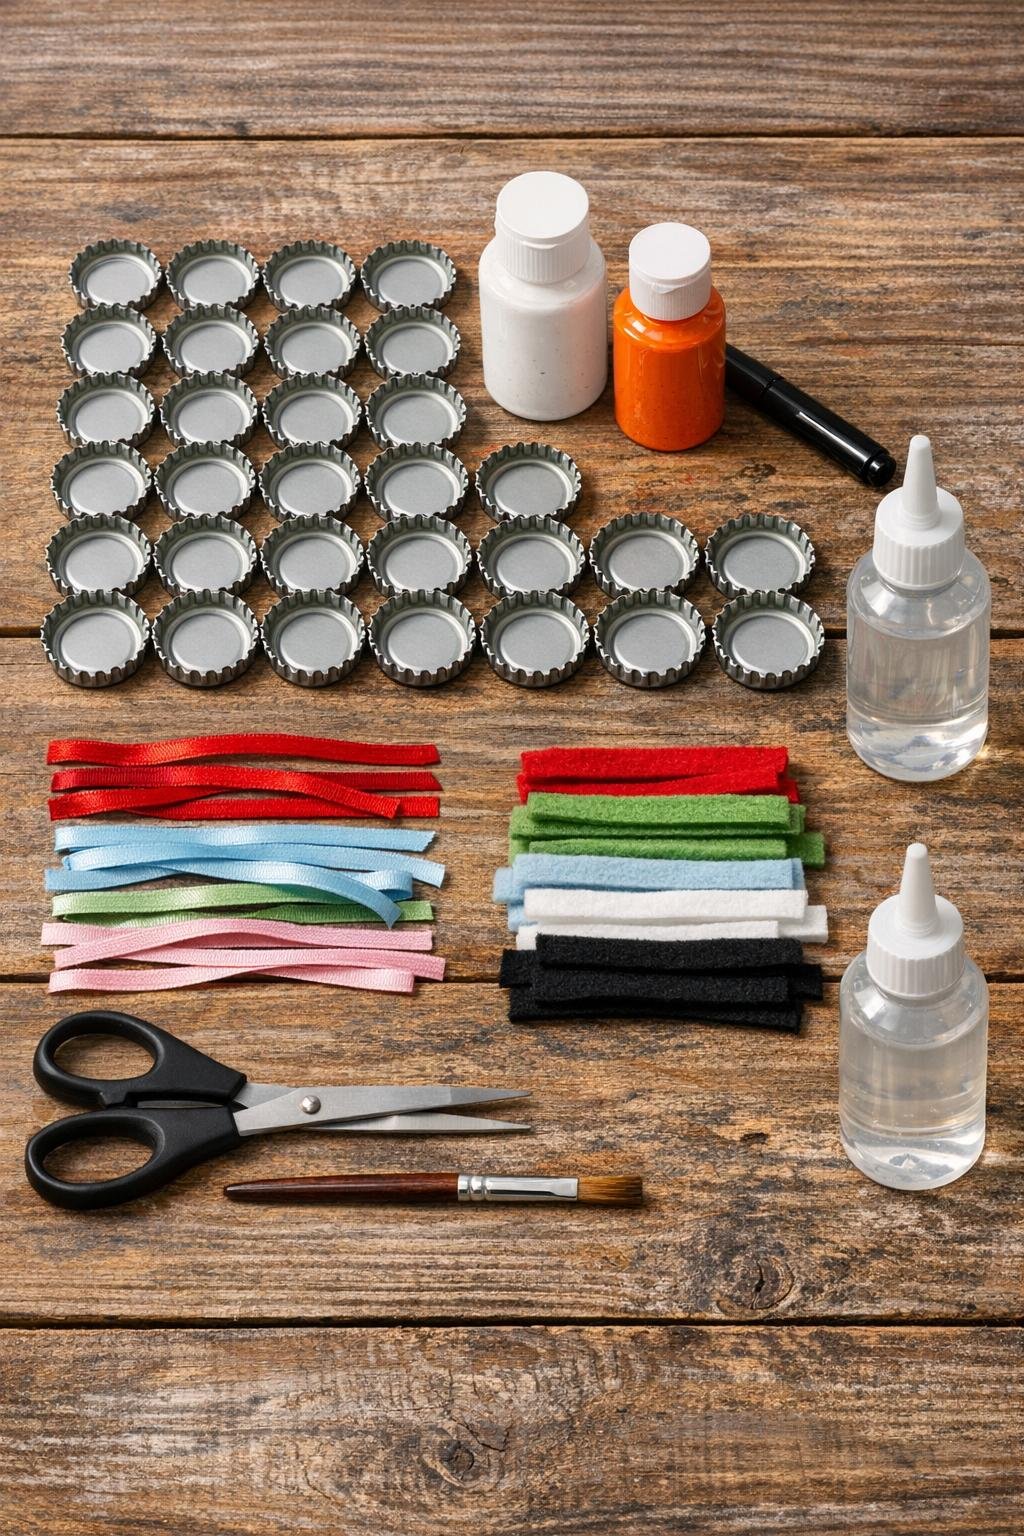
Materials
Instructions
1. Wash and dry all 30 bottle caps well, then set them open side up on scrap paper. If any cap has a sharp bent spot, press it flat gently before you begin.
2. Paint the inside of every cap white, covering the whole recessed center but leaving the crimped metal rim visible around the edge. Let them dry, then add a second coat if the printing underneath still shows through.
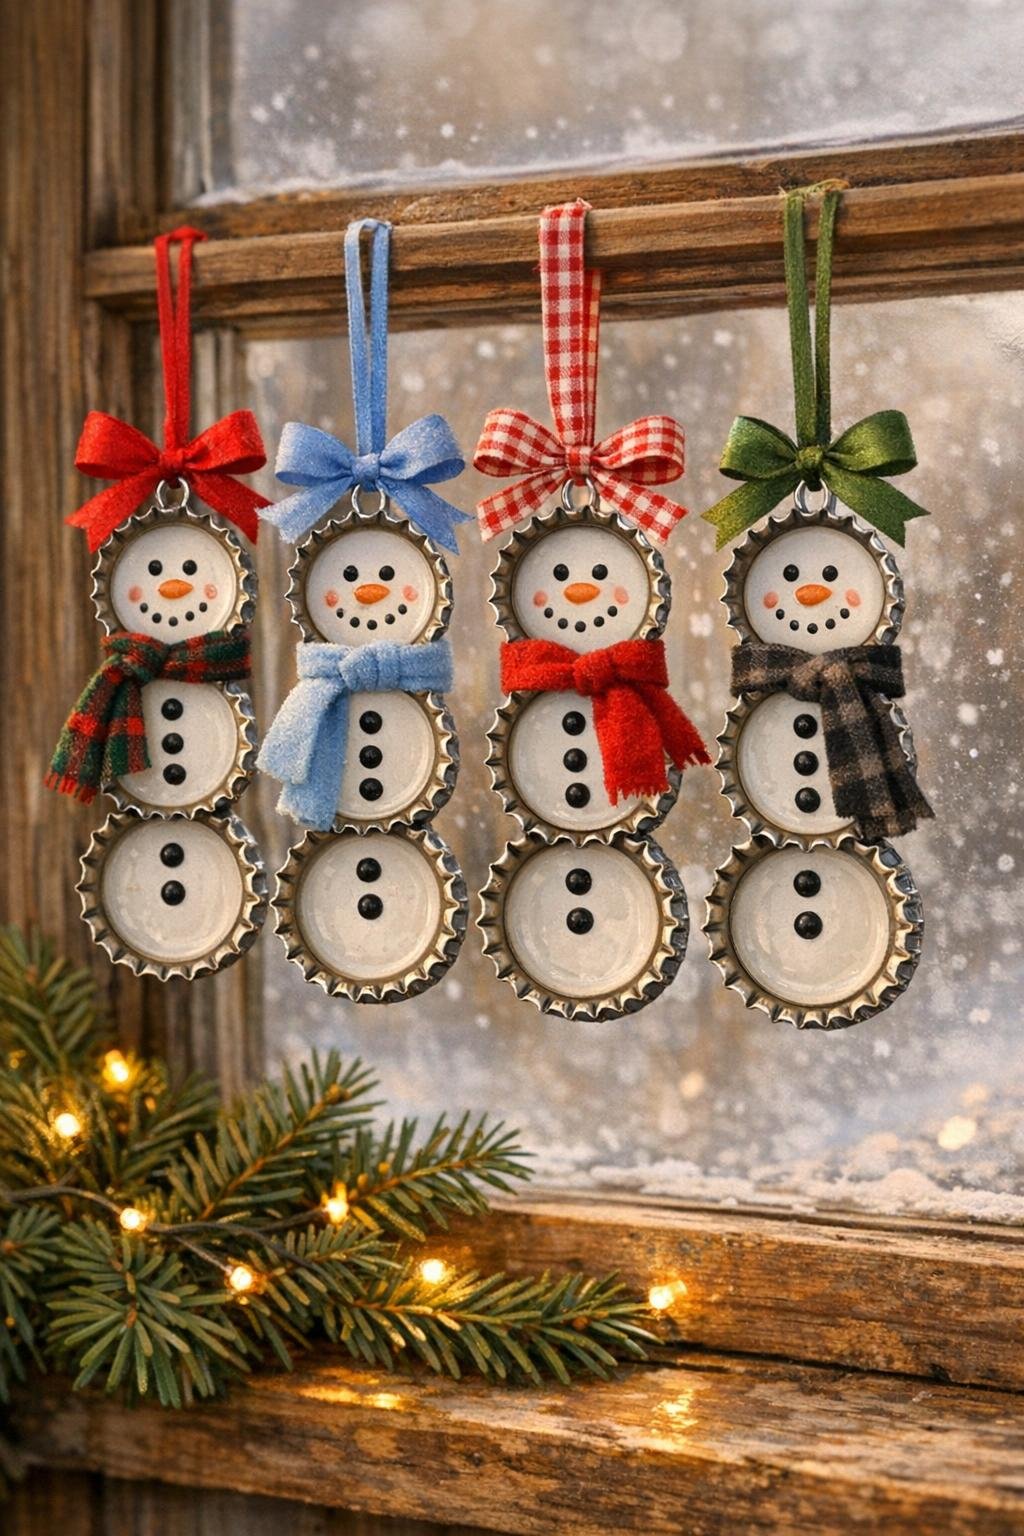
3. Lay out 10 ribbon pieces vertically and arrange 3 painted caps on each one, open side up, so they make a snowman with a small gap between head, middle, and bottom. Check that you have enough ribbon left at the top to fold into a hanging loop later.
4. Glue the caps to the ribbon one at a time, pressing each cap firmly so the ribbon sticks to the back while the painted open side faces up. Keep the three caps in a straight line with the rims showing evenly all around.
5. On the top cap, draw two dot eyes, a small orange carrot nose, and a stitched smile with the black paint pen. I like to make the face simple and cheery, the kind of expression a child would draw without overthinking it.
6. On the middle cap, add two small black dots for buttons, and do the same on the bottom cap. If you prefer, glue on tiny buttons instead, but painted dots are quicker and easier for young helpers.
7. Tie one fleece strip snugly between the top and middle caps to make a scarf, then trim the ends if needed so they look neat. A simple knot is enough, and the softness of the fleece gives the metal a cozy little touch.
8. Fold the top end of the ribbon into a 1 1/2-inch hanging loop and glue it down on the back. Let it set for a minute so it holds its shape.
9. Tie a small bow at the base of the hanging loop or glue on a ready-made bow for a tidy finish. This little extra is what makes them look polished instead of plain.
10. Let all 10 ornaments dry flat until the glue is fully set before hanging or gifting them. If you want a window garland, glue the finished snowmen along one long ribbon instead of making separate loops.
Variations & Tips
Window Garland: Instead of making ten separate ornaments, glue the snowmen onto one long ribbon with a couple of inches between each one and hang the whole strand across a window. It catches the winter light beautifully and weighs almost nothing.
Kid-Friendly Version: If you are crafting with first-graders, do all the gluing first and let them handle the dot eyes, noses, smiles, and buttons. That is the easy, satisfying part, and children are wonderfully fearless about cheerful little faces.
Color Choice: Red or plaid fleece makes a classic scarf, but blue, green, or buffalo check are awfully cute too. I would keep the scarf strips narrow so they do not cover those nice bottle-cap rims.
Button Option: Tiny black buttons or mini pom-poms can be glued onto the middle and bottom caps if you want more texture. Just keep them small enough that the white painted center still shows around them.
Best Glue Tip: Tacky glue gives you a little working time and dries strong, which is handy on slick metal. If your caps are extra shiny, a quick wipe with a dry paper towel helps remove dust before gluing.
Saving Caps: Thirty caps sounds like a lot until you start tossing them in a jar by the sink. Around here, that is exactly the kind of thrifty little habit that turns into a Christmas craft before you know it.