
This is one of my favorite kinds of Halloween projects: big impact, almost no cost, and just messy enough to feel fun. You start with soggy old newspapers and a sturdy branch, and by the end of the weekend you have a creepy porch decoration with real texture and personality. The branch does all the shaping, and the paper becomes the skin, which is why this one looks so wonderfully gnarled instead of flat or flimsy.
If you want something dramatic by the front door without buying a giant store prop, this is a great family project to tackle at home. I like that it uses things I usually already have around the house, and aside from drying time, it is very simple. Just be sure to keep it under a covered porch when it is done, because paper mache and rain are definitely not friends.
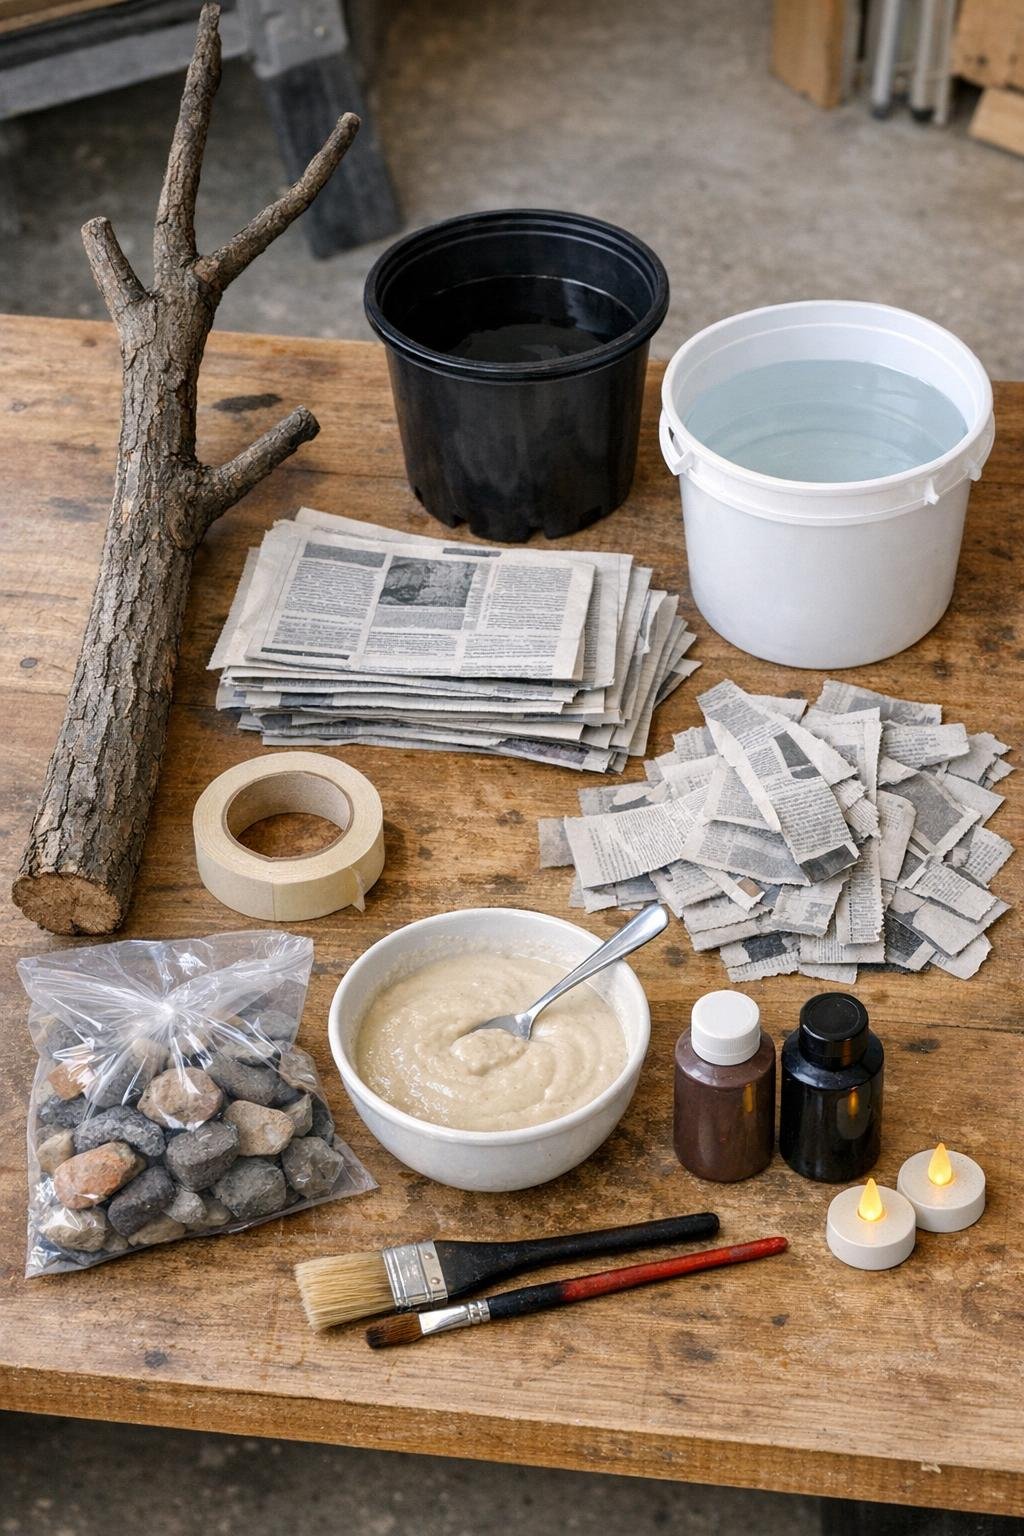
Materials
1 forked tree branch, 4 to 5 feet tall, with several crooked side branches
Instructions
1. Tear several newspapers into strips before you start building, then set aside another stack to soak and crumple as needed. Mix the paste with flour, warm water, and salt until it is smooth and about the consistency of pancake batter.
2. Stand the forked branch upright in the planter and pack rocks tightly around the base until it does not wobble. Test it from a few angles now, because this branch is the skeleton and it decides the whole haunted shape.
3. Crumple full sheets of newspaper into loose logs and tape them around the lower trunk to fatten it. Build up a generous base and a slightly narrower upper trunk so it looks like an old tree instead of a pole.
4. Wad more newspaper onto the front of the trunk to form the face: make two raised brow areas, a long nose, and a ring around an open mouth. Leave the eyes hollow by building up the paper around them instead of filling them in.
5. Dip newspaper strips into the paste, pull off the excess with your fingers, and lay them over the taped newspaper and branch in overlapping layers. Cover the entire trunk, the facial features, and a little way onto the branches so the whole piece starts to read as one tree.
6. As you add the strips, twist some of them before laying them down so they dry as raised bark ridges. That twisting is the trick that gives the trunk its gnarled, creepy texture, so use plenty of twisted strips running up and around the trunk.
7. Let the first coat dry for a full day under cover where air can move around it. When it feels dry and firm, add a second full coat of overlapping strips, again using twisted strips anywhere you want deeper bark lines and stronger facial definition.
8. Dry the second coat for another full day, then check for any soft spots and patch them with a few more strips if needed. Two coats is plenty for a sturdy porch piece, and more than that just slows the project down.
9. Paint the entire tree dark brown, pushing the paint down into all the cracks, ridges, and around the face. Let the base coat dry completely before adding any depth.
10. Dry brush black paint lightly over the bark ridges, around the eye sockets, inside the mouth, and under the nose to make the features look older and more dramatic. Keep the black heaviest in the grooves so the texture really pops.
11. Tuck one battery tea light into each eye socket so the glow sits back inside the hollows. If needed, use a little crumpled paper behind each light to hold it at the right angle.
12. Set the finished tree beside the door under a covered porch roof and scatter leaves around the base to soften the pot and make it look settled in. If you want a cleaner finish, lay a square of cardboard over the pot opening first and cover that with leaves.
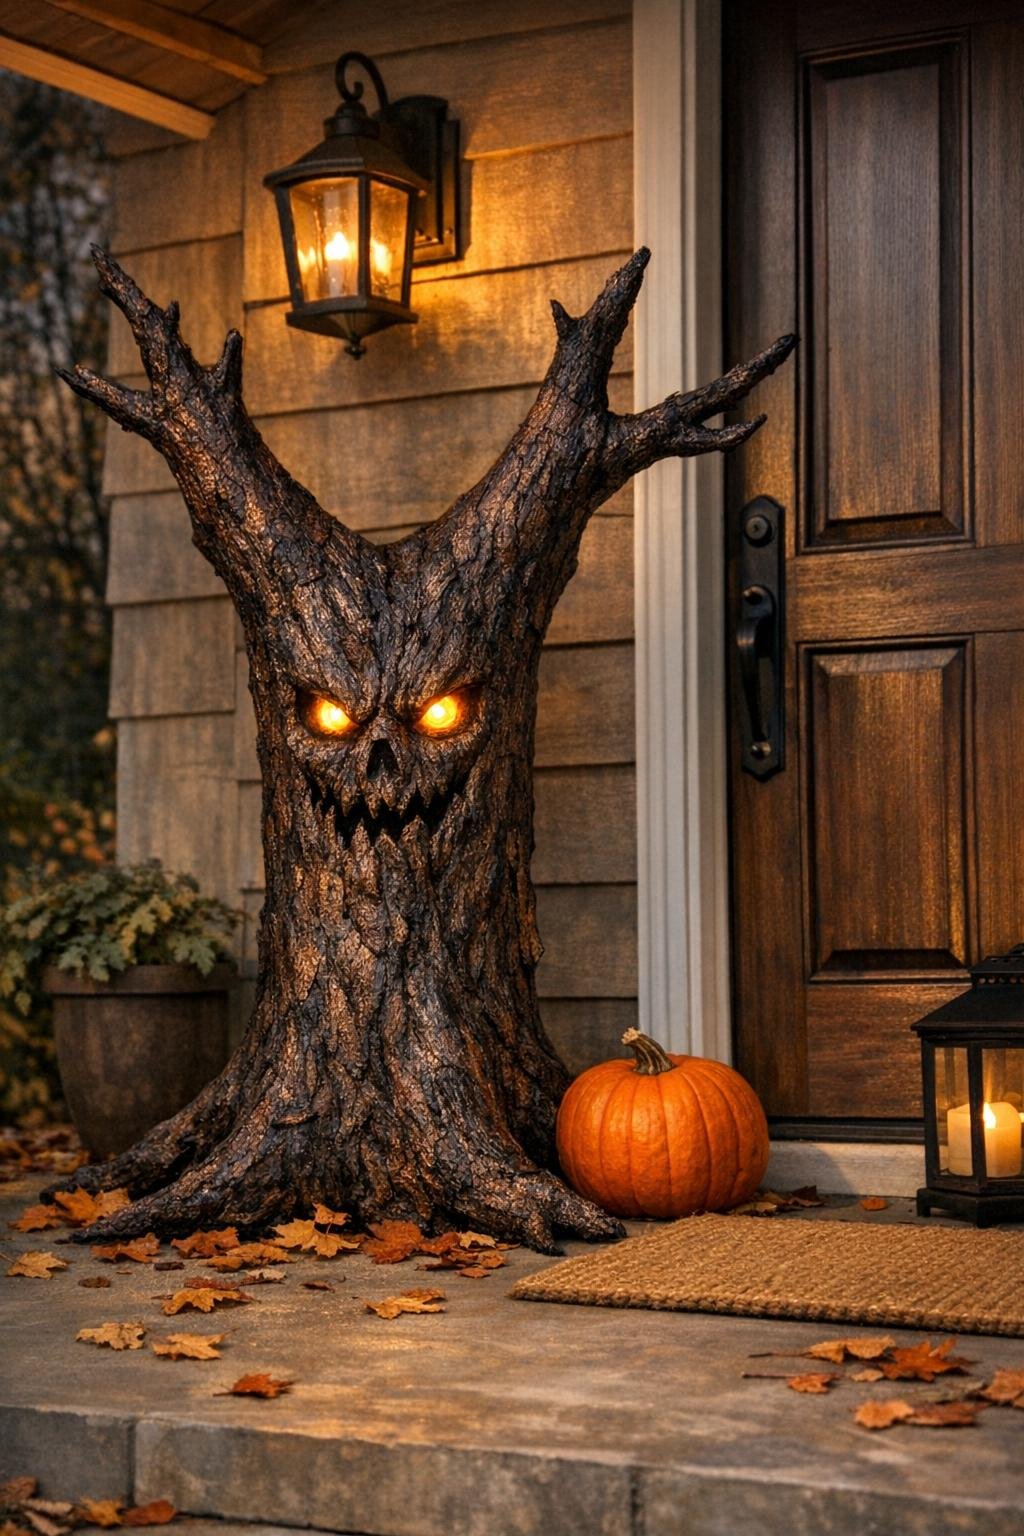
Variations & Tips
For extra drama: Use a branch with more crooked side limbs and build a wider trunk at the bottom. That fuller shape makes the tree look older and much more spine-chilling from the sidewalk.
For picky helpers: If your kids or grandkids do not love the sticky paste part, let them tear paper, crumple the face pieces, or dry brush the black paint on top. There is plenty to do without everyone needing messy hands at the same time.
Paste option: If you prefer, you can use premade paper mache paste instead of flour paste. I still keep the layers thin and overlapping so the details stay crisp around the face.
Storage tip: Once it is fully dry after Halloween, carry it to the garage or basement and keep it somewhere dry. I would slip a trash bag loosely over the top to keep dust off without trapping moisture.
Weather reminder: This is a covered-porch project only. A little cool air is fine, but direct rain or snow will eventually soften the paper.
Make it glow more: If the eye sockets seem shallow, build up the brows a little more during the newspaper stage so the lights sit deeper inside. That shadow around the glow is what makes the face look especially eerie at night.