
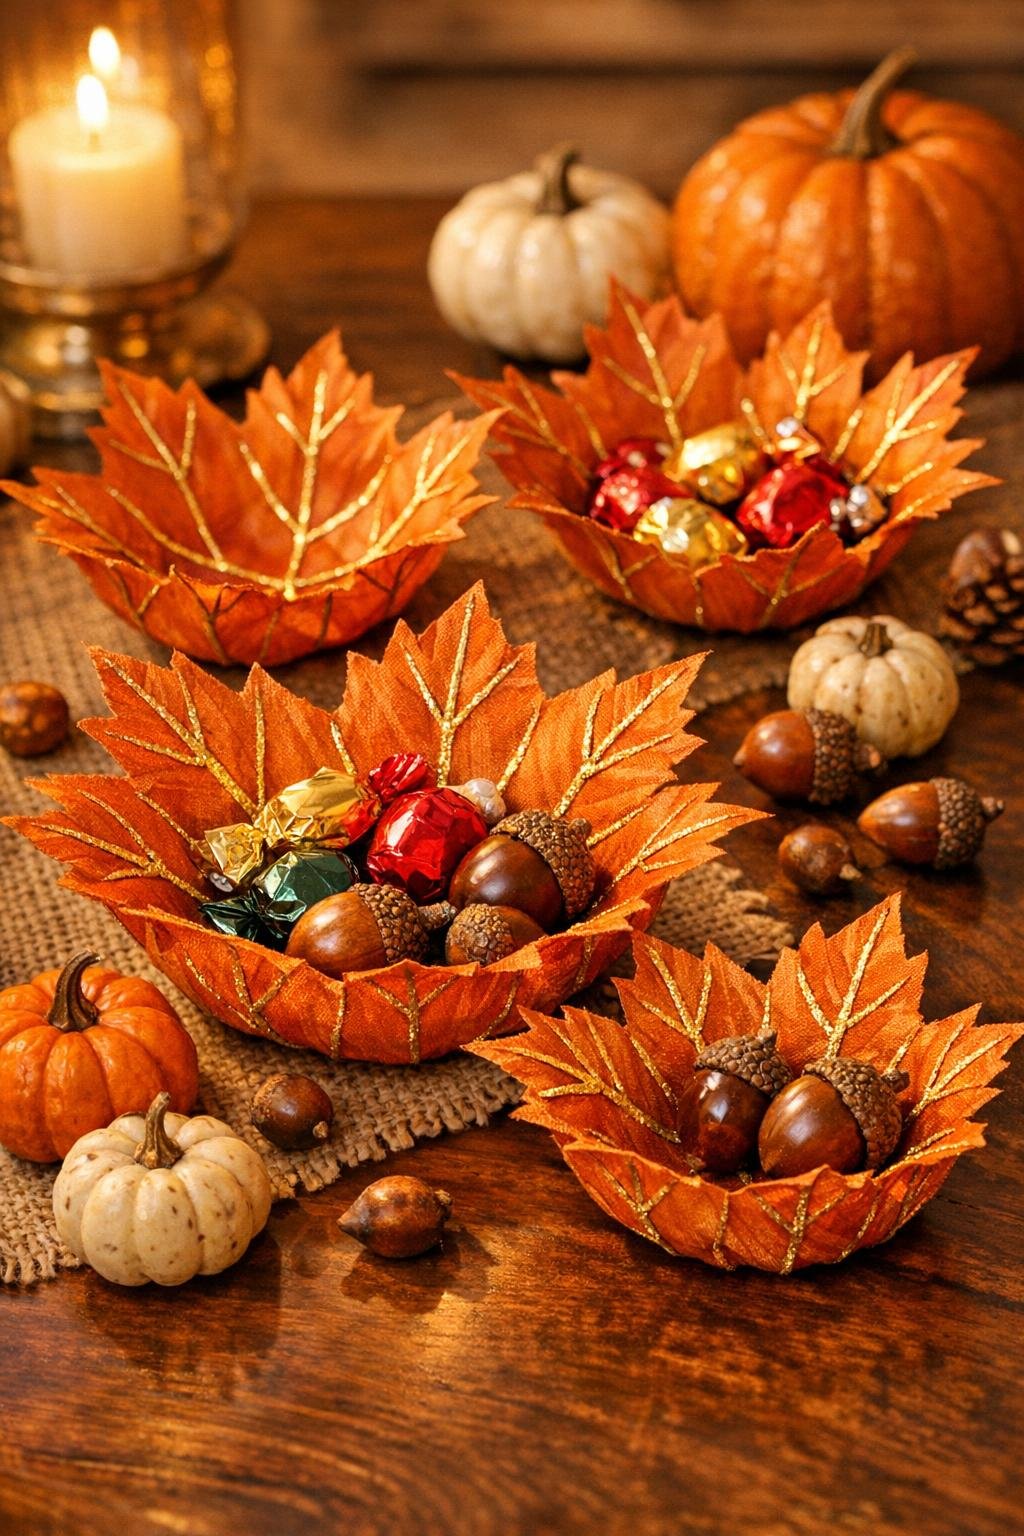
These glue gun maple leaf bowls are one of those little projects that feel almost magical the first time you peel them away from the form. You start with an inexpensive silk leaf from the dollar store, trace the back with hot glue to build up the veins and structure, and end up with a delicate little bowl that looks lovely on a table, entryway, or autumn place setting. The finished piece keeps that unmistakable maple leaf shape from the original leaf, which is what makes it so charming.
I especially love this project for anyone who wants a quick fall craft that looks far fancier than it is. It’s simple enough for a cozy afternoon at the kitchen table, but the end result has that polished, handmade look I’m always after when I’m dressing up my home for the season without spending much.
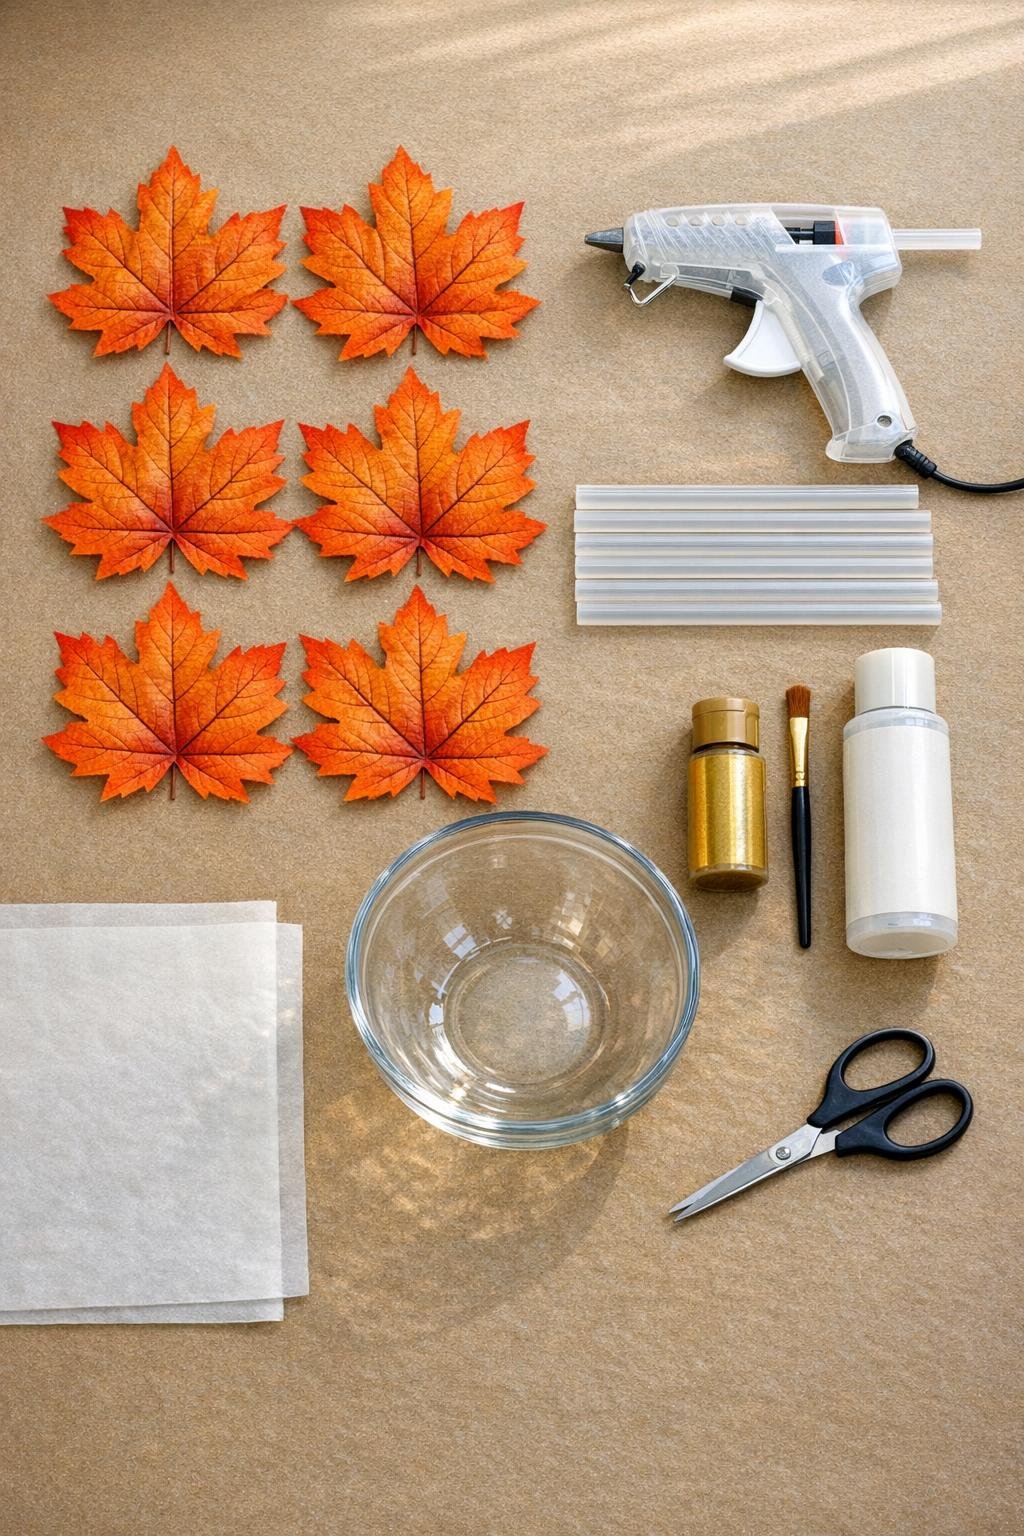
Materials
Instructions
1. Trim the plastic stem nub off each silk maple leaf so the back sits as flat as possible against your bowl form.
2. Turn the glass bowl upside down and cover the outside with a loose layer of parchment paper, smoothing it with your hands so the leaf can rest against the curve without sticking.
3. Place one silk leaf wrong-side up over the outside of the bowl, centering the middle of the leaf over the curve so the finished bowl will cup nicely.
4. Starting at the center vein, squeeze hot glue in steady lines along every main vein on the back of the leaf, then fill in smaller branching veins all the way to the edges.
5. Add a continuous bead of hot glue all around the outer edge of the leaf to create a firm rim that helps the bowl hold its shape once removed.
6. Let the glue cool completely for 3 to 5 minutes until it turns firm and no longer feels tacky.
7. Gently peel the leaf away from the parchment-covered bowl, working slowly from one side so the glue framework stays attached to the silk leaf.
8. If the leaf feels too floppy, add another thin glue line between the larger veins on the back, especially near the widest points, then let it cool again.
9. Repeat the same process with the remaining leaves so you have a full set of bowls, and vary the curve slightly by positioning some leaves a little higher or lower on the bowl form.
10. Brush a light coat of metallic gold acrylic paint over the raised hot glue veins and around the glued rim, keeping the paint mostly on the glue so the leaf color still shows through.
11. Let the paint dry fully, then seal each bowl with a light coat of clear gloss sealer to give it a finished look and a little extra durability.
12. Use the bowls for lightweight items only, like wrapped candies, place cards, faux acorns, potpourri, or a few silk berries, and keep them away from heat so the glue holds its shape.
Variations & Tips
For richer color: Use leaves in mixed shades of orange, rust, and deep red so your finished bowls look layered and extra autumnal when grouped together.
For a sturdier bowl: Add more branching glue lines near the outer points of the maple leaf. Those pointed tips are the first spots to sag if the glue pattern is too sparse.
For a softer shimmer: If gold feels too bold for your room, use copper or champagne paint on the glue veins instead. It still catches the light beautifully but looks a little more subtle.
For family tables: I like to set one at each place with a wrapped chocolate or name card inside. It makes even a simple chili supper or soup-and-bread night feel dressed up for fall.
For picky decorators: If your family doesn’t love glittery finishes, skip sparkle and just use clear gloss sealer over the glue. You still get that beautiful veined structure without extra shine.
To avoid sticking: Parchment paper is the easiest release layer I’ve tried. If your glue still catches, let it cool a little longer before peeling instead of tugging while it’s warm.
Best use: These are decorative bowls, not food-safe serving pieces. I stick to wrapped treats and dry accents, which keeps them pretty and helps them last through the whole season.