
At the end of every gardening season, I always seem to have the same pile in my yard: spent tomato vines, faded annuals, and a bucket of kitchen scraps I meant to compost sooner. This simple raised bed soil amendment bin is my favorite low-effort way to turn that mess into something useful without building a big compost system. If you’ve got a few 5-gallon buckets and a couple of inexpensive dollar store basics, you can make a compact tumbling-style setup that helps break down small batches of organic matter for topping off raised beds.
I like this project for busy gardeners because it’s fast, tidy, and easy to tuck beside a shed or fence. The sideways bucket setup keeps the footprint small, and the finished bins are perfect for end-of-season cleanup when you want to save good plant matter, dry leaves, and veggie scraps instead of bagging everything for the curb.
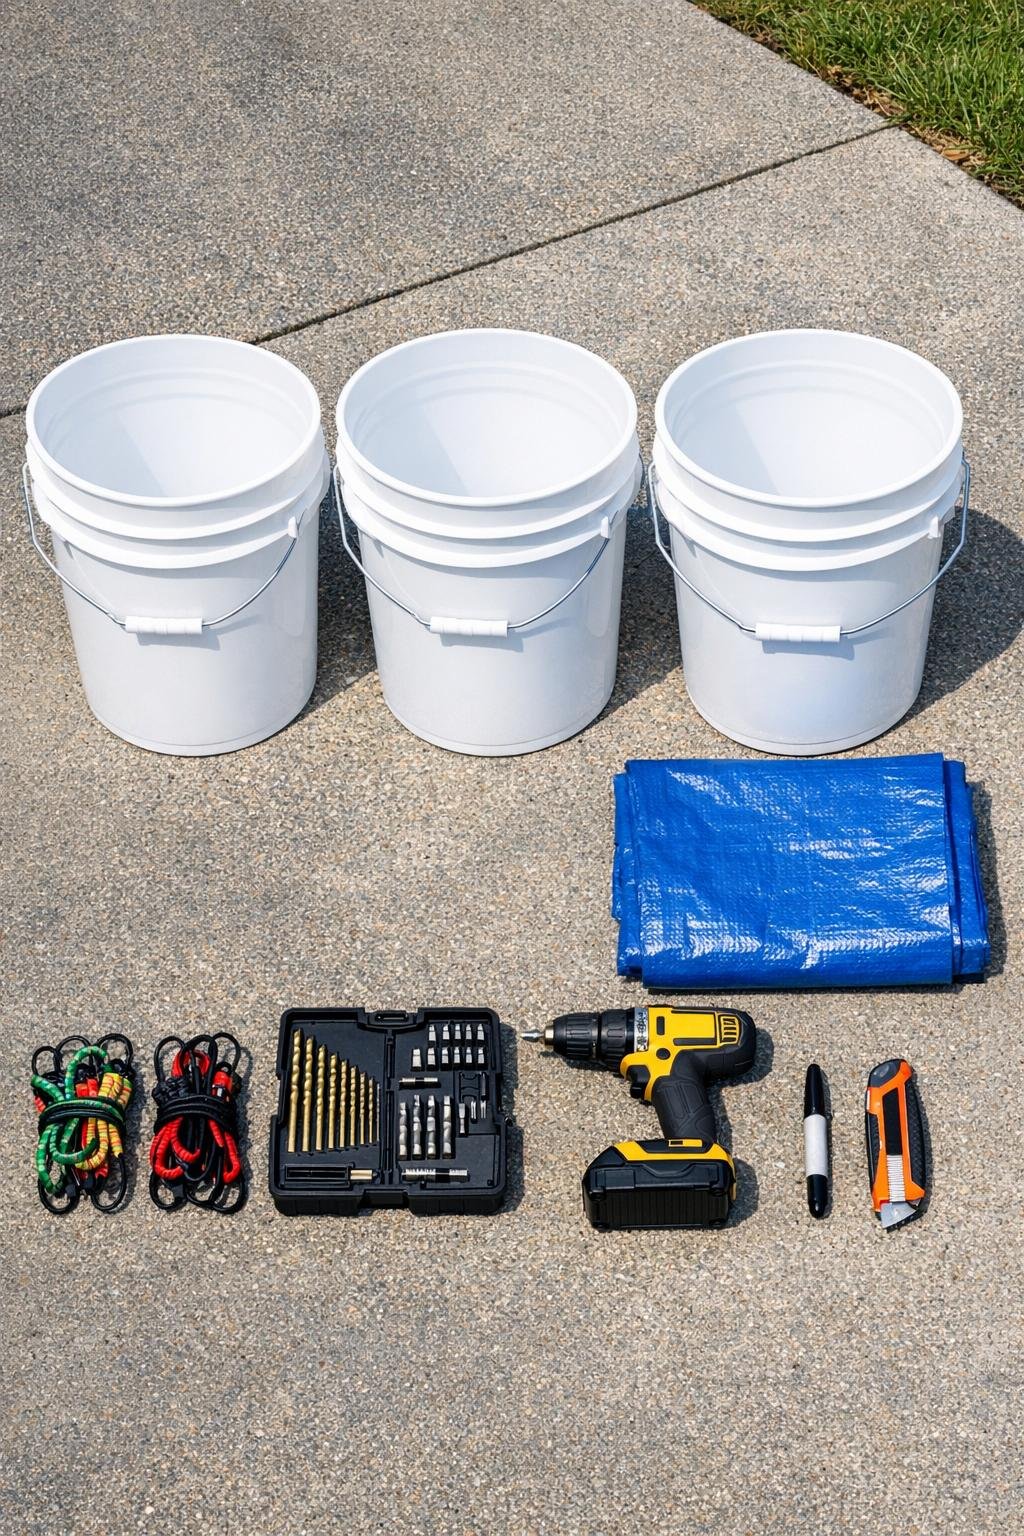
Materials
3 white 5-gallon plastic buckets with lids
Instructions
1. Wash the buckets and lids well, then let them dry fully so the marker lines and drilled holes stay clean and easy to see.
2. Set each bucket on its side and use painter’s tape to mark a straight line lengthwise across the curved surface so your ventilation holes stay evenly spaced.
3. Mark 10 to 12 holes around each bucket body, spacing them about 3 inches apart on the sides and top half only; leave the bottom half solid so damp material does not spill out.
4. Drill the marked holes using a bit around 3/8 inch wide, then drill 6 smaller drainage holes in the bottom of each bucket near the center line so excess moisture can escape when the bucket is rolled.
5. Snap the lids on and cut two small slits across the rim area of each lid, just wide enough to hook in a mini bungee cord that will keep the lid secured during turning.
6. Hook one mini bungee across each lid so it stays tightly closed but can still be removed easily when you need to add material or check progress.
7. Spread the blue tarp in the spot where you plan to use the bins, preferably near the raised beds, and fold the edges under until it creates a clean pad slightly larger than the three buckets together.
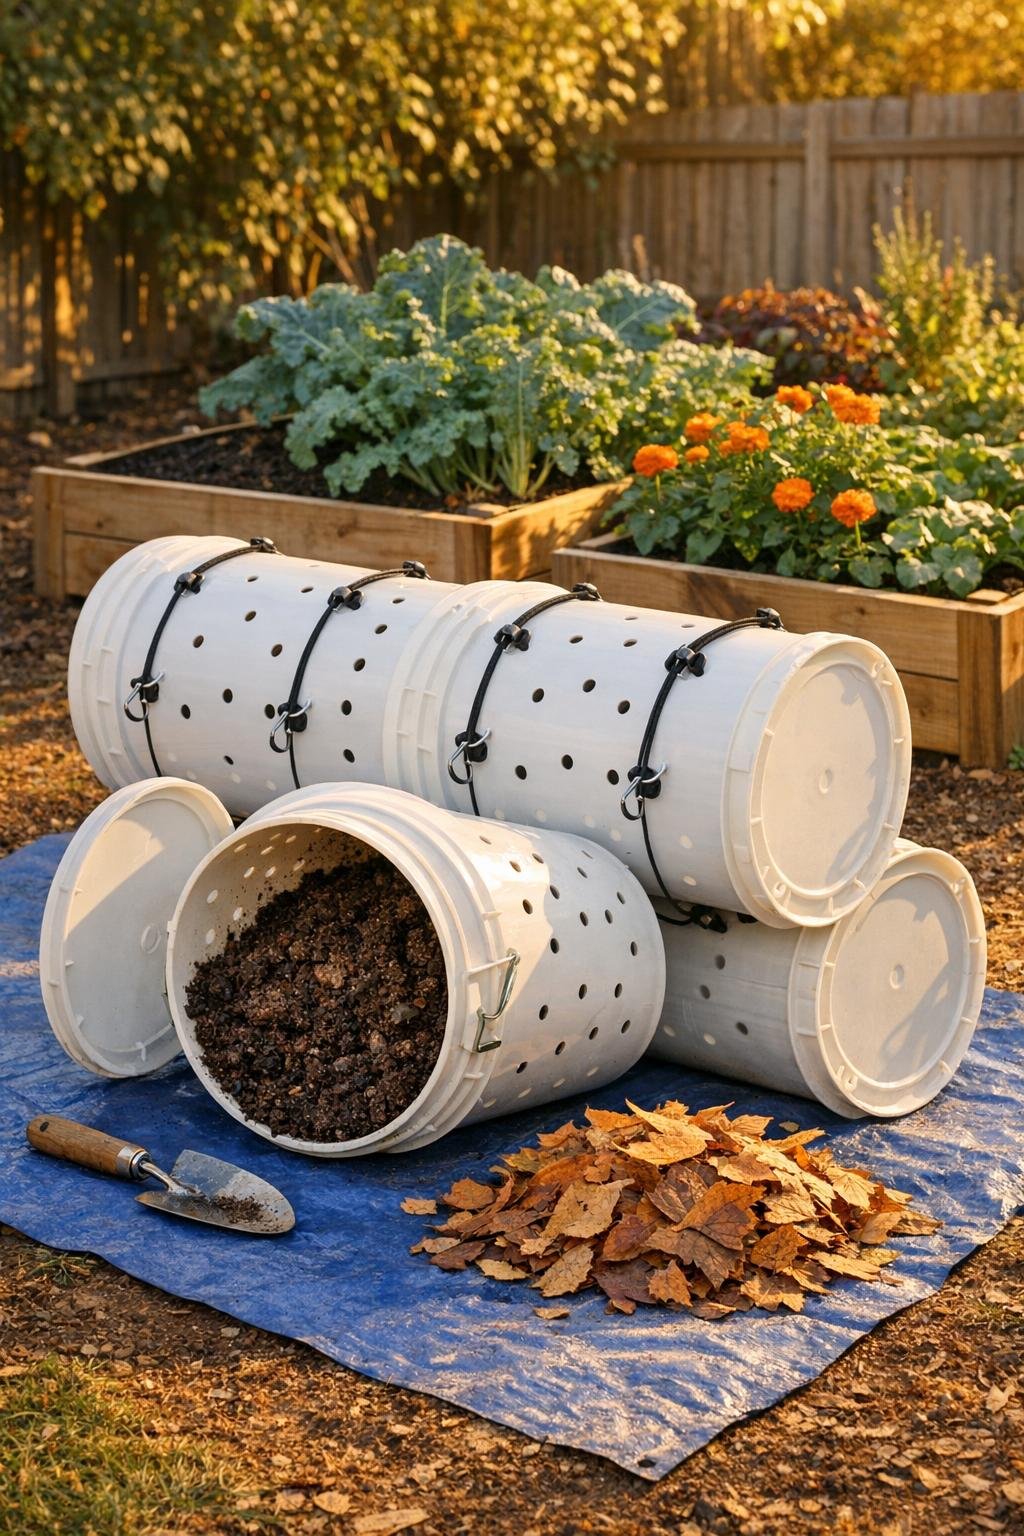
8. Lay the three buckets horizontally on the tarp in a tidy stack or row, then loop zip ties loosely through a few drilled holes where buckets touch so they stay grouped together without crushing the plastic.
9. Add about 2 cups of dry leaves or shredded paper and 2 cups of finished compost or healthy garden soil into each bucket to create a balanced starter layer.
10. Fill each bucket about halfway with chopped end-of-season garden debris, soft pulled weeds without seed heads, dead annual blooms, and kitchen vegetable scraps, then sprinkle in a little water so everything feels like a wrung-out sponge.
11. Close the lids, secure the bungees, and gently roll each bucket a few full turns on its side to mix the contents and spread moisture through the batch.
12. Leave the buckets on the tarp and turn them every 2 to 3 days for the first two weeks, opening once a week to add a handful of browns if the mix looks wet or a splash of water if it looks dry.
13. After 3 to 6 weeks, depending on temperature and what you added, use the dark, crumbly material as a light soil amendment in raised beds by mixing 1 to 2 inches into the top layer of soil.
14. Empty one finished bucket at a time onto the tarp, pick out any large pieces that need more time, and return those to a bucket with a fresh handful of dry leaves to start the next batch.
Variations & Tips
For faster breakdown: Chop plant material into 2- to 3-inch pieces before adding it. I’ve learned the hard way that whole stems take much longer, especially when I’m rushing to clean up beds before the first frost.
What to avoid: Skip meat, dairy, oily foods, diseased plants, and weeds with mature seeds. This setup works best for clean garden debris and simple kitchen produce scraps.
Best spot: Place the tarp and buckets somewhere with a little sun but not all-day blazing heat. Too much direct sun can dry the mix quickly, while full shade slows decomposition.
If the buckets smell bad: Add more dry leaves, shredded cardboard, or paper and give the buckets an extra roll. Bad odor usually means the mix is too wet or too heavy on green material.
Cold-weather tip: In a Midwest fall, mine keeps working longer if I set it against the garage wall where it gets reflected warmth. Once temperatures really drop, I just let the batch rest and use it when it finishes.
Raised bed finishing trick: Before spreading the finished amendment, top each bed with a thin layer of shredded leaves or straw mulch. It makes the beds look tidier for winter and helps protect the soil you just improved.