
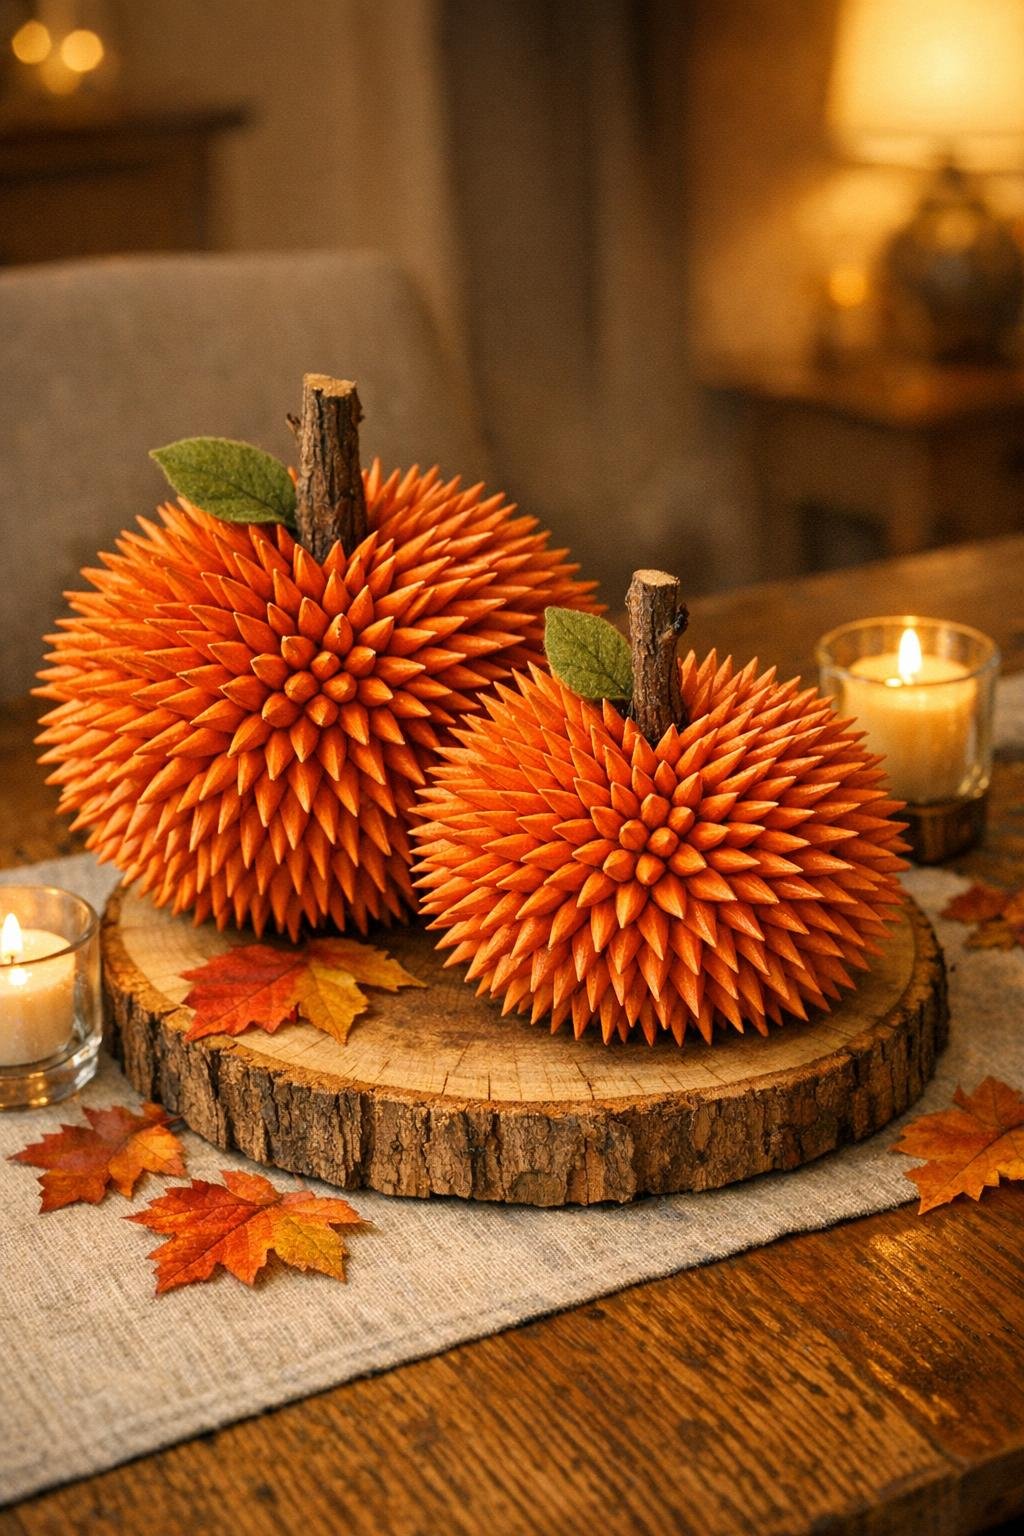
This little pumpkin centerpiece starts with the same humble foam ball and wooden toothpicks you’ve probably been seeing everywhere lately, but the finished result looks wonderfully textured, cozy, and much more thoughtful than the materials suggest. By the time the toothpicks are fully packed in and the piece is painted and styled, that plain foam sphere turns into a spiky pumpkin that catches the light beautifully on a fall table.
I love projects like this because they feel almost meditative to make, and they’re easy to work on in short pockets of time between everyday life. If you want a fall decoration that looks full and polished without needing fancy tools or a big craft budget, this is a very satisfying one.
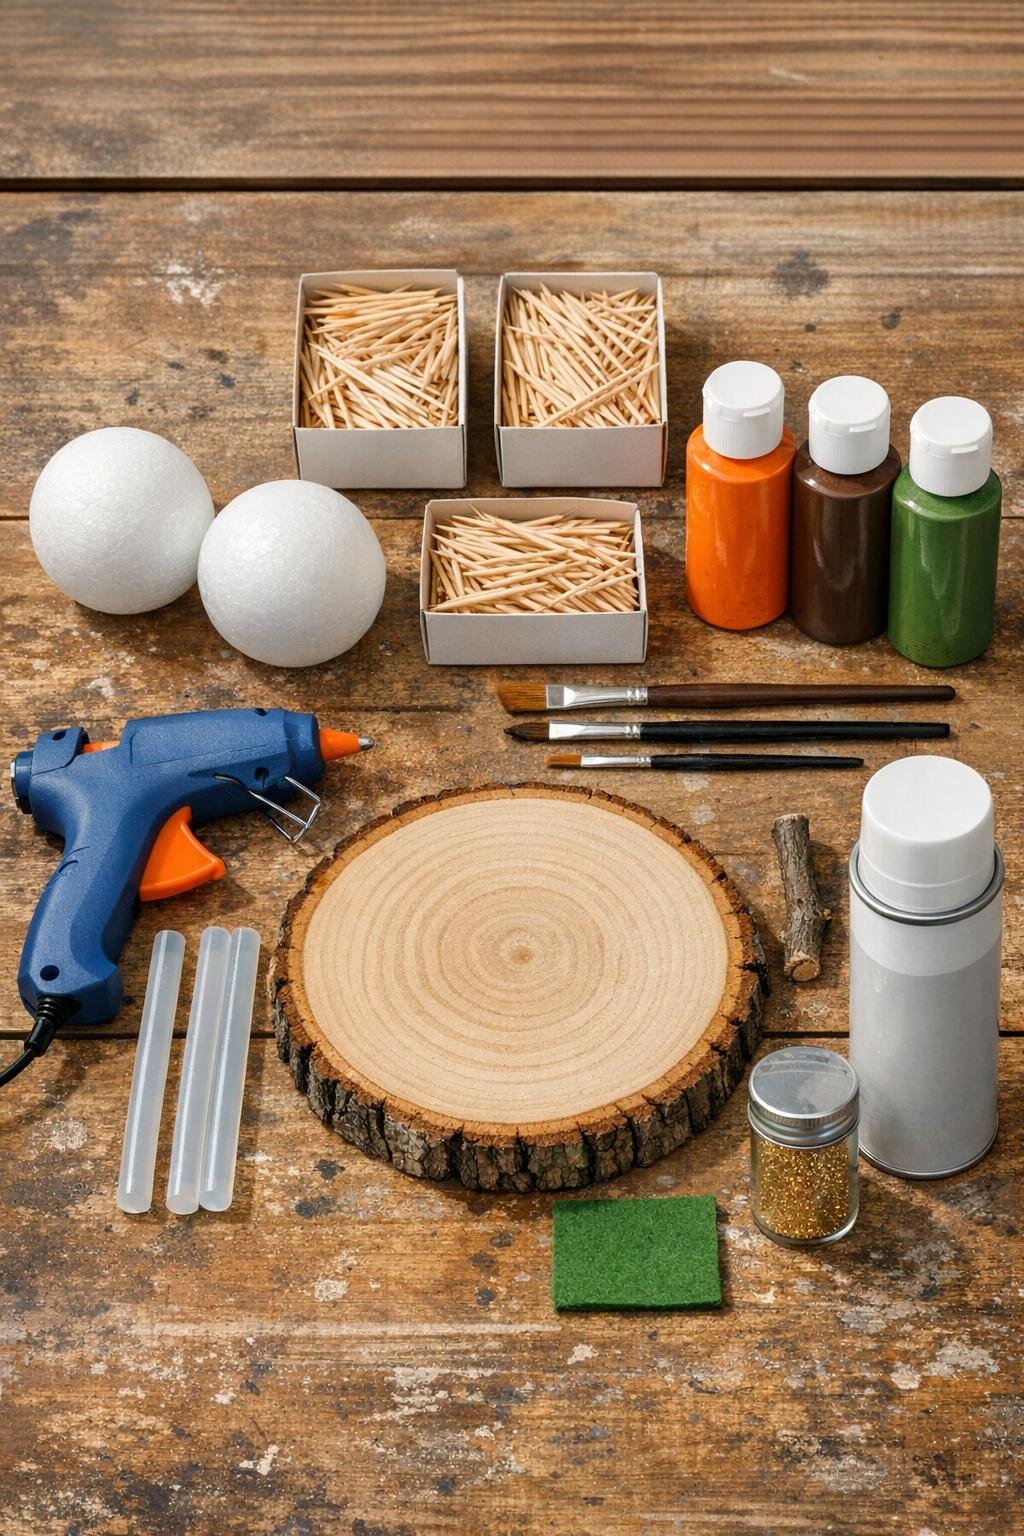
Materials
2 white foam balls, 4-inch diameter each
Instructions
1. Push toothpicks all over each foam ball, starting at one side and working in tight rows until the surface is densely covered, leaving only a 1-inch bare circle on the top of each ball for the stem area.
2. Roll the finished toothpick-covered balls gently on the table and trim or reposition any toothpicks that stick out much farther than the rest so the shape stays round and full.
3. Paint the entire toothpick-covered surface orange, using a dabbing motion so the paint reaches between the toothpicks without flattening them, and let it dry completely.
4. Dry-brush a little brown paint near the top and in a few shallow vertical sections to give the pumpkins gentle dimension and a more natural fall look.
5. Brush a very light touch of green around the top bare area if you want an heirloom-style pumpkin, then sprinkle a pinch of fine glitter over the still-tacky paint for a soft glimmer if desired.
6. Push a twig into the bare top of each pumpkin and secure it with a small bead of hot glue so the stem stands upright.
7. Cut two simple leaf shapes from the green felt, pinch the base of each leaf, and glue them beside the stems for a soft finish that balances the prickly texture.
8. Spray the pumpkins with a light coat of clear matte sealer and let them dry fully before handling so the paint finish looks even and polished.
9. Glue the two pumpkins onto the wood slice base, placing one slightly forward and one slightly back so the arrangement looks generous and layered.
10. Set the centerpiece on a dining table, buffet, or entry table, and tuck in a few real or faux fall leaves around the base if you want an extra-full harvest look.
Variations & Tips
For a fuller centerpiece: Add a third smaller pumpkin made from a 3-inch foam ball and cluster it beside the two larger ones for a more abundant table display.
For picky decorators: If your family likes fall decor a little less glittery and a little more natural, skip the shimmer and use extra brown dry-brushing for a farmhouse look.
Color variation: Try one orange pumpkin, one cream pumpkin, and one muted green pumpkin to give the arrangement that collected-over-time feeling.
Safer painting tip: Hold each pumpkin by the stem area while painting the sides, then finish the top last once the rest is dry to avoid smudging.
Table-friendly tip: If the toothpick tips feel too sharp for your space, angle them slightly as you insert them and keep the centerpiece centered on the table where little hands won’t brush against it.
Easy hostess version: Make single pumpkins on small wood slices as place-setting accents, especially if you’re setting a Thanksgiving table and want each spot to feel special.