
When I was growing up, nothing in the garden went to waste if we could help it. Corn stalks got chopped, leaves got saved, and every scrap that could feed the soil found its way back to the earth sooner or later. This little fall garden-bed leaf mulch compressor follows that same good-sense spirit. Using two orange 5-gallon buckets and a piece of wire hardware cloth, you can make a simple hand tool that tamps fluffy dry leaves down into tidy, dense mulch plugs right where you want them.
If you’ve ever tried to mulch a bed with armloads of leaves on a breezy autumn afternoon, you already know the trouble: they blow, scatter, and never seem to stay put deeply enough to do much good. I like this project because it turns loose leaves into thick, settled layers that protect the soil, hold moisture, and break down beautifully over winter. It’s especially nice for raised beds, garlic patches, strawberry rows, and any little plot you want to tuck in before frost.
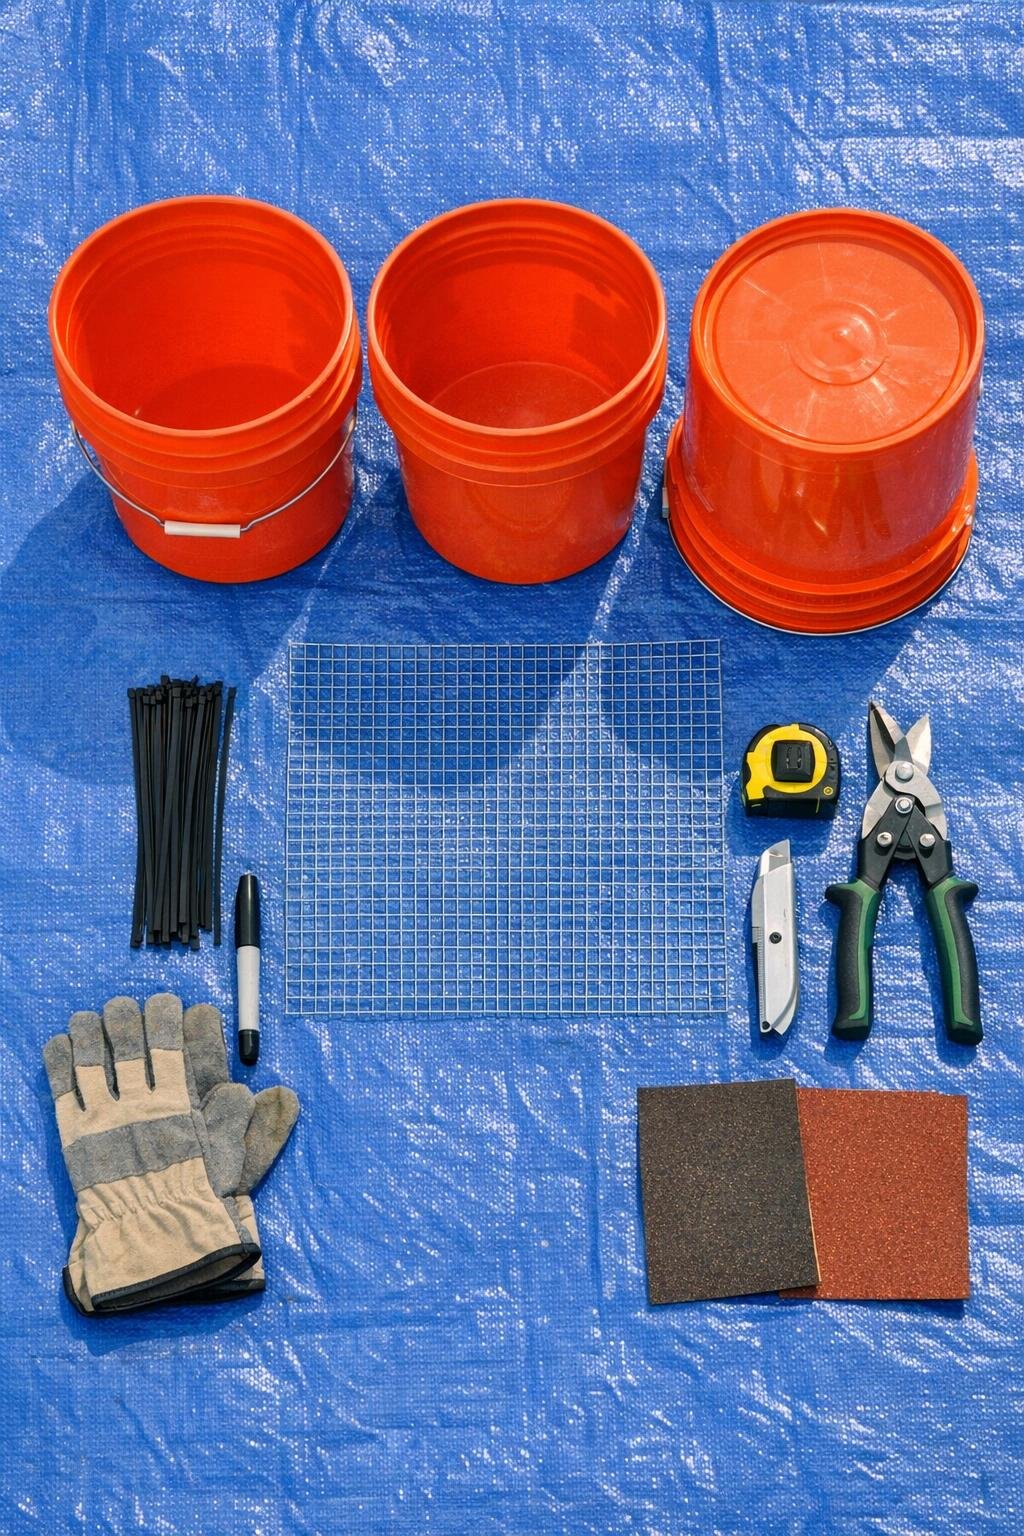
Materials
Instructions
1. Wash the three buckets and dry them well so the plastic is easier to mark, cut, and handle.
2. Measure around the inside bottom edge of two buckets and mark a cut line just above the molded base so you remove the entire bottom but keep the sidewalls as tall as possible.
3. Put on gloves and use the utility knife to start the cut, then work slowly around each bucket until both bottoms are removed.
4. Smooth the fresh cut edges with sandpaper, then wrap each cut rim with a band of duct tape so the compressor is safer on your hands and gentler on the garden bed.
5. Cut the hardware cloth to a 14-inch square, then trim the corners slightly so there are no sharp points sticking far beyond the bucket walls.
6. Set one bottomless bucket upright and lay the hardware cloth across one open end; center it so the wire overlaps evenly on all sides.
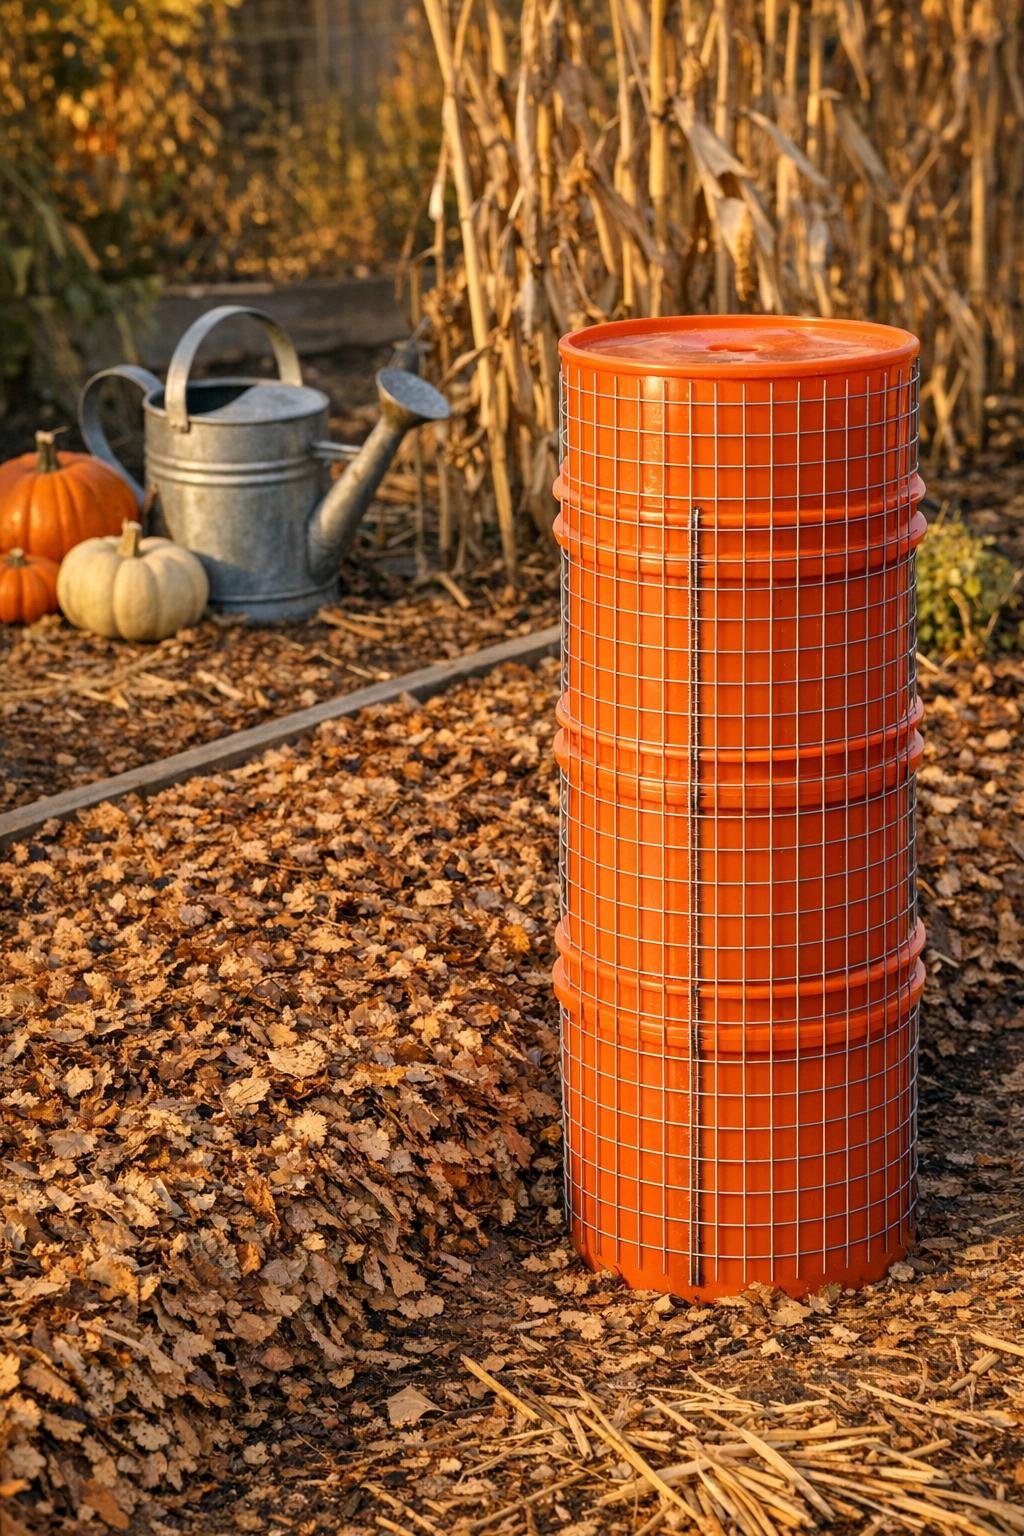
7. Press the second bottomless bucket down over the first so the hardware cloth is sandwiched tightly between them, making one tall bucket-shaped tube with a wire shelf in the middle.
8. Drill or pierce six evenly spaced pairs of small holes near the joined rims, then thread zip ties through the holes and pull them tight to lock the two buckets together.
9. Trim the zip tie tails and check all around the seam to be sure the wire is snug, level, and not bowing sharply to one side.
10. Carry the finished compressor to your garden bed and set it upright wherever you want a thick mulch pocket.
11. Fill the top chamber with dry chopped leaves, pine needles, or light garden litter, packing it generously all the way to the top.
12. Turn the intact bucket upside down and use it as a hand plunger, pressing firmly into the top chamber until the leaves compress against the hardware cloth and settle into a dense layer below.
13. Lift the compressor straight up once the lower section is well packed, leaving behind a thick, neat ring of compressed leaf mulch on the soil surface.
14. Move a few inches over and repeat, overlapping the pressed sections slightly until the whole bed has a deep, even blanket of mulch.
15. Finish by fluffing any high spots lightly with your hands and watering the bed with a gentle spray to settle the mulch so it stays put through wind and weather.
Variations & Tips
For smaller beds: If you’re mulching narrow rows like onions or garlic, use less material in each press and overlap the sections more tightly for fuller coverage without spilling into paths.
Best leaf mix: I get the nicest results from mostly dry shredded leaves with a little pine needle or fine grass mixed in, because the smaller bits lock together better under pressure.
If the leaves spring back: Lightly mist the leaf pile before compressing; you don’t want it wet, just barely damp enough to help it settle and hold its shape.
Make it sturdier: If you expect heavy use, swap the zip ties for short machine bolts with washers and nuts around the joined seam for a firmer long-term connection.
Protect your wire edges: Any exposed hardware cloth points should be bent inward with pliers or covered with an extra strip of duct tape so sleeves and gloves don’t snag.
Use it beyond fall: This same tool works nicely for pressing chopped straw, pine needles, or partly cured pulled weeds into a thicker weed-blocking mulch layer during the growing season.
Storage tip: Hang the compressor in a shed or slip it over a fence post for winter, and keep the intact bucket nested nearby so you’re ready when the leaves start dropping again.