
There are a lot of fancy garden gadgets these days, but I still get the biggest help from the simplest little homemade tools. This clothespin-and-popsicle-stick planting marker is one of those old-fashioned tricks that earns its keep every fall, especially when I’m tucking garlic into the ground before frost and want my rows neat, even, and planted at the right depth. It’s quick to make, costs next to nothing, and helps take the guesswork out of planting.
I like this project for new gardeners and seasoned ones alike, because it solves two problems at once: it gives you a consistent depth guide and a visible row marker you can move right down the bed as you work. It reminds me of the sort of practical little helper my generation was raised on—nothing fancy, just clever, sturdy, and useful season after season.
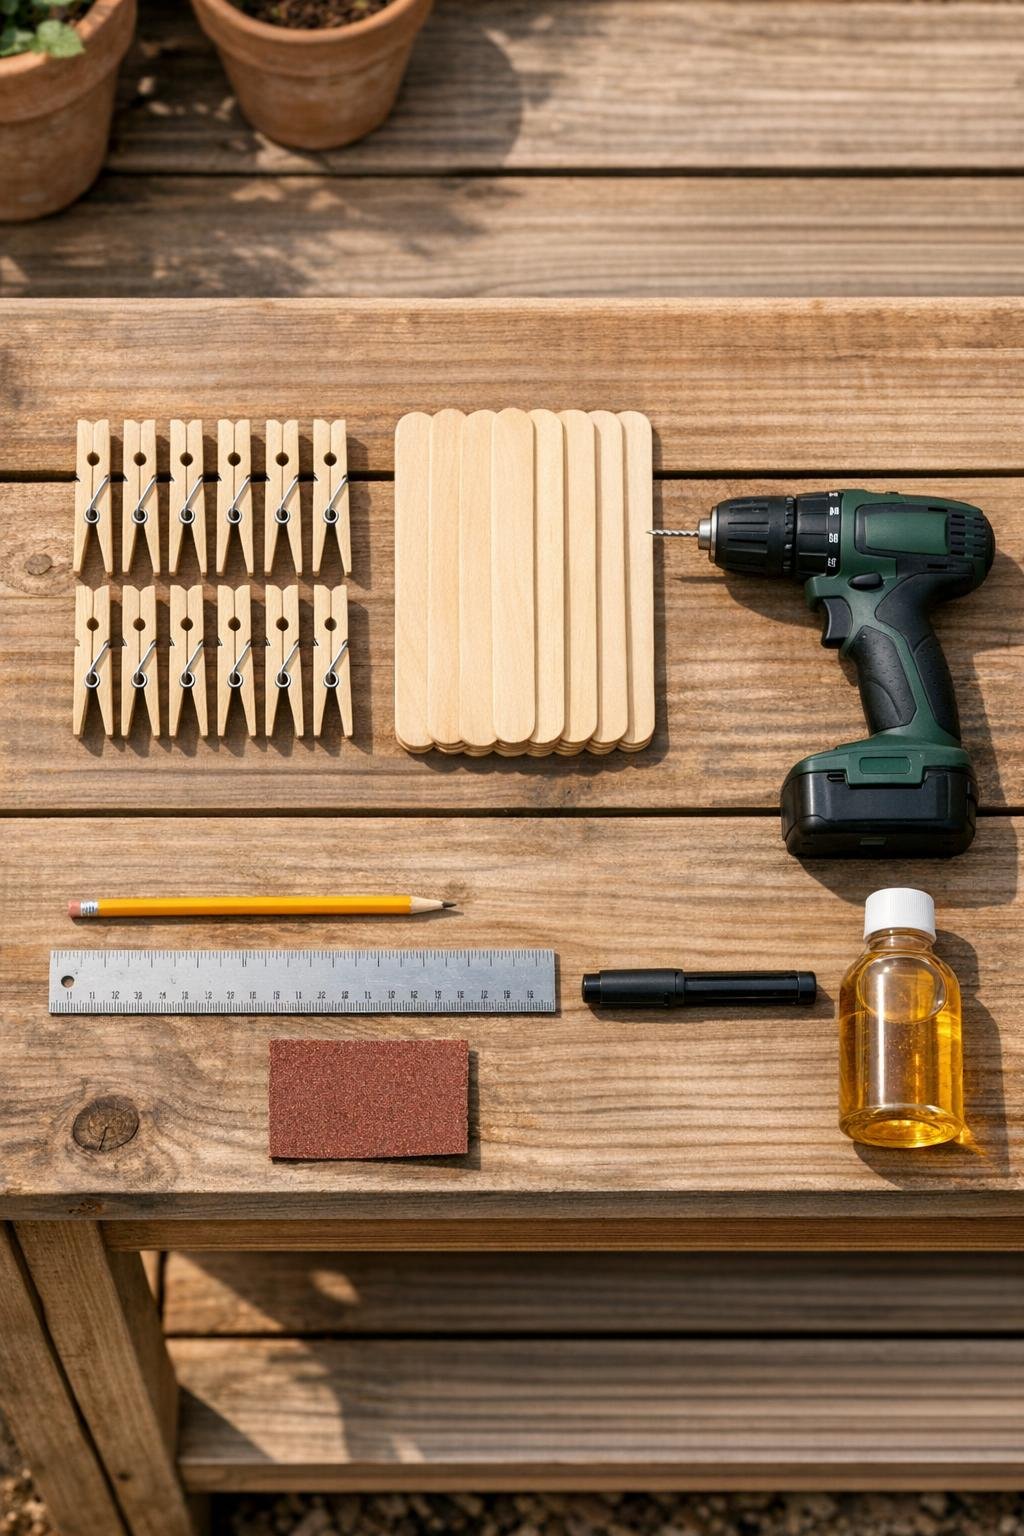
Materials
Instructions
1. Lay out the clothespins and popsicle sticks on your potting bench, and check that each stick slides easily beside the clothespin jaws without forcing.
2. Mark the center point of each clothespin on both flat sides, placing the mark just above the metal spring so the drilled hole will sit through the thickest part of the wood.
3. Drill a 1/8-inch hole straight through each clothespin at the marked spot, working slowly so the wood stays clean and doesn’t split.
4. Lightly sand around each drilled hole and along the cut ends of the popsicle sticks so there are no rough splinters to catch your hands or gloves.
5. Measure up 2 inches from the bottom end of each popsicle stick and make a small line; this gives you an easy visual depth reference for garlic planting.
6. Slide one popsicle stick through the drilled hole in each clothespin, positioning the stick so about 2 1/2 inches extends below the clothespin and the top portion remains visible above the soil line.
7. Write the garlic variety name or simply “garlic” near the top of each stick with a waterproof marker, leaving the lower portion clean so the depth mark stays easy to see.
8. Brush a thin coat of exterior wood sealer over the clothespins and sticks, then let them dry fully before turning them over and sealing the other side.
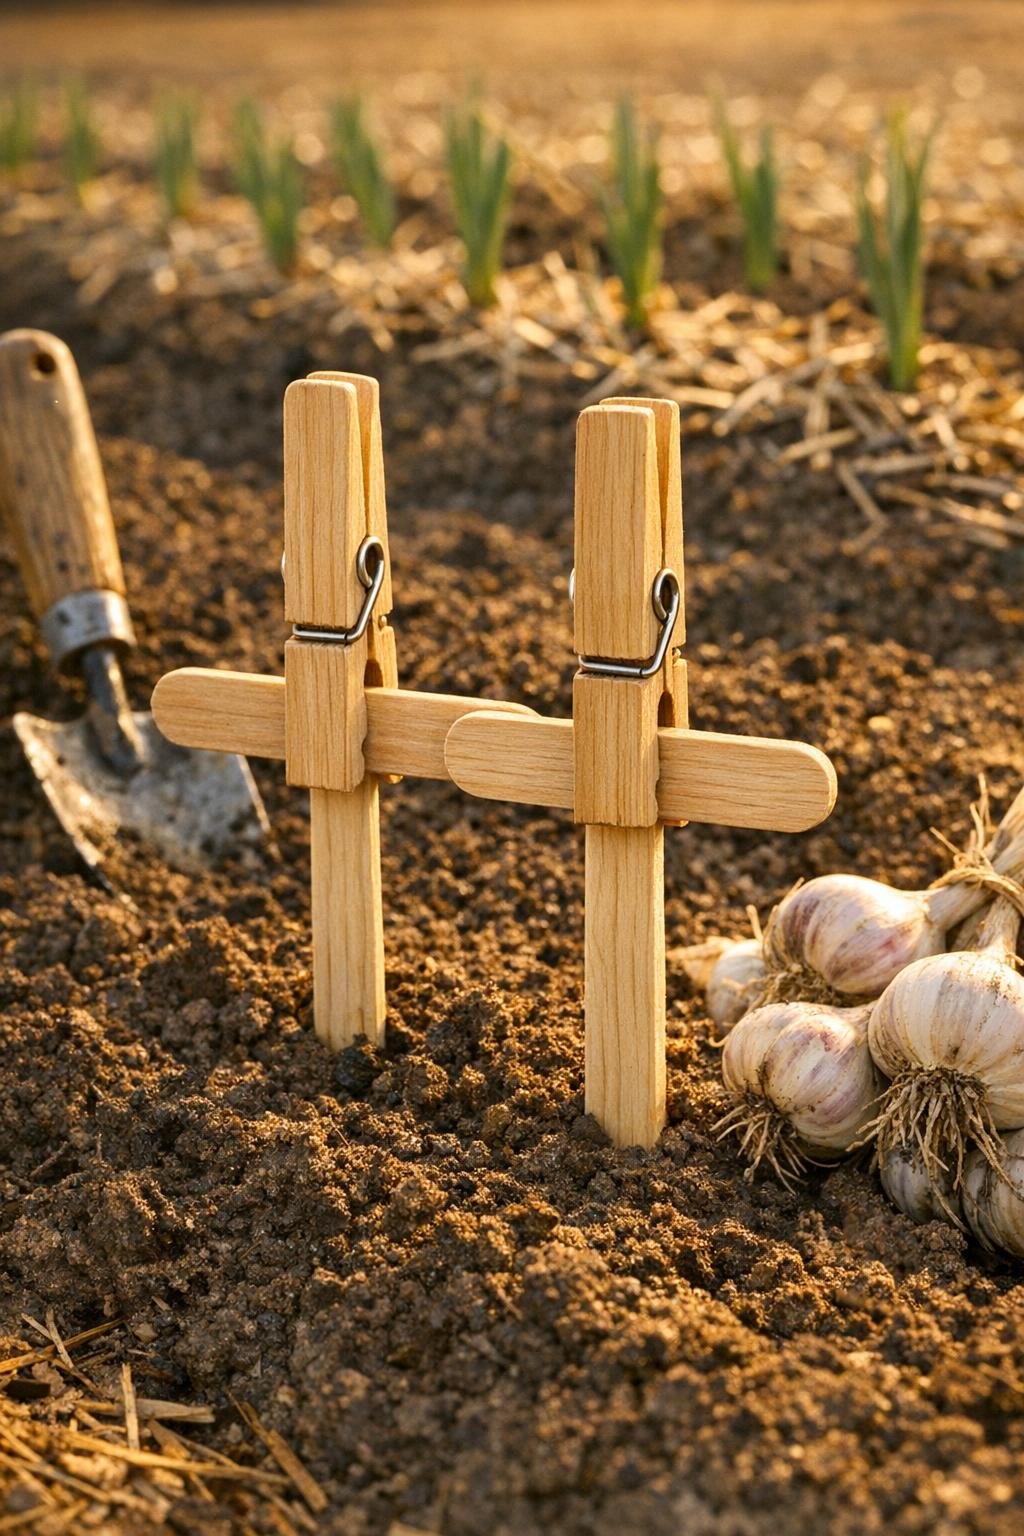
9. To use them, press a marker into the soil until the 2-inch line reaches the soil surface, set your garlic clove into the planting hole, and move the marker along the row as you go.
10. Clip the clothespin across a seed packet, garden twine, or the edge of a shallow tray when you’re done, so the marker stays paired with that garlic variety until planting day is over.
Variations & Tips
For heavier soil: If your garden soil is stiff or clay-heavy, pre-make the planting hole with a dibber or pencil before pressing in the marker, so the stick stays straight and easy to read.
Add color coding: Paint the tops of the popsicle sticks in different colors for different garlic varieties; it’s a small touch, but it makes a busy planting day much easier.
Use a deeper mark: If you grow in a colder zone and like to plant garlic a little deeper, make a second line at 3 inches so the same marker can handle both methods.
Seal for longer life: One extra coat of outdoor sealer will help these hold up through damp fall weather, and I find that worth the extra few minutes.
Make a full set: I like to make at least a dozen at once, because once you start using them for garlic, you’ll find they work just as nicely for onion sets and big flower bulbs too.