
I love a project that solves a real everyday problem and still looks charming enough to pass as décor, and this little earring display does exactly that. By stretching burlap inside a small embroidery hoop and adding a ribbon hanger, you get a compact organizer that keeps dangling earrings easy to see, easy to grab, and honestly pretty enough to become part of the room.
This is a great beginner DIY if you want something quick, inexpensive, and useful. I’m always drawn to practical pieces that still have texture and warmth, and the combination of natural burlap, a wooden hoop, and soft velvet ribbon gives this one a cozy, polished look that feels right at home in a bedroom.
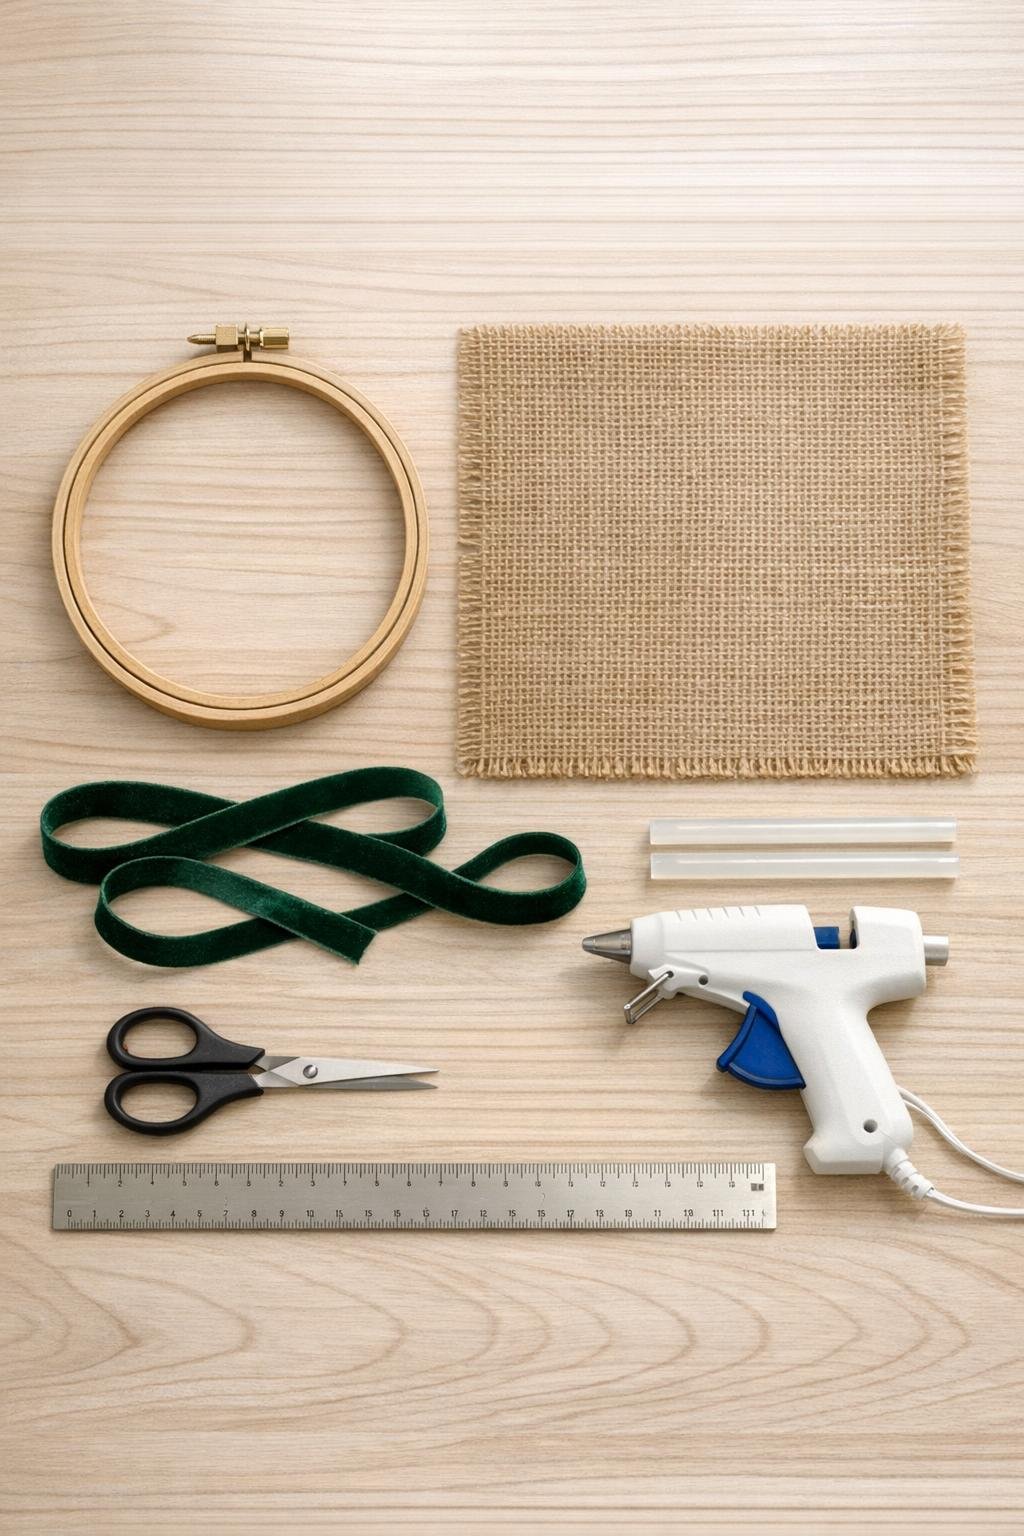
Materials
Instructions
1. Separate the embroidery hoop by loosening the metal screw, then lay the inner ring flat on your work surface and center the burlap square over it.
2. Press the outer ring down over the burlap and inner ring, then gently pull the burlap from all sides until the weave looks straight and taut like a drum.
3. Tighten the screw at the top of the hoop fully so the burlap stays firm enough to hold several pairs of earrings without sagging.
4. Trim the excess burlap around the back of the hoop, leaving a 1-inch border all the way around.
5. Fold the burlap border toward the inner back edge and secure it with small lines of hot glue, working in sections so the back looks neat and flat.
6. If the burlap frays heavily, dab a very thin line of clear-drying craft glue along the cut edge on the back and let it dry for a few minutes.
7. Cut the velvet ribbon into one 24-inch length if needed, then thread it through the metal screw section at the top of the hoop and knot or tie it securely into a hanging loop.
8. Adjust the ribbon so the hoop hangs straight, then trim the ribbon tails evenly or cut them at an angle for a cleaner finish.
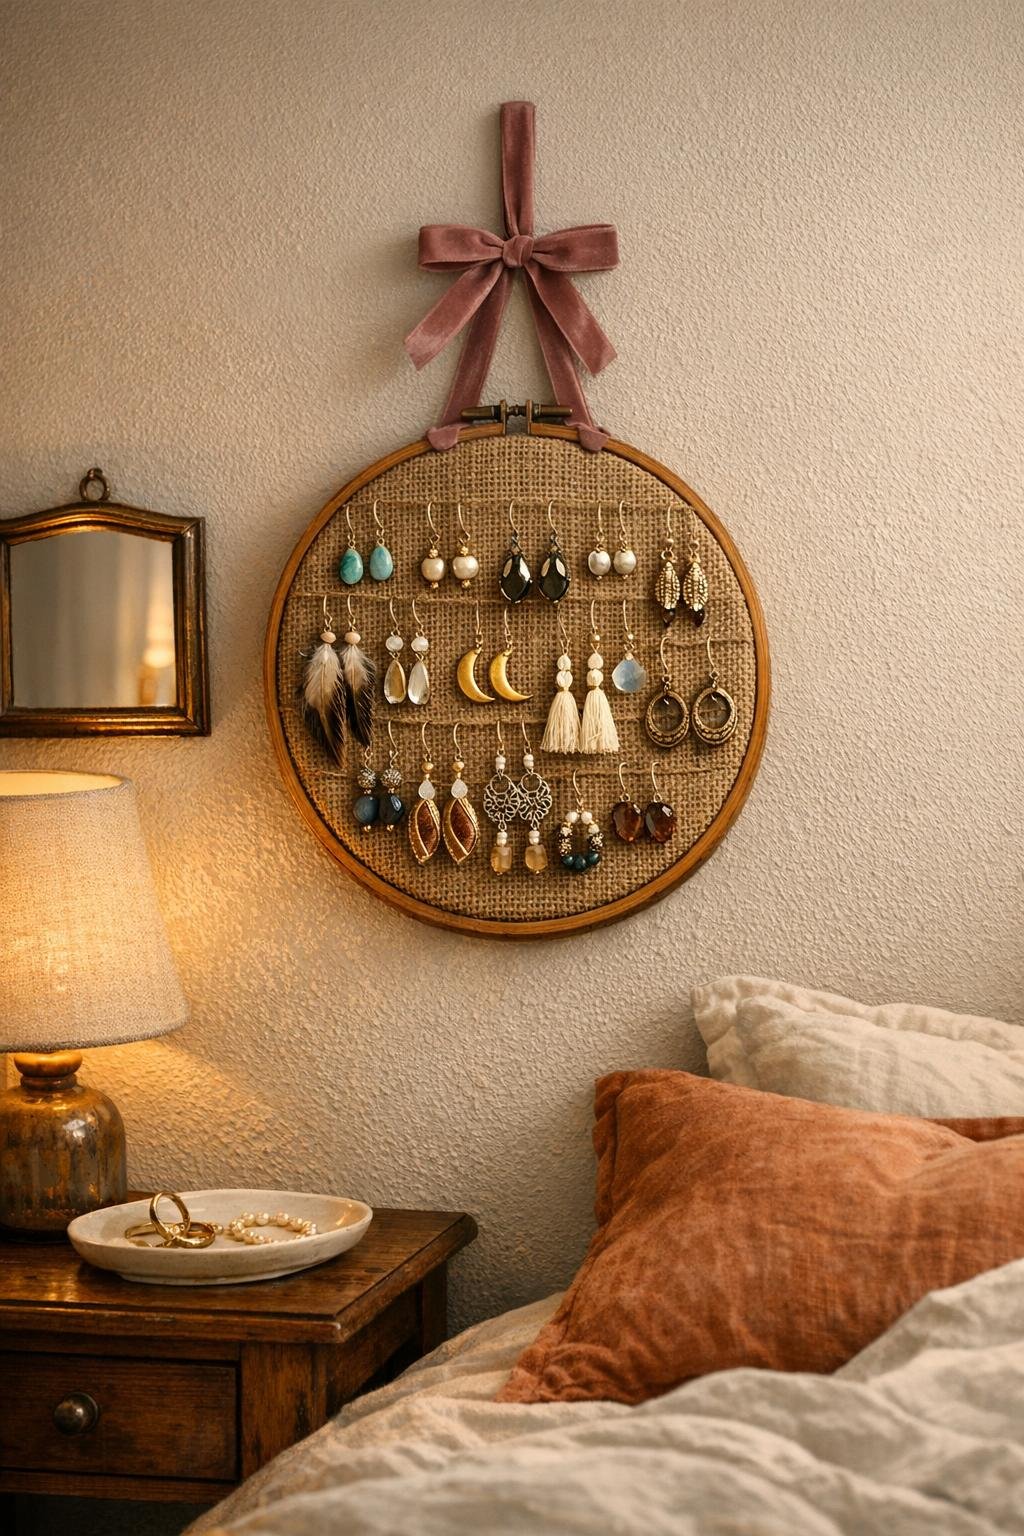
9. Hang the display on a wall hook, knob, or small nail, then slide earring hooks through the open spaces in the burlap weave, spacing them out so the hoop looks full and easy to browse.
10. Add your favorite pairs first around the center and upper half, then fill the outer areas for a balanced, generous display that doubles as bedroom wall décor.
Variations & Tips
Hoop Size: If you have a larger earring collection, use an 8-inch hoop instead of a 6-inch one and increase the burlap square to 12 x 12 inches for more display space.
Ribbon Style: Velvet gives the softest bedroom look, but grosgrain or satin ribbon also works well if you want a crisper or slightly dressier finish.
Frame Finish: You can leave the wooden hoop natural for a rustic look, or brush on one coat of white, black, or gold craft paint before assembling if your bedroom style is more modern.
Fray Control: Burlap has a mind of its own, and I say that as someone who has wrestled with plenty of woven textures in the kitchen and craft corner alike; cutting a little larger than you think you need makes the final trimming much easier.
Best Earring Types: This works especially well for fishhook, wire, and lightweight drop earrings. Stud earrings can be stored elsewhere, since burlap shines most when it holds pieces that can hang visibly.
Polished Finish: For an extra-finished look, glue a small bow where the ribbon meets the screw top, or add a tiny bead of glue under the knot to keep the hanger centered.