
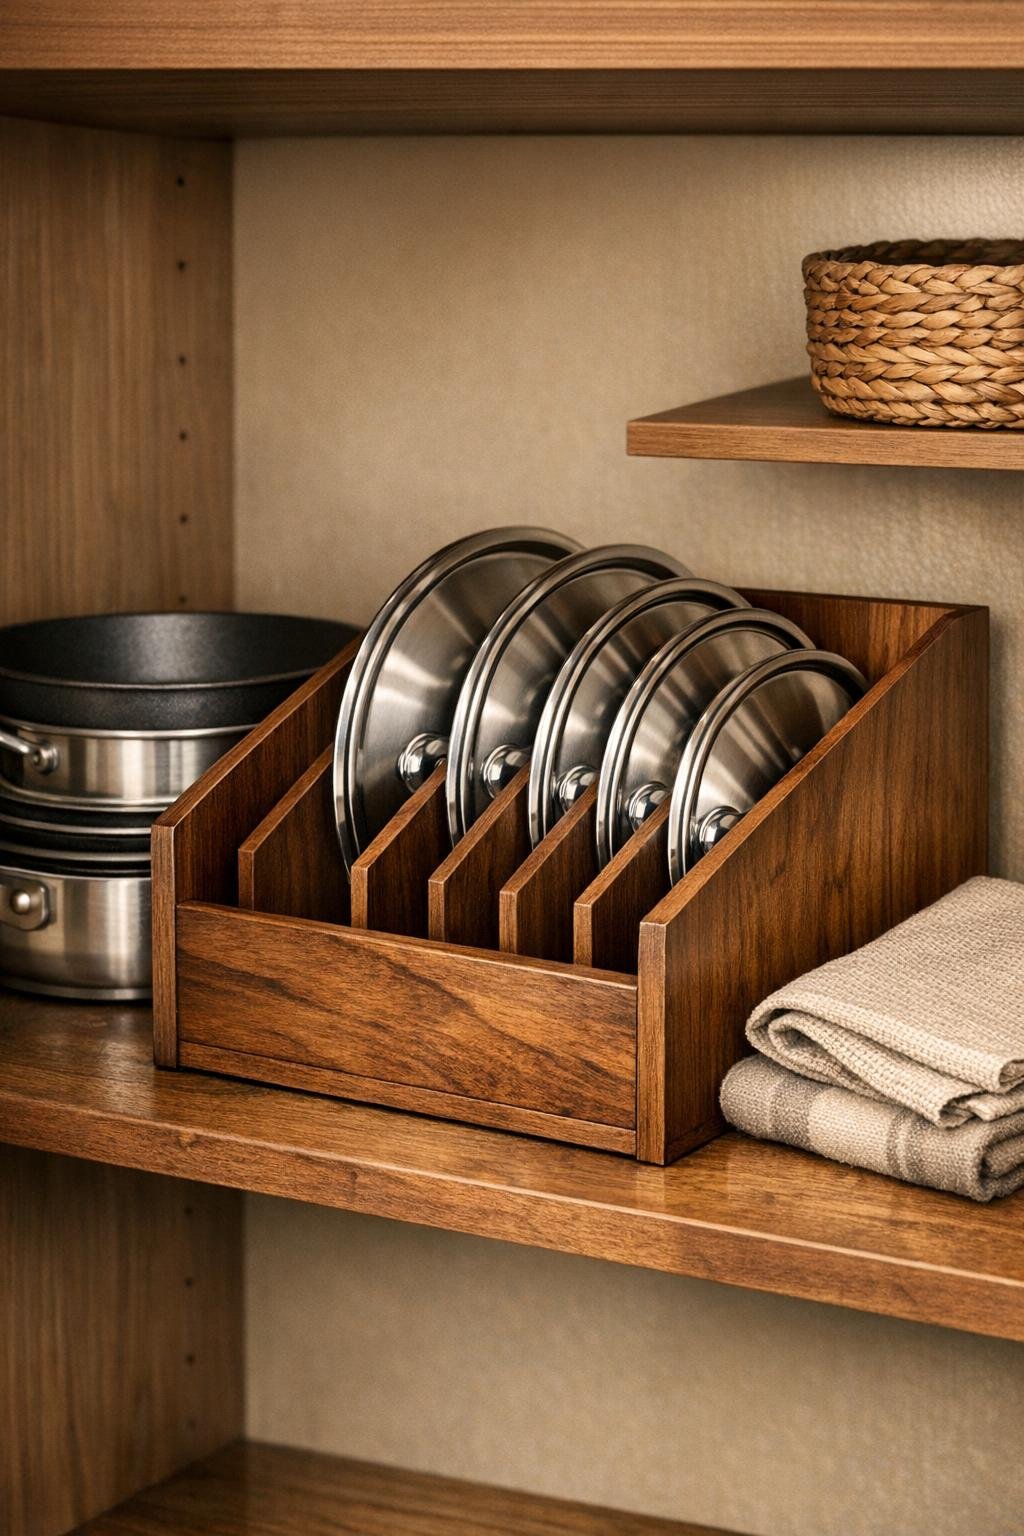
If you have a cabinet full of clattering pot lids, this is one of those wonderfully simple fixes that earns its keep the first day you use it. We’re taking a basic wooden magazine holder, turning it on its side, and using the divided shape to corral pot lids neatly inside a kitchen cabinet. It’s quick, inexpensive, and it makes that awkward stack of lids feel intentionally organized instead of jammed in wherever they fit.
I’m especially fond of projects like this because they solve a real kitchen problem without asking you to rebuild the whole cabinet. As someone who spends a lot of time cooking, I know how irritating it is to dig around for the right lid while dinner is already on the stove. This version looks polished too, with a rich walnut finish that helps the organizer feel at home in the kitchen rather than like an afterthought.
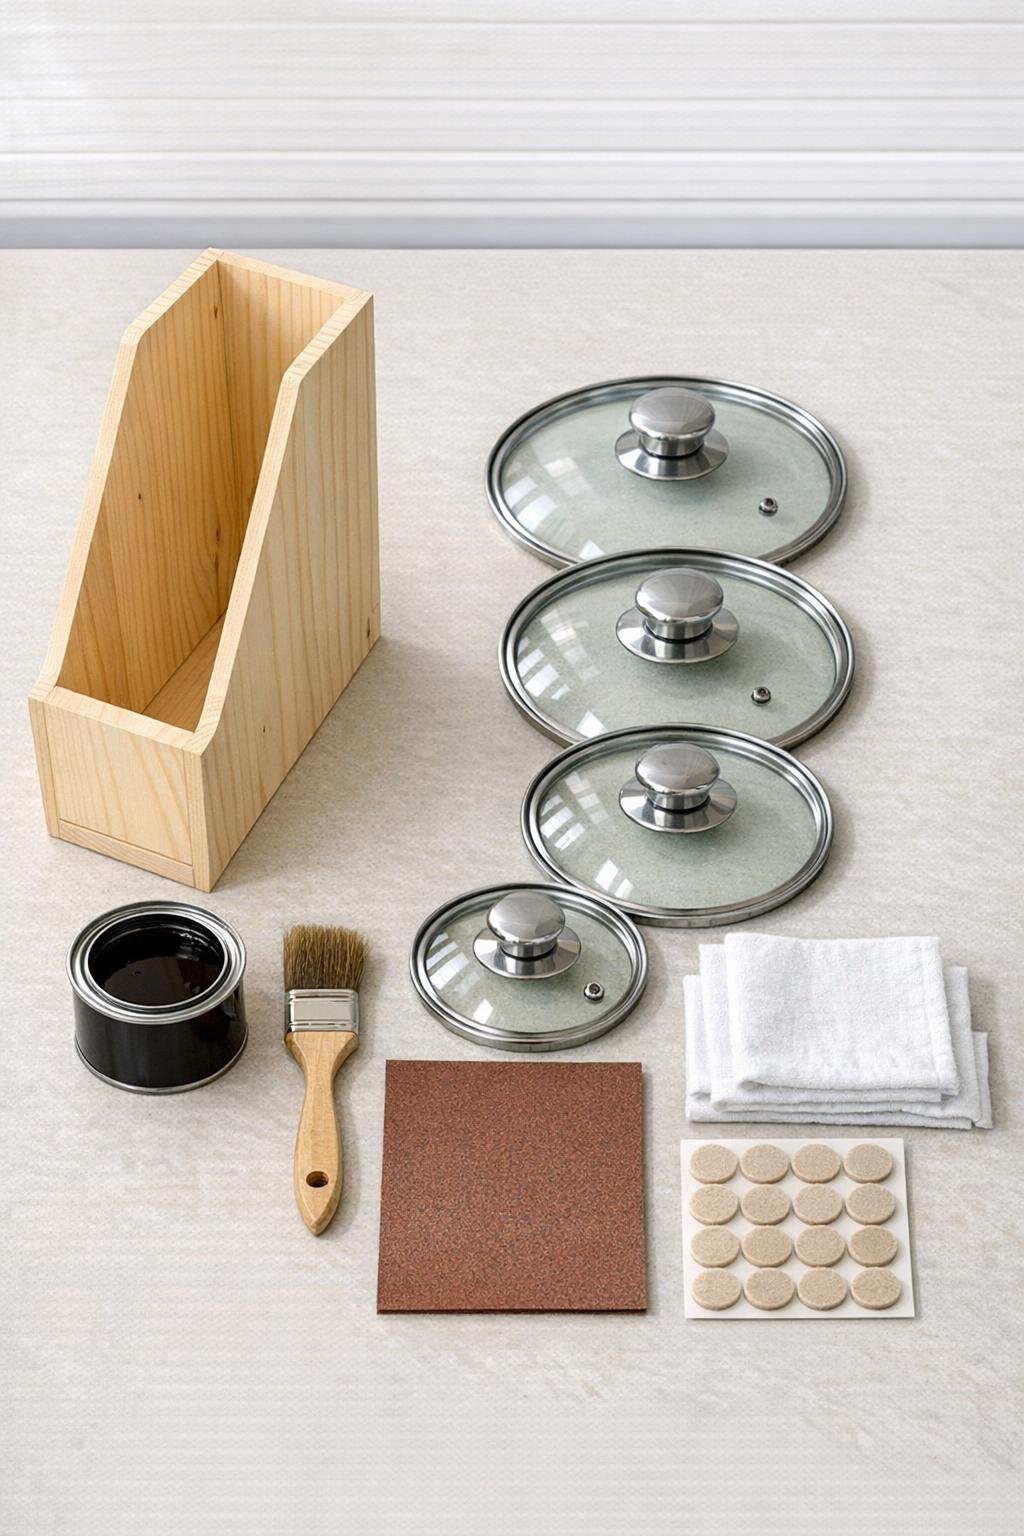
Materials
1 unfinished wooden magazine holder, approximately 10 to 12 inches tall, 4 to 5 inches wide, and 9 to 10 inches deep
Instructions
1. Empty the cabinet where you want to store the lids, then measure the interior height, width, and depth to make sure the magazine holder will fit on its side with room to slide lids in and out easily.
2. Lightly sand the wooden magazine holder, smoothing the edges and any rough spots so the finish goes on evenly and the organizer feels clean and polished in your hand.
3. Set the holder on a protected surface and brush on the walnut stain, covering the outside, inside, and cut edges for an even rich tone.
4. Let the stain sit for a few minutes, then wipe away the excess with a clean cloth so the wood grain still shows through and the finish doesn’t look sticky or heavy.
5. Allow the holder to dry completely according to the stain directions, then turn it on its side to check that the open sections form easy slots for the pot lids.
6. Stick adhesive felt pads on the bottom edges and corners that will touch the cabinet shelf, which helps the organizer slide smoothly and protects the cabinet surface from scratches.
7. Place the magazine holder on its side inside the cabinet with the wider openings facing outward so each lid can be reached without shifting the others.
8. Sort the pot lids by size, then slide them into the holder from largest to smallest, spacing them so the knobs are easy to grab and the lids stand upright without tipping.
9. Test each lid by pulling it out and returning it once, then shift the order slightly if needed so the largest handles and knobs don’t bump each other when stored.
10. Return your pots or cookware around the organizer, leaving enough front clearance that the lids can still come out smoothly during everyday cooking.
Variations & Tips
Deeper cabinet option: If your cabinet is especially deep, use two matching wooden magazine holders side by side to create room for a larger collection of lids without stacking.
No-stain version: You can leave the wood natural for a lighter look, but I still recommend sanding it well and adding felt pads so it feels finished and slides nicely.
Handle clearance: If you have lids with tall knobs or loop handles, place the largest ones in the outermost slots where your hand has the most room to reach in.
Easy cleanup: Choose a holder with a smooth sealed finish, or add a clear topcoat after staining, if you want extra protection from kitchen dust and the occasional splash.
Best fit tip: Bring one of your largest lids when shopping for a magazine holder; I’ve learned in kitchen organization projects that a half inch of extra width can make the difference between a smooth grab-and-go setup and a frustrating squeeze.