
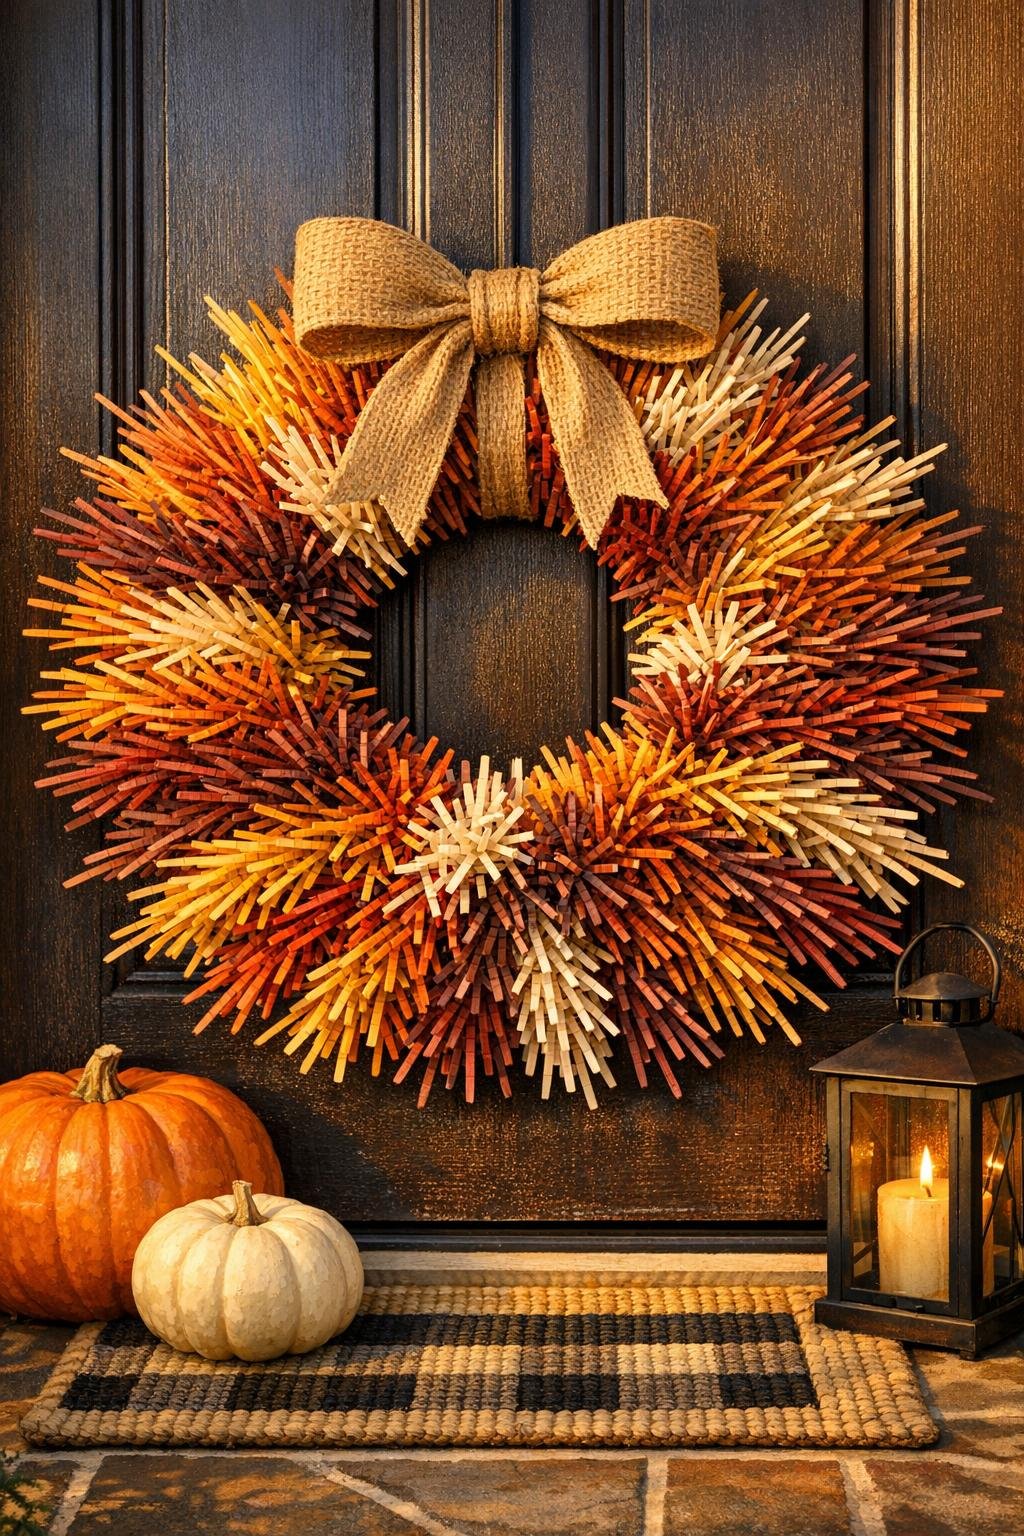
This giant autumn starburst wreath is one of those wonderfully simple projects that looks far more expensive and complicated than it really is. You’re literally pressing zip ties into a foam wreath form one by one, then fluffing and shaping them into a big, dramatic burst of fall color. I love projects like this because they give you a lot of visual payoff without needing fancy tools or a whole free weekend.
If you want a front-door wreath that feels bold, cheerful, and a little unexpected, this is such a fun one to make. It’s especially nice for anyone who likes seasonal decorating but doesn’t want to fuss with wiring dozens of stems or hot-gluing tiny pieces for hours. The zip ties do all the heavy lifting here, and with a warm autumn palette, the finished wreath looks full, polished, and absolutely worth the time.
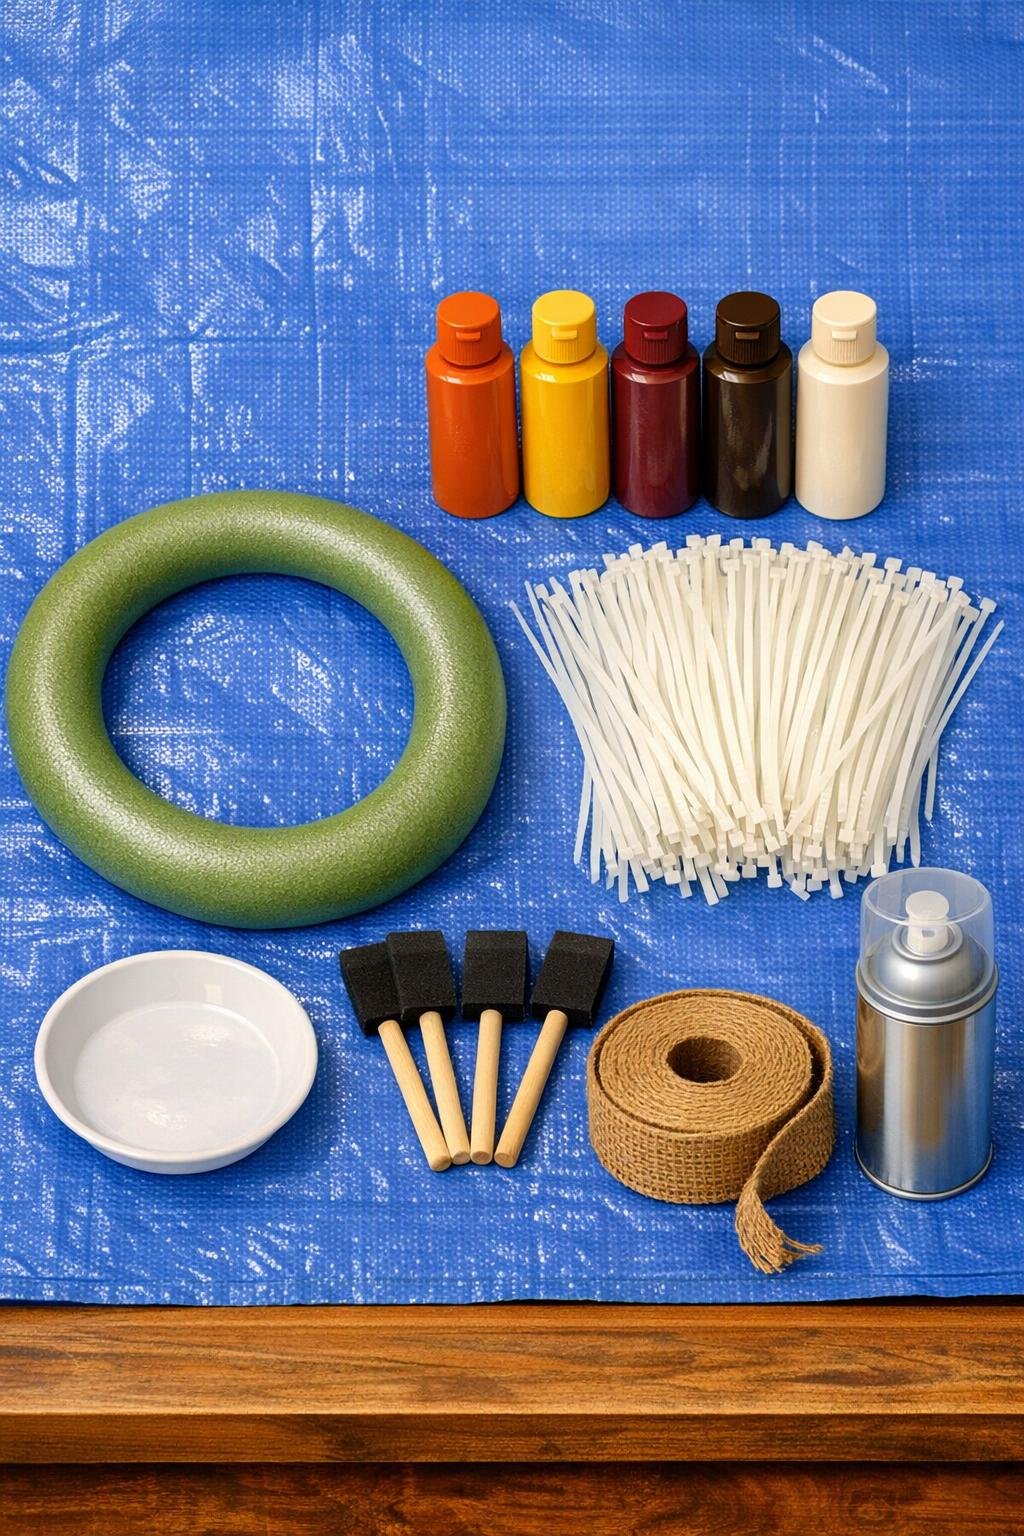
Materials
Instructions
1. Lay your foam wreath form flat on a tarp or protected surface, and sort the zip ties into four piles of 50 so the wreath fills evenly as you work.
2. Start on the outer edge and poke the pointed end of each zip tie straight into the foam about 3/4 inch deep, spacing them about 1 inch apart all the way around.
3. Fill the inner edge next, inserting another ring of zip ties angled slightly inward so the center opening still looks clean but the wreath appears nice and full.
4. Add the remaining zip ties across the top face of the wreath form, staggering them between the first rows until the whole ring is densely covered and bristling in every direction.
5. Gently bend and fan the zip ties with your hands so some point outward, some slightly to the side, and some a little forward to create a rounder, fuller burst instead of a flat ring.
6. Squeeze your fall paint colors onto a tray, then dry-brush the ends of the zip ties in loose sections of rust, gold, burgundy, brown, and cream, letting a little white remain near the base for depth.
7. Keep layering color around the wreath until no large blank patches remain, blending neighboring shades lightly so the finish looks rich and variegated rather than striped.
8. Let the paint dry completely, then take the wreath outside and spray on a light coat of matte sealer to protect the finish and soften the plastic shine.
9. Tie or attach a simple 5-inch jute bow at the bottom or upper side of the wreath, then do one final fluffing pass to spread the zip ties evenly and emphasize the big starburst shape.
Variations & Tips
For a fuller look: If you want an even more dramatic wreath, use 220 to 240 zip ties instead of 200 and pack the top face a little tighter before fluffing.
Color placement tip: I like to cluster similar shades in loose sections instead of painting every other tie a different color. It gives you that rich fall sweep of color that feels intentional but still soft.
Kid-and-pet friendly hanging spot: Because the zip ties are sturdy and a little poky, I’d hang this on a front door, porch wall, or above a bench rather than somewhere little hands or wagging tails will brush it often.
If you prefer a softer palette: Try mustard, terracotta, tan, and muted olive for a more farmhouse-style autumn version that still keeps the same beautiful starburst effect.
For picky decorators: In my house, everybody has opinions about seasonal colors, so this is an easy one to customize. If your family leans classic, stick with orange, gold, and brown; if they like something bolder, add a few deep plum tips for extra richness.
Weather note: A covered porch is the best place for this wreath. The sealer helps, but keeping it out of direct rain will make the paint and foam form last much longer through the season.