
Old chair parts have a way of following me home, especially from little thrift stores out here where a good piece of wood still gets appreciated. This project turns four thrifted chair spindles into a rustic coat rack with plenty of charm, and it is the kind of weekend make that looks far fancier than the work involved. If you like a project that saves something old, adds real function to your home, and leaves a little of that timeworn character showing, this one is a keeper.
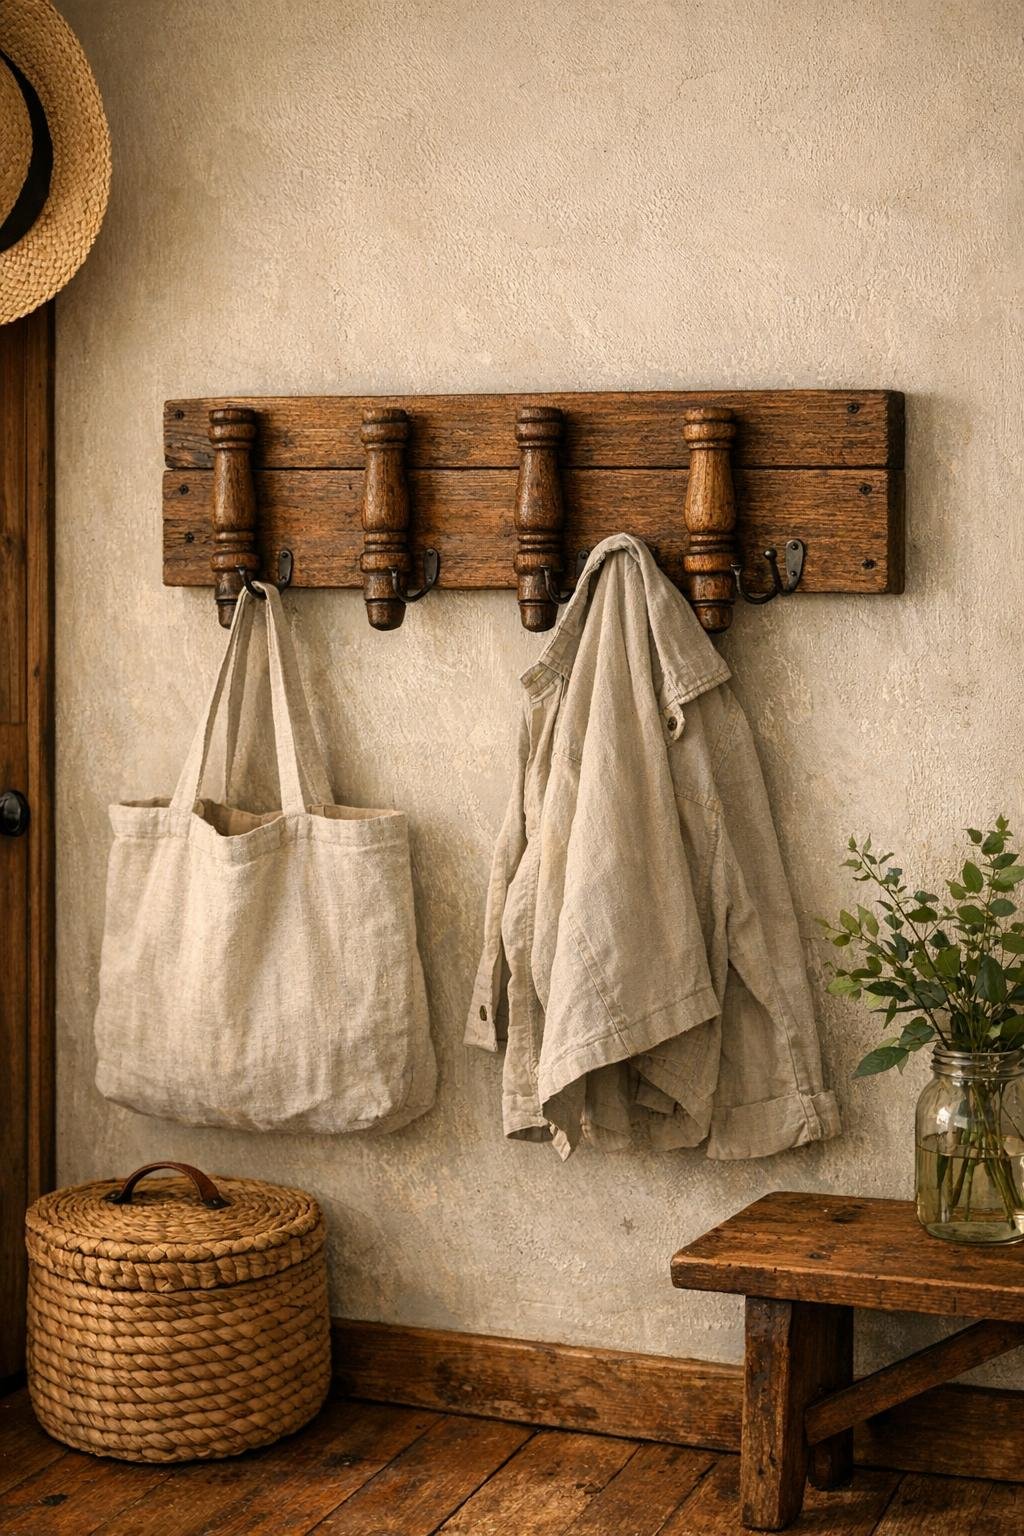
I designed this coat rack to keep the spindles front and center so you can still recognize exactly what they used to be. The turned shapes do all the decorative work for you, and with a solid backboard and sturdy pegs, you end up with a piece that is useful in an entryway, mudroom, or even a laundry room. It reminds me of the practical things our folks used to make from whatever they had on hand, only cleaned up just enough to feel right at home today.
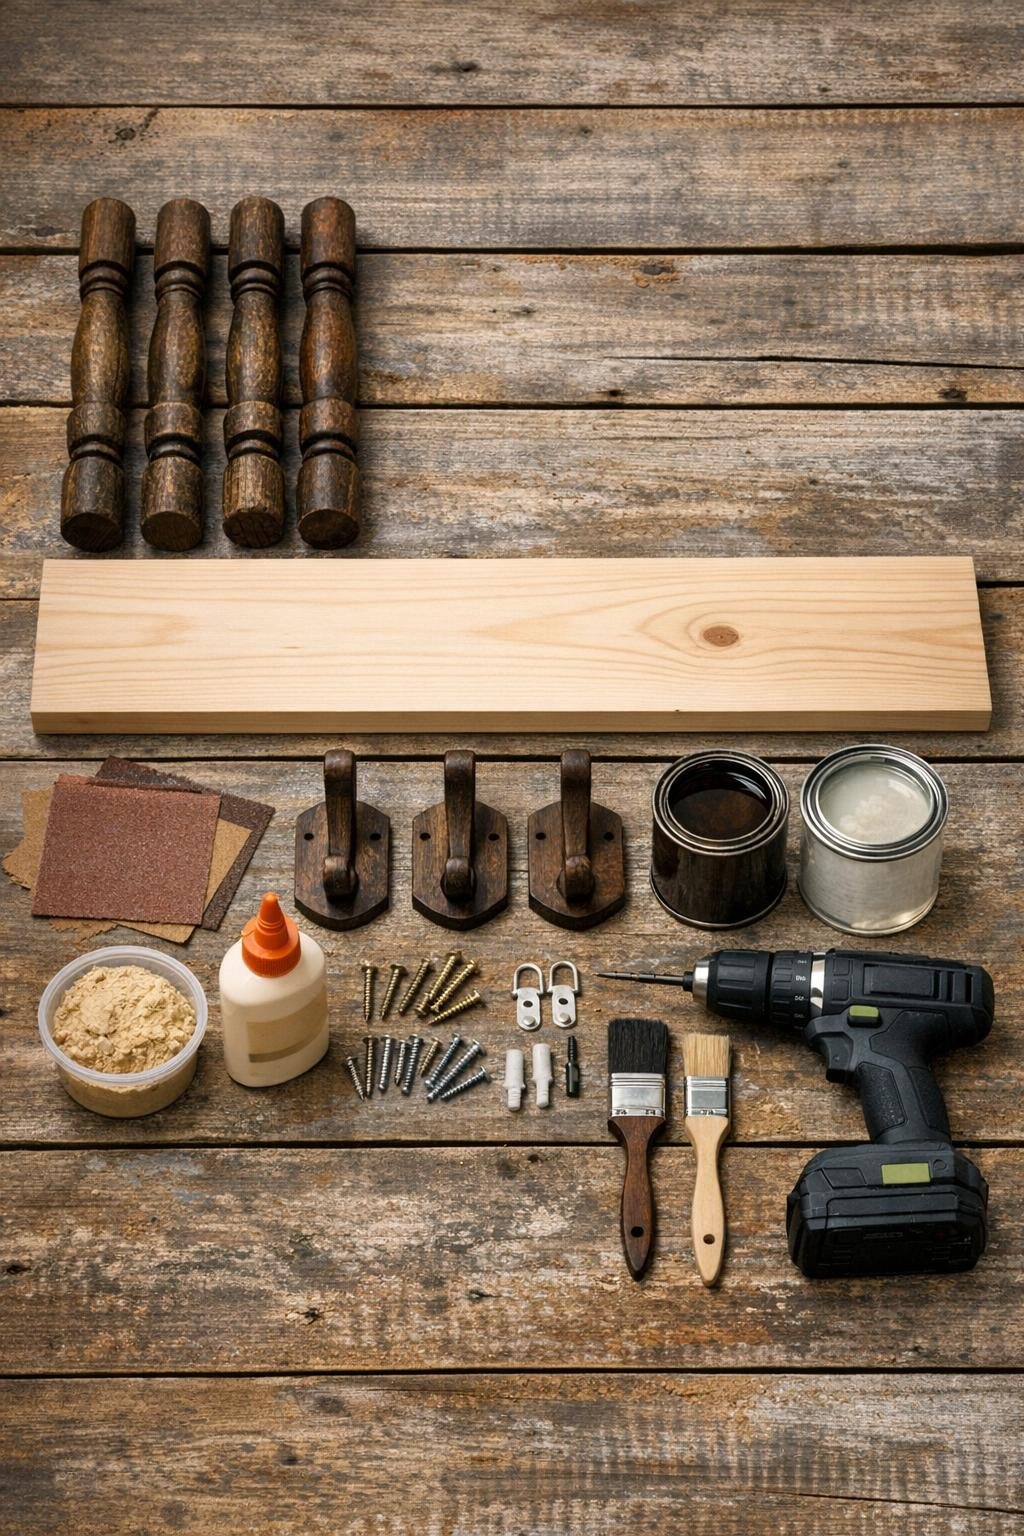
Materials
4 wooden chair spindles, 14 to 18 inches long each
Instructions
1. Wipe down the four chair spindles and the board, then check for loose finish, splinters, or cracked spots. Fill any deep gouges or abandoned screw holes you do not want showing, and let the filler dry.
2. Sand the spindles lightly with 120-grit paper to smooth rough spots without erasing their aged shape, then sand the board front and edges until everything feels even. Finish with 220-grit for a cleaner stain result.
3. Lay the board flat and arrange the four spindles vertically across the front, spacing them evenly with about 1 1/2 to 2 inches between each one. Keep the most decorative turned sections visible near the top and middle so the rack looks full and balanced.
4. Mark the spindle positions on the board, then flip the board over and mark two screw locations for each spindle from the back side. Pre-drill those holes so the board will not split.
5. Add a small bead of wood glue to the back of each spindle, set them back in place on the front of the board, and drive the 1 1/4-inch screws through the pre-drilled holes from the back. Tighten just enough to pull them snug without cracking the old wood.
6. Turn the piece over and choose spots for the three coat hooks, centering them across the rack where the hooks land between or partly over the spindle layout. Mark the holes and pre-drill shallow pilot holes for the hook screws.
7. Screw the coat hooks onto the front of the rack, checking that they sit level and feel solid. If one lands on a thicker turned section of spindle, tighten slowly and keep the hook straight as you go.
8. Wipe away dust with a tack cloth, then brush on a coat of stain over the board and spindles, working it into the turned details. Let it sit for a few minutes and wipe off the excess so the old grain and character still show through.
9. After the stain dries, brush on two thin coats of matte clear topcoat, allowing the first coat to dry before adding the second. This gives the rack a soft finished look and helps it hold up to everyday use.
10. Attach the D-ring hangers to the back near the top corners, add hanging wire if you like, and stick felt pads on the lower back corners. Hang the rack on wall anchors or studs so it can handle coats, bags, and everyday use.
Variations & Tips
Painted farmhouse finish: If you prefer a lighter look, paint the board a soft cream or sage green and leave the spindles stained dark for contrast. That mix of painted and natural wood gives the piece an old-house feel without much extra work.
More hanging space: Use four single hooks instead of three double hooks if your spindles are slim and evenly spaced. That gives every spindle its own job and makes the design look nicely intentional.
Keep the age, lose the grime: I do not try to sand old spindles down to brand-new wood unless I have to. A good cleaning and light sanding preserve the little dents and worn edges that make thrifted pieces look honest and lived-in.
Make it extra sturdy: For a busy mudroom, mount the rack directly into wall studs whenever possible. Old wood can be strong as can be, but the real secret to a coat rack that lasts is solid wall support.
Add a simple finishing touch: A narrow strip of burlap ribbon tied around one outer hook for the season, or a tiny dried wreath hung from the center hook, gives this piece a sweet finished look without covering up the spindle details.
Best place to use it: This rack is especially handy by a back door where coats, market bags, and dog leashes tend to pile up. Around here, anything that helps keep everyday clutter off the kitchen chairs is worth making twice.