
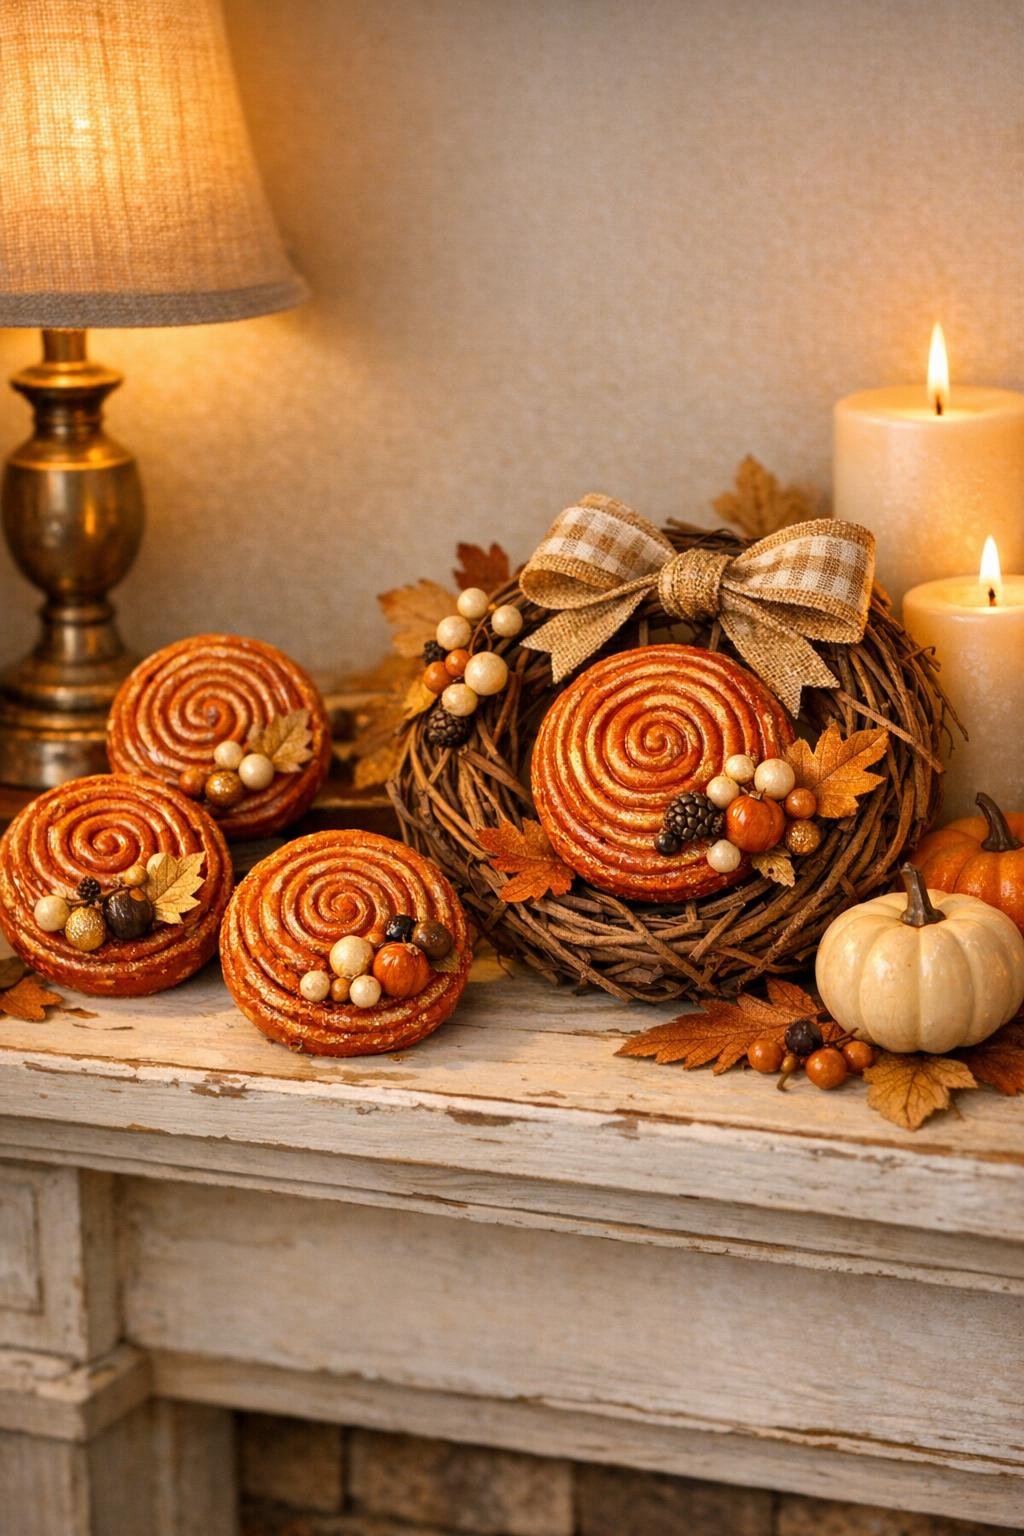
There is something so satisfying about turning the simplest little swirl of hot glue into a finished piece that looks far fancier than it ought to. This harvest medallion starts exactly the way the headline promises—by squeezing hot glue into a silicone muffin mold in loose spirals—and with a few easy layers of paint and autumn details, those glue rounds become rich, carved-looking decorations you can use on a wreath, tuck into a centerpiece, or prop on a mantel.
I especially love this project for busy seasons when I still want the house to feel warm and dressed up, but I do not want to drag out a complicated supply list. If you can handle a glue gun and a paintbrush, you can make these, and because we are making a full batch at once, the final result feels generous and polished instead of like a one-off little craft.
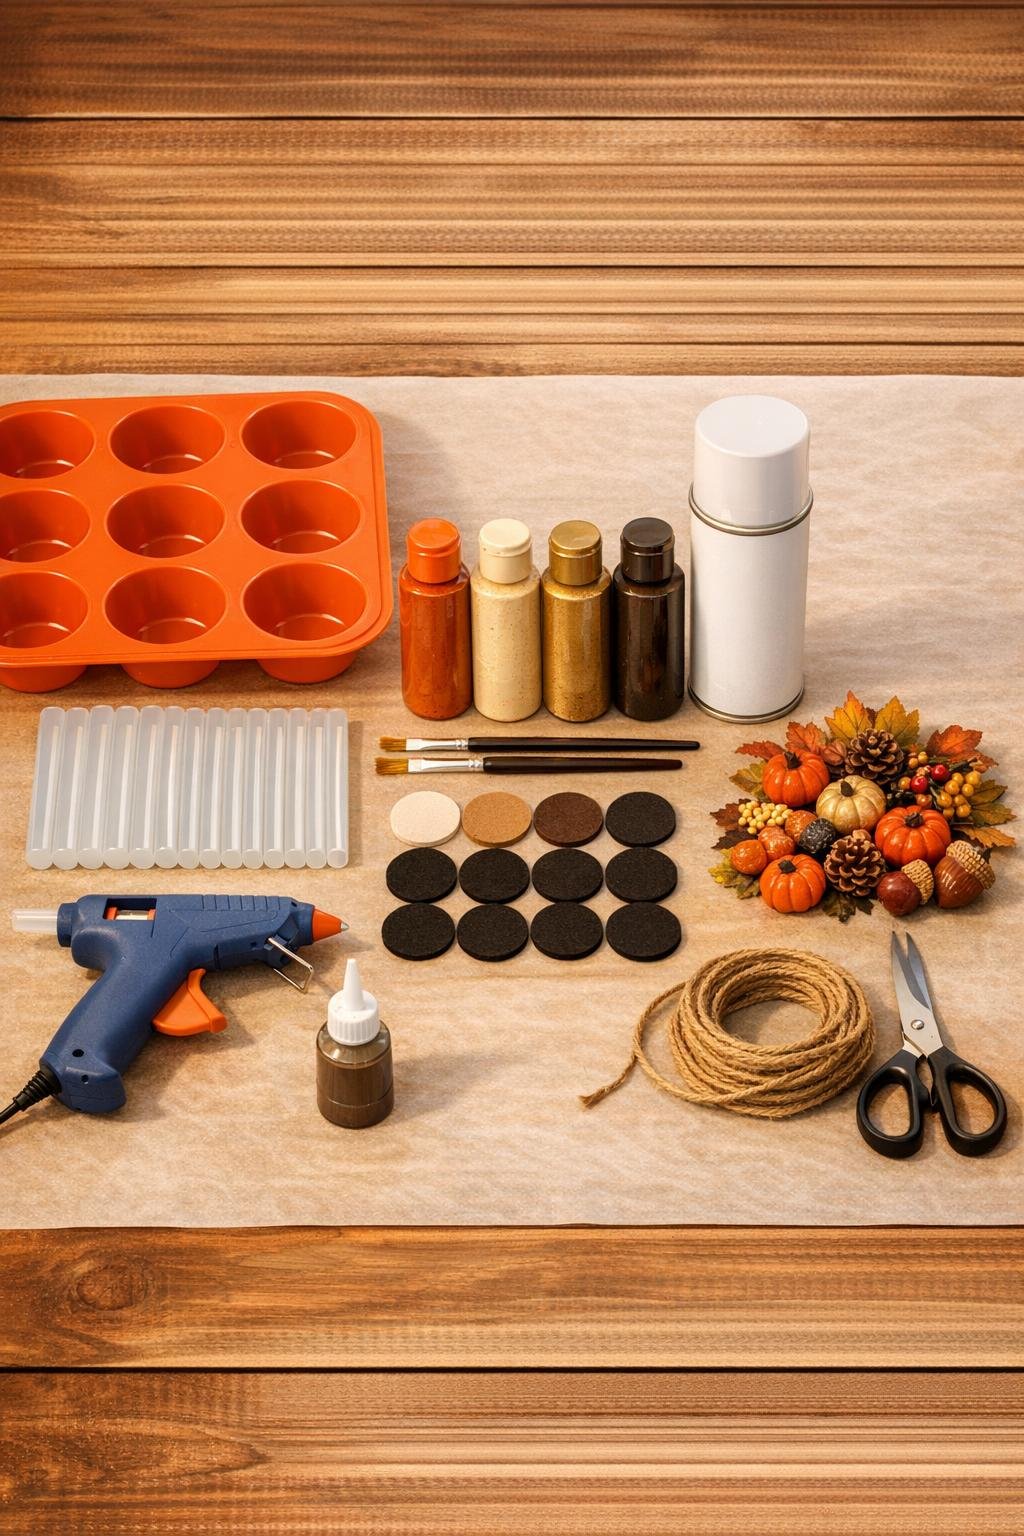
Materials
Instructions
1. Set the silicone muffin mold on top of parchment paper and plug in the glue gun so everything is stable before you begin. Warm the glue gun fully so the glue flows smoothly instead of making lumpy starts and stops.
2. In one muffin cup, squeeze the hot glue in a loose spiral starting at the center and working outward, leaving tiny gaps here and there for a lacy look but filling most of the circle. Add an extra ring around the outer edge so the medallion has a stronger rim.
3. Repeat the spiral pattern in all 12 muffin cups, using plenty of glue so each round is sturdy and nicely detailed rather than thin and flimsy. Let the glue cool completely for 10 to 15 minutes until each piece feels firm.
4. Pop the cooled glue rounds out of the silicone mold by pressing from the bottom. Trim away any fine glue strings with scissors, but keep the swirled edges intact because that texture is what makes them pretty.
5. Paint the front and sides of each glue round with burnt orange acrylic paint, working the brush into all the spiral grooves. Let them dry, then give the backs a quick coat too so no clear glue shows from the sides.
6. Dry-brush cream paint lightly over the raised swirls to soften the orange and add depth. Follow with a lighter dry-brush of metallic gold on just the highest ridges so the medallions look warm and harvesty instead of flat.
7. Use the detail brush to add a very small amount of dark brown into deeper grooves and around the outer rim, then immediately soften it with your finger or dry brush. This quick shading gives the spirals a carved, antique look.
8. Spray the painted medallions with a light coat of matte sealer and let them dry fully. This keeps the paint from scratching off the flexible glue surface during decorating.
9. Glue one felt circle to the back of each medallion to give it a neat finished base and a better surface for attaching embellishments or hanging twine. Press each felt circle flat and let the glue set for a minute.
10. On the front of each medallion, glue on a small fall accent cluster—one mini flower or pinecone plus a leaf or berry piece works beautifully. Keep the embellishments centered or slightly off-center so the spiral background still shows generously.
11. Cut twelve 9-inch lengths of jute twine and glue or knot each into a loop on the back if you want to hang the medallions individually. If you plan to tuck them into a wreath or centerpiece, leave some without loops for easier styling.
12. Arrange the finished medallions as a full set so they read as a collection, not just single pieces—hang a few on a garland, layer some into a bowl display, or add several to a wreath for the biggest payoff. Making the whole dozen is what gives this project that mind-blowing finished look from such a humble start.
Variations & Tips
For a fuller wreath look: If you are adding these to a wreath, make 12 medallions and cluster them in groups of three or four around the form rather than spacing them too far apart. Dense placement makes the project look intentional and lush.
For picky decorators: In my house, not everyone loves glittery fall decor, so I keep some medallions more rustic with just orange and brown shading, and finish others with the gold highlights. That way you can mix fancy and simple in the same display.
Color swap: Try deep mustard, olive, burgundy, or copper instead of burnt orange if that suits your room better. The cream dry-brush is the secret step that helps any darker base color show its texture.
Best glue thickness: Do not make the spirals too skimpy. A generously filled muffin cup bottom gives you a medallion that pops out in one piece and holds embellishments without folding.
Center embellishment idea: Tiny burlap bows, wooden buttons, acorn caps, or one larger sunflower center all work well. I like using mixed accents so the set looks collected and abundant.
Display tip: These look especially pretty tucked into a shallow wooden bowl with pinecones and mini pumpkins, or tied onto a fall garland down the center of a table. Grouping several together gives you the biggest visual payoff.
Storage: Because hot glue can bend under pressure, store the medallions flat in a box with parchment between layers. That little bit of care keeps all the painted swirls looking crisp for next year.