
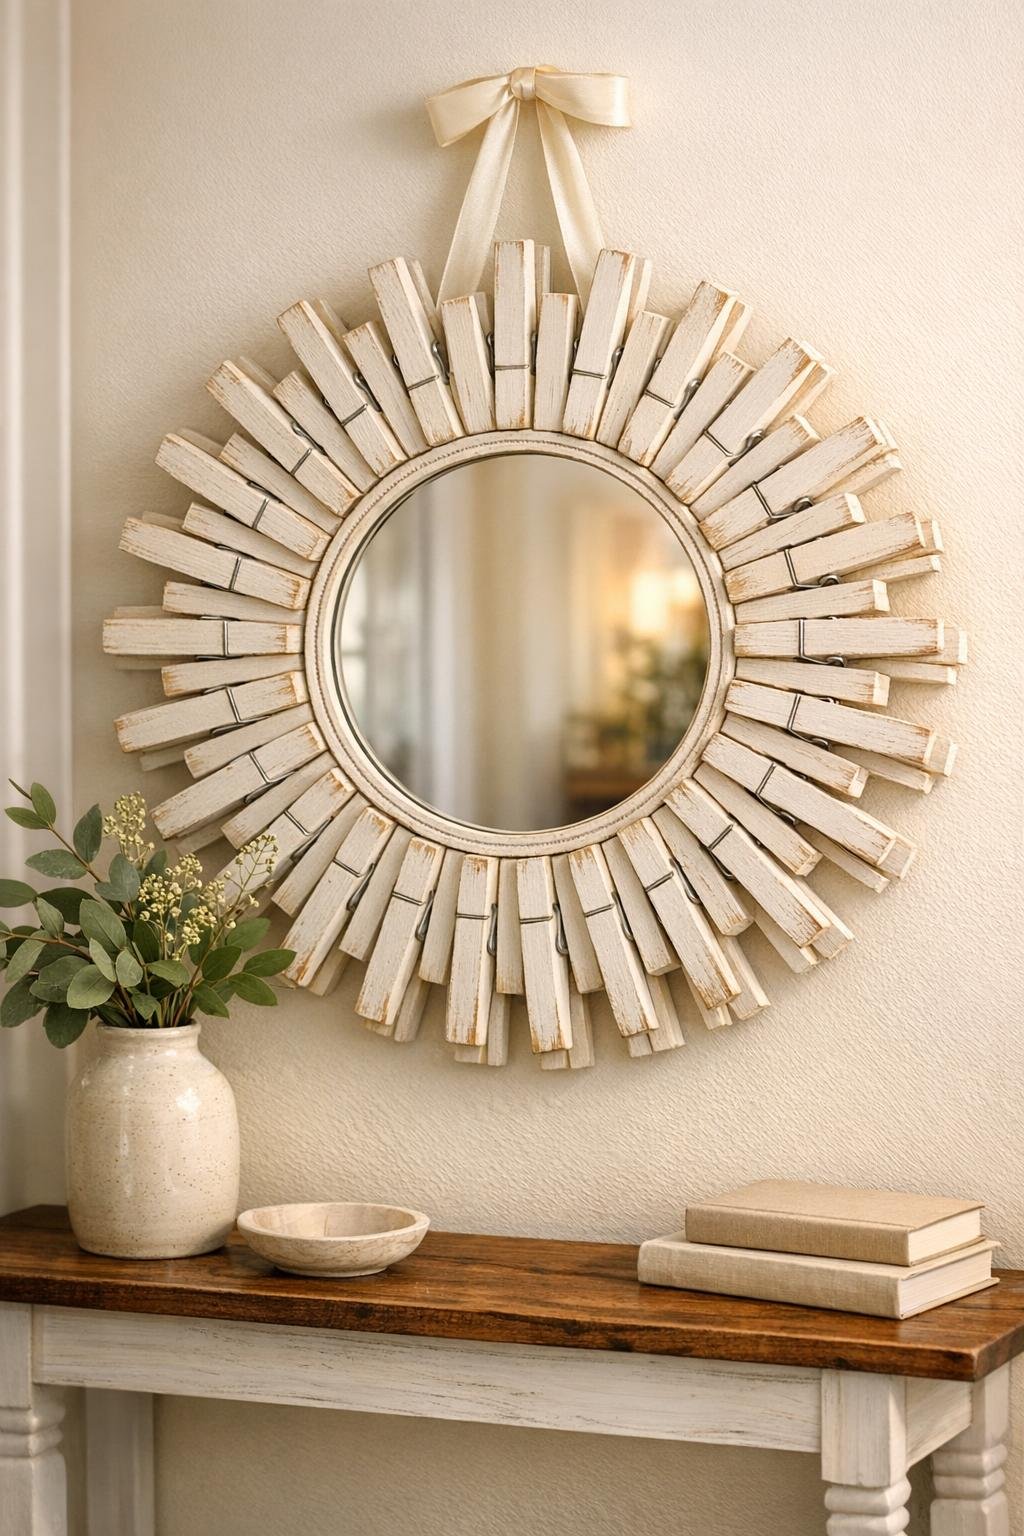
There’s something mighty satisfying about taking the plainest little household item and turning it into something that looks like it came from a nice boutique shop. This clothespin starburst mirror frame does exactly that. With a simple cardboard ring, a stack of dollar store clothespins, and a mirror in the center, you get a full, sunburst-style piece with lots of texture and charm for not much money at all.
I’m especially fond of projects like this because they remind me of the old make-do spirit I grew up with—using what’s on hand, stretching a dollar, and still ending up with something beautiful enough to hang with pride. If you like easy crafts with a big payoff, this one is for you. It’s simple enough for a beginner, but once it’s painted and finished, it looks far more special than the effort it takes.
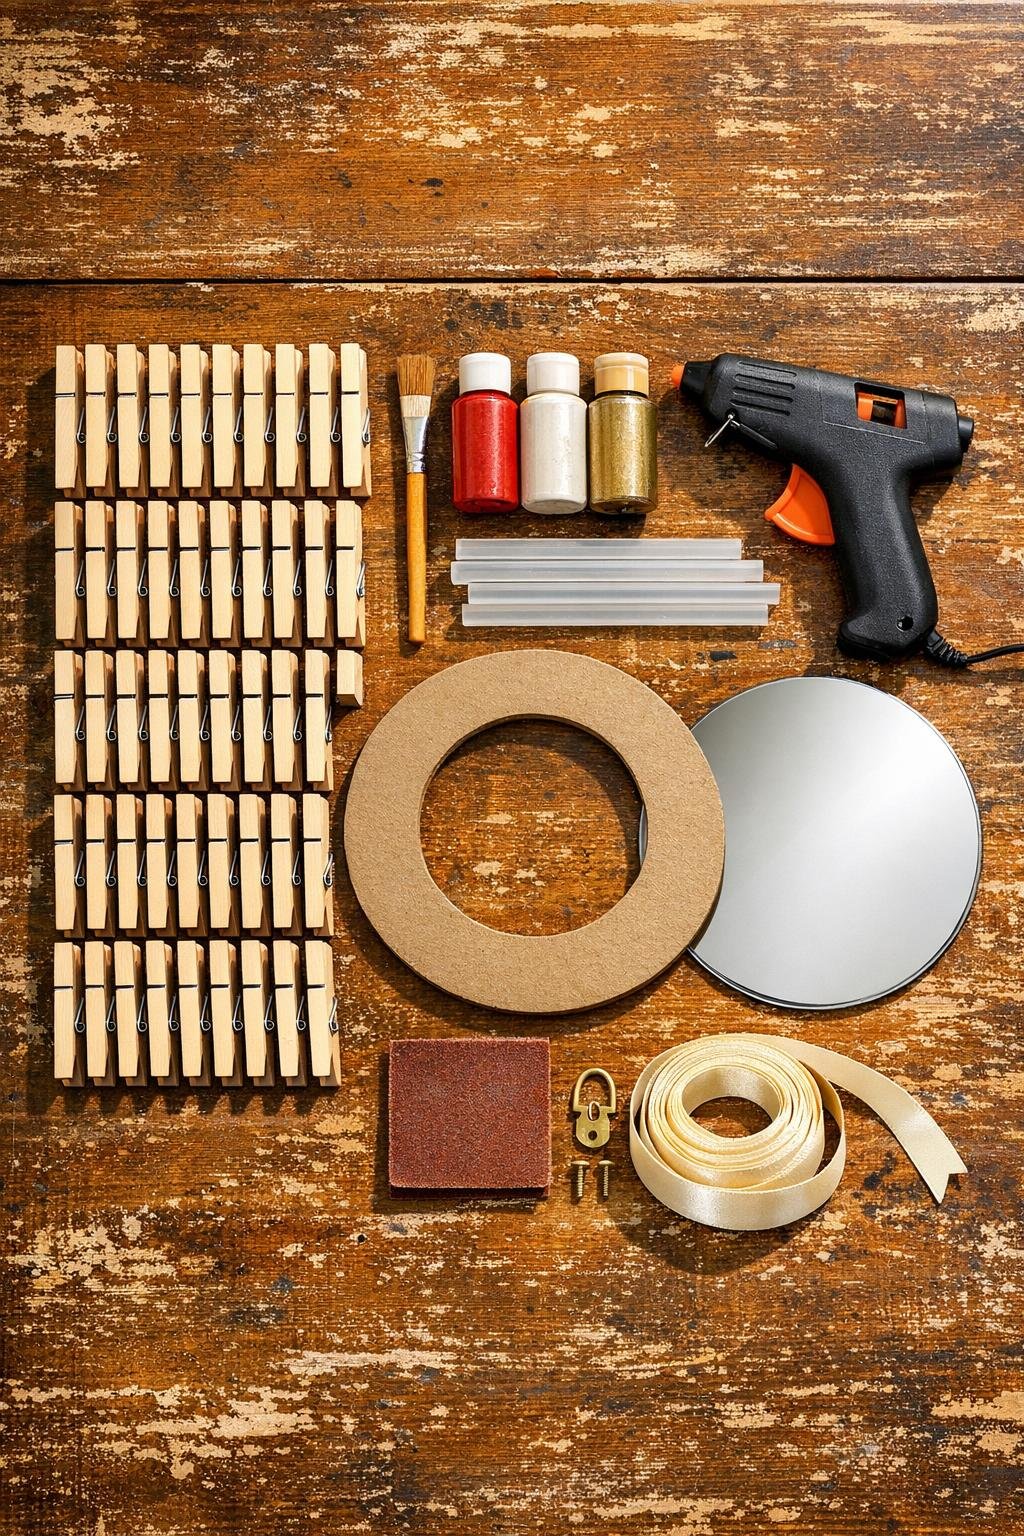
Materials
Instructions
1. Cut a clean cardboard ring with a 12-inch outer circle and a 6-inch inner opening, then trim any rough edges so the clothespins will sit evenly all the way around.
2. Lightly sand the face and edges of the cardboard ring and the outer sides of the clothespins if they feel rough, then wipe away dust with a dry cloth.
3. Start clipping the clothespins around the outer edge of the ring, spacing them evenly and keeping all the pin openings facing inward toward the center hole.
4. Continue until all 50 clothespins are attached, adjusting them so the pointed ends form a full, balanced starburst with no large gaps.
5. Run a bead of hot glue where each clothespin grips the cardboard ring on the back side, then let the glue cool completely so the frame becomes sturdy and permanent.
6. Paint the front, sides, and visible inner edges of the clothespins and cardboard ring, working the brush into the grooves so no cardboard peeks through from the front.
7. Let the paint dry, then add a second coat if you want fuller coverage or a richer finish; for more depth, dry-brush a little metallic paint or antiquing glaze over the tips and ridges.
8. Seal the painted frame with a clear matte sealer and let it dry fully before adding the mirror.
9. Turn the frame face down and center the round mirror over the opening from the back, then glue it in place with strong craft glue so the reflective side shows neatly through the front.
10. If the mirror needs extra support, glue a square of felt or cardstock behind part of it once the first glue layer has set, being careful not to cover more than necessary.
11. Attach a loop of ribbon, twine, or jute to the back with hot glue and an extra patch of cardboard or felt over the ends for reinforcement.
12. Check the front for bare spots, touch up the paint if needed, and add a simple finishing accent like a small bow or tiny greenery sprig only if you want a softer decorative look.
Variations & Tips
Farmhouse finish: Paint the frame matte white, cream, or soft black, then lightly sand the edges so the clothespin ridges show through a bit. That weathered look suits this project beautifully.
Natural wood look: If you love the plain wood as-is, skip the paint and use only a clear sealer. It gives the mirror a warm, Scandinavian sort of feel while still showing off the clothespins.
Metallic version: Gold, bronze, or champagne paint turns this into something quite dressy. I like to keep the metallic coat light enough that the shape of each clothespin still reads clearly.
Mirror sizing tip: Test-fit the mirror before gluing anything. You want it to cover the center opening nicely without hiding too much of the inner clothespin shape from the front.
Keep it even: Before gluing, stand back and look at the circle from across the room. It’s much easier to straighten a few clothespins while they’re only clipped on than after the glue sets.
Make it sturdier: If your cardboard is thin, glue two identical rings together first. That little extra thickness helps the clothespins grip better and makes the finished mirror frame feel much more solid.
Seasonal decorating: I’ve tucked in a tiny sprig of faux eucalyptus for spring and a little velvet bow for winter. Just keep embellishments modest so that lovely sunburst shape remains the star of the show.
Best place to hang it: This piece looks especially nice in an entryway, powder room, guest room, or above a dresser. Anywhere it can catch a little light, those clothespin points really shine.