
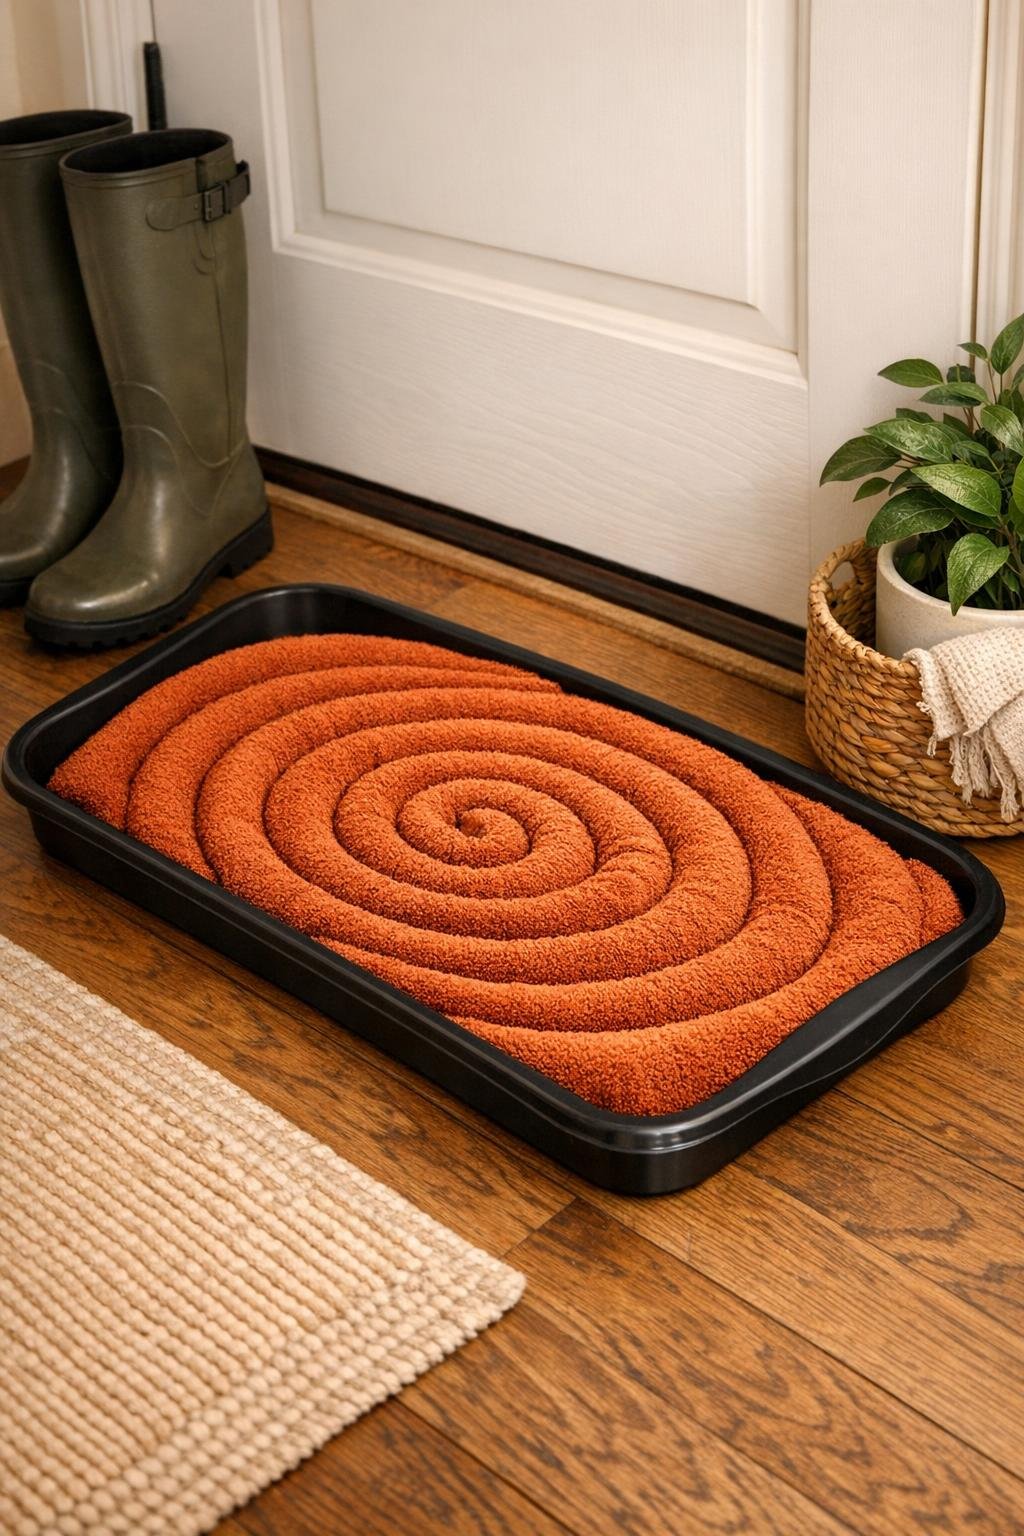
This rolled towel boot tray liner is one of those practical little projects that feels surprisingly satisfying once it’s done. You’re taking soft rust-colored bath towels, coiling them snugly inside an inexpensive plastic boot tray, and turning that plain tray into a thick, absorbent liner that looks warm, tidy, and honestly a lot more intentional than a bare rubber tray by the door.
I love projects like this because they solve a real family problem without needing fancy supplies or a full afternoon. If you have kids running in with wet shoes, muddy sneakers by the back door, or guests dropping boots in a heap, this gives you a cushioned spot that soaks up moisture and still looks cozy. It’s especially nice for anyone who wants an easy entryway upgrade with no sewing and no complicated tools.
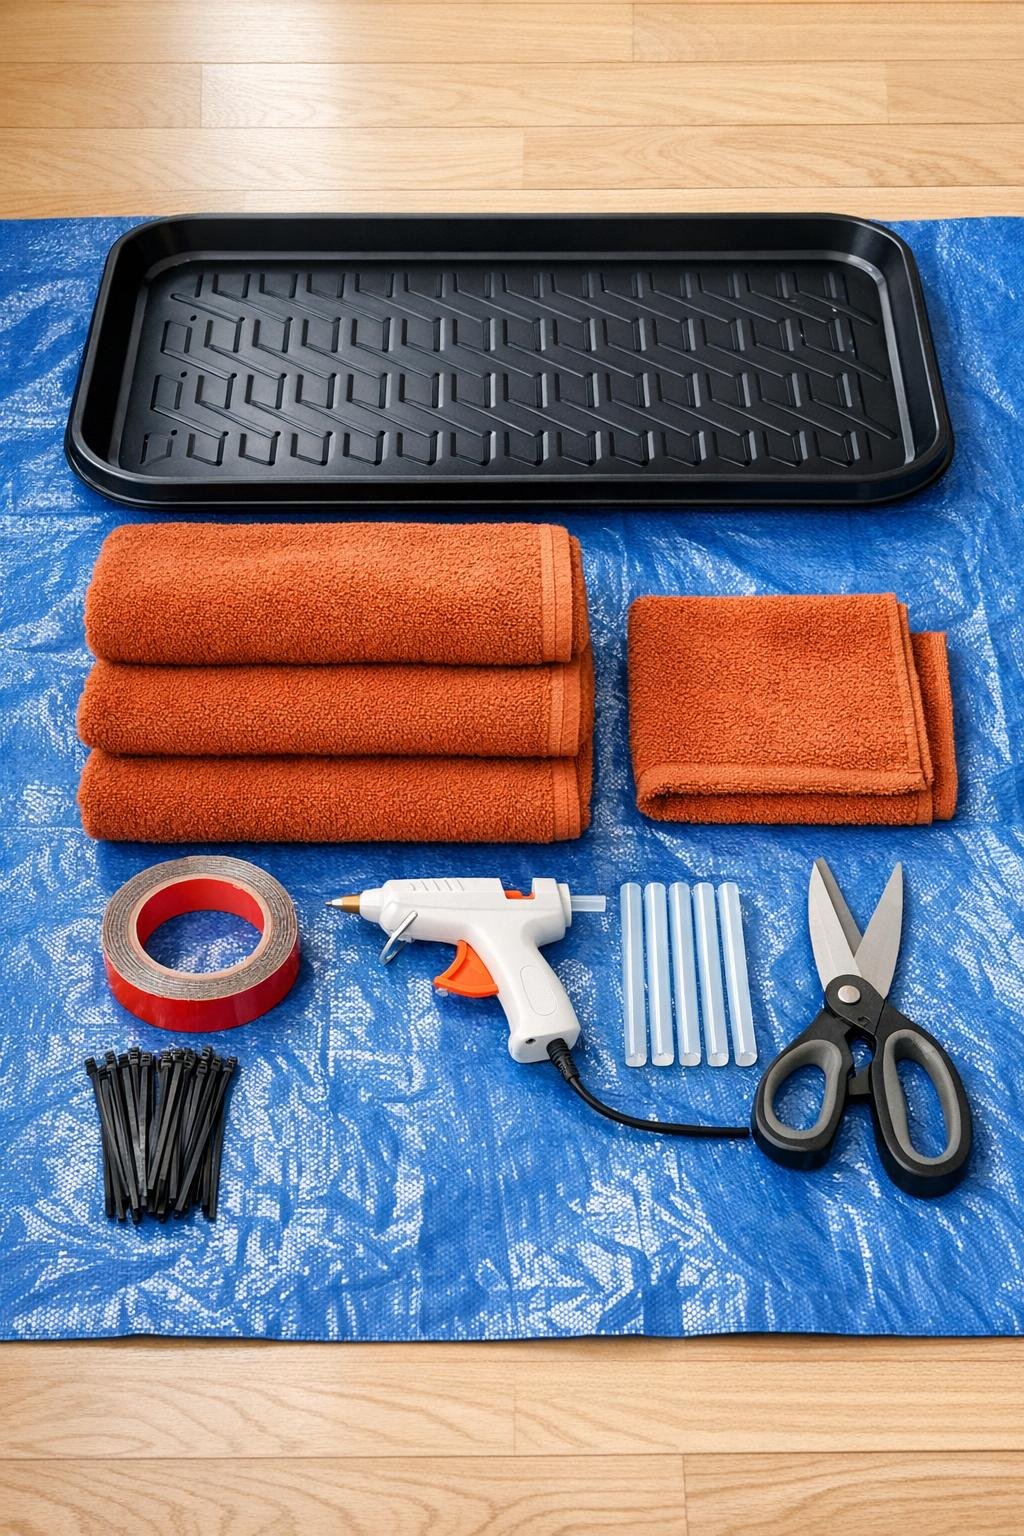
Materials
Instructions
1. Spread the blue tarp on your work surface and set the boot tray on top so it doesn’t slide while you build the liner.
2. Roll one bath towel lengthwise into a tight tube, then begin coiling it into a flat spiral about the size of your palm; keep the rolled edge facing outward so the spiral stays smooth and even.
3. Add a short line of hot glue every 4 to 5 inches along the towel as you coil, pressing each new round tightly against the last so the spiral holds its shape.
4. Continue rolling and coiling the first towel, then overlap the end of the next towel by 3 inches, glue that join, and keep coiling to make one large continuous spiral.
5. Build the spiral until it is large enough to press firmly into one corner of the boot tray, then shape the outer rounds slightly by hand so they follow the tray’s curved corner.
6. Keep coiling inside the tray, working outward from that first corner and across the bottom, gently flattening and nudging each round so the towel fills the tray wall to wall.
7. If the spiral wants to lift, run strips of mounting tape along the tray bottom under the next section of coil and press the towel down firmly to anchor it.
8. Use zip ties around a few outer coil sections where needed by threading them through existing low tray ridges or edge openings if your tray has them; trim the excess so nothing catches on boots.
9. When you reach the opposite end, use the hand towel to finish smaller gaps or narrow sections, rolling it tightly and gluing it in place so the whole tray looks full and intentional.
10. Add small dots of hot glue between any loose rounds, then press down around the entire surface with both hands so the liner sits level and dense inside the tray.
11. Trim any bulky towel tail, tuck the end under the final round with glue, and smooth the top so there are no raised edges.
12. Let the glue cool fully for 15 to 20 minutes, then place the finished tray by the door and test it with a pair of damp shoes to make sure the coils stay put.
Variations & Tips
For picky family members: If your household is fussy about “good towels,” use inexpensive thrifted or discount-store towels in the same rust shade so everyone feels happy about muddy boots landing on them.
Color variation: This looks especially pretty in rust, but deep olive, charcoal, camel, or navy also work well if you want the liner to blend into your entryway.
Extra absorbency: For a house with lots of snow or rain, make the coil slightly taller and pack the rounds very tightly so the tray holds more moisture before it needs drying.
No-glue option: If you’d rather skip hot glue almost entirely, rely more heavily on mounting tape under the coils and use additional zip ties at the tray edges to keep everything snug.
Cleaning tip: Because boot trays get hardworking use in a family home, I like to let the tray dry out fully every couple of days; if the towels get too damp or muddy, you can cut the securing points, wash the towels, and rebuild the spiral.
Better fit tip: Every dollar store tray is a little different, so dry-fit your coil often as you work instead of making one giant spiral off to the side first.
Gift idea: Pair the finished tray with a pair of guest slippers or a little basket of winter gloves for a thoughtful housewarming or holiday gift.