
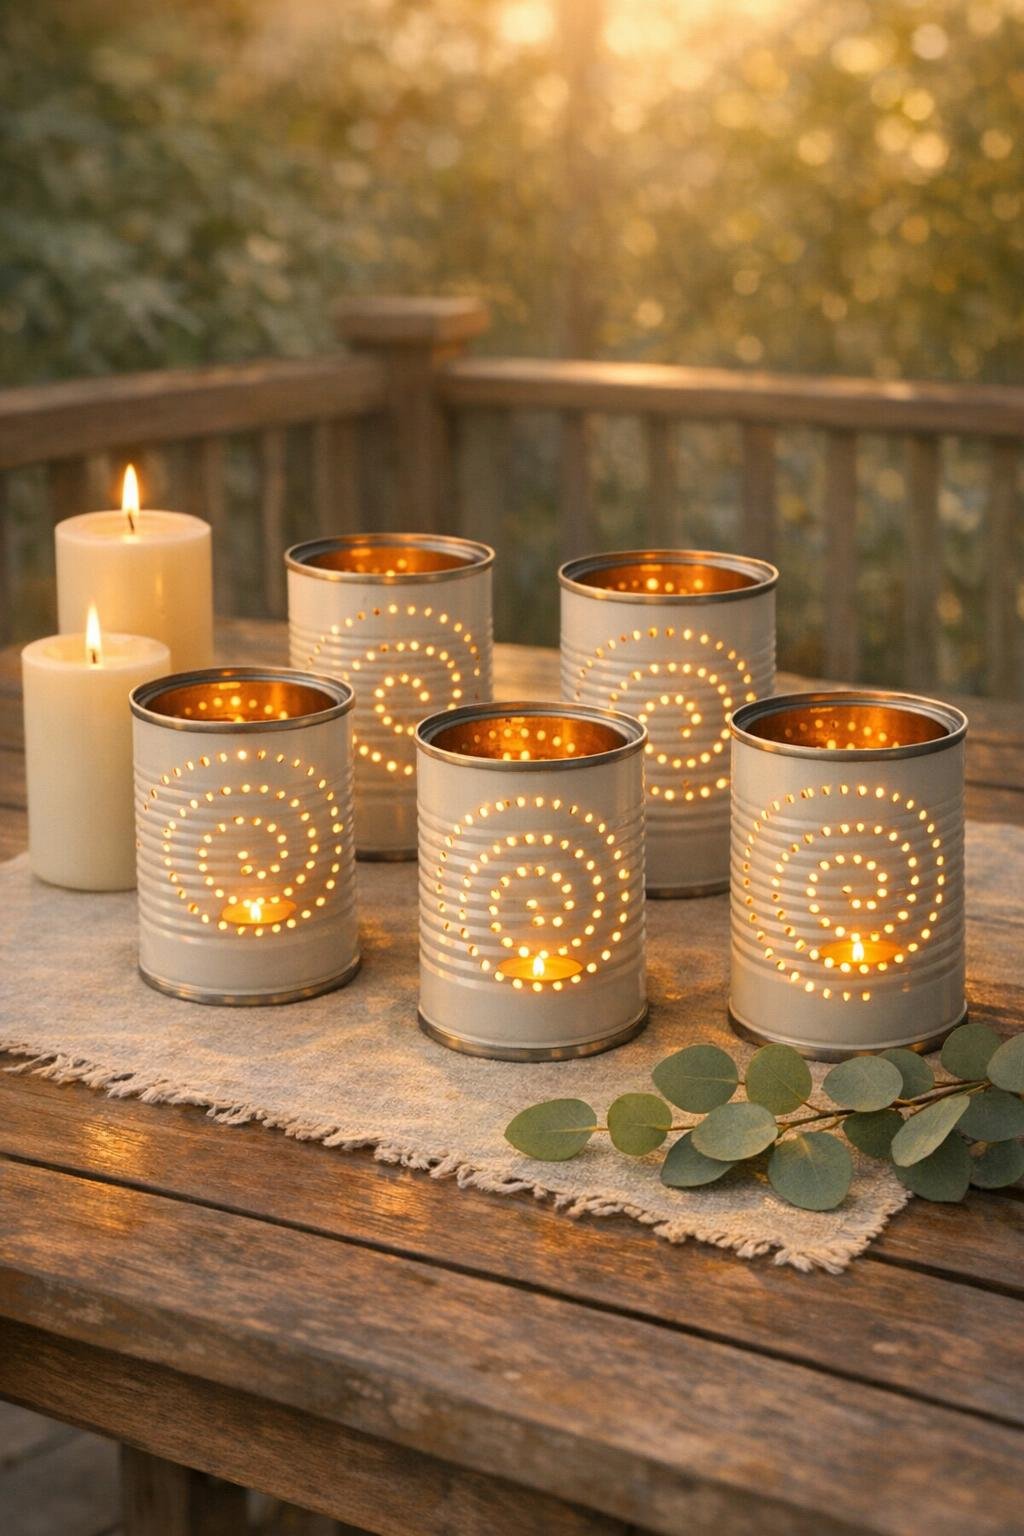
I love a project that turns pure recycling-bin odds and ends into something that looks far fancier than it has any right to, and these punched soup can candle sleeves are exactly that kind of win. By hammering simple nail holes into empty soup cans in a spiral pattern, you can make a glowing set of lantern-style candle holders that throw the prettiest dotted light once the candles are lit.
This is an especially good weekend craft if you want a big visual payoff without needing a craft room full of supplies. I like making a batch of six at once so they look intentional on a porch, dining table, or mantel, and the repeated spiral design gives the whole set that polished, collected look with very little fuss.
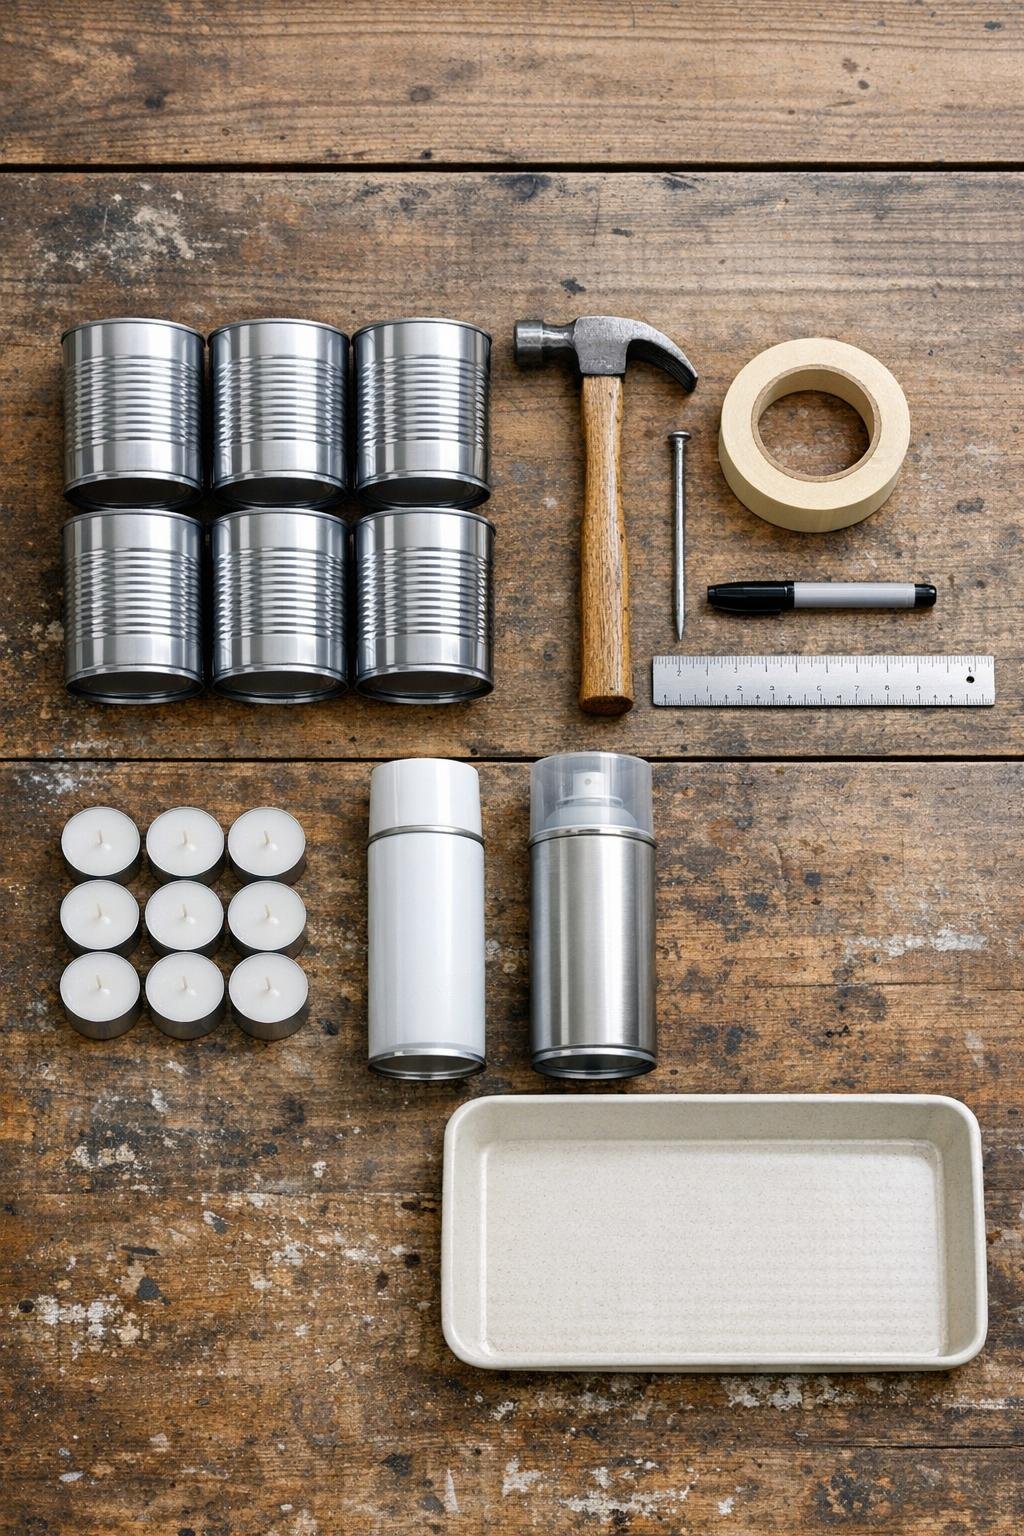
Materials
6 empty soup cans, standard 10.5-ounce size, labels removed and edges checked for safety
Instructions
1. Wash the soup cans thoroughly, remove the labels and glue, and make sure the top edges are smooth and safe to handle. Dry them well so the marker will stick.
2. Fill each can almost to the top with water and freeze them until solid, about 4 to 6 hours. This is the trick that keeps the can walls from denting too much while you hammer.
3. Wrap a strip of masking tape around the middle of each frozen can to use as a guide, then mark dots in a spiral pattern from the lower side of the can upward to the top. Keep the dots about 1/2 inch apart so the metal stays sturdy and the glow looks full once lit.
4. Set one can on a folded towel or shallow tray on your workbench, place the nail tip on the first marked dot, and tap it with the hammer until it pierces the metal. Work slowly and keep your non-hammering hand clear of the striking path.
5. Continue punching holes at every marked dot, rotating the can as you go to keep the spiral even. Make each hole just large enough for light to shine through clearly without tearing the metal.
6. Repeat the same pattern on the remaining five cans, aiming for roughly 35 to 45 holes per can for a dramatic glow. If the ice starts melting, return the cans to the freezer for a bit before finishing.
7. Let the ice thaw enough to slide out, then empty and dry the cans completely. Wipe away any marker lines once the metal is dry.
8. If you want a brighter finished look, spray paint the outsides of the cans with 2 light coats of white paint, letting them dry between coats. I like white because it looks clean during the day and makes the punched pattern stand out beautifully at night.
9. Seal the painted cans with a light coat of clear matte or satin sealer if you plan to use them on a porch or want them easier to wipe clean. Let them cure fully before adding candles.
10. Place one tea light inside each can and set the finished sleeves in a grouped arrangement on a table, mantel, or porch step. For real candles, use them only on a heat-safe surface and never leave them unattended.
Variations & Tips
Pattern option: If you want variety, make three cans with a tight spiral and three with a wider spiral spacing. The set still looks coordinated, but the mixed light patterns feel extra special once they are grouped together.
Color idea: Matte black, sage green, or hammered bronze spray paint all look gorgeous if white is not your style. Just keep the coats light so the punched holes stay crisp and open.
Safer glow: Battery tea lights are a great choice if you have kids, pets, or plan to style these on a shelf. You still get the dotted spiral effect without any open flame.
Make them steadier: Add small felt pads or rubber dots to the bottoms if you are using the cans on a dining table or painted furniture. It is a tiny finishing touch, but it makes them feel much more polished.
Batch-making tip: I like to mark all six cans first, then punch all six, then paint all six assembly-line style. When I am balancing work and trying to squeeze in a project after dinner, that little bit of batching makes the whole thing feel faster and much less messy.
Outdoor note: These are best in a covered outdoor spot if you use real tea lights. If rain is likely, bring them in so the cans keep their finish looking nice longer.