
There is something wonderfully satisfying about turning plain shipping cardboard into a basket sturdy enough to use every day. I have always had a hard time throwing away a good box, and this project reminds me of the old make-do spirit I grew up around, where a little patience and a sharp pair of scissors could turn scraps into something handsome and useful.
This woven cardboard strip basket is a fine project for anyone who likes practical crafts, upcycling, or easy handwork that does not require fancy tools. The weaving is simple, the materials are humble, and the finished basket has that warm, homespun look that feels right at home holding napkins, mail, yarn, or packets in the pantry.
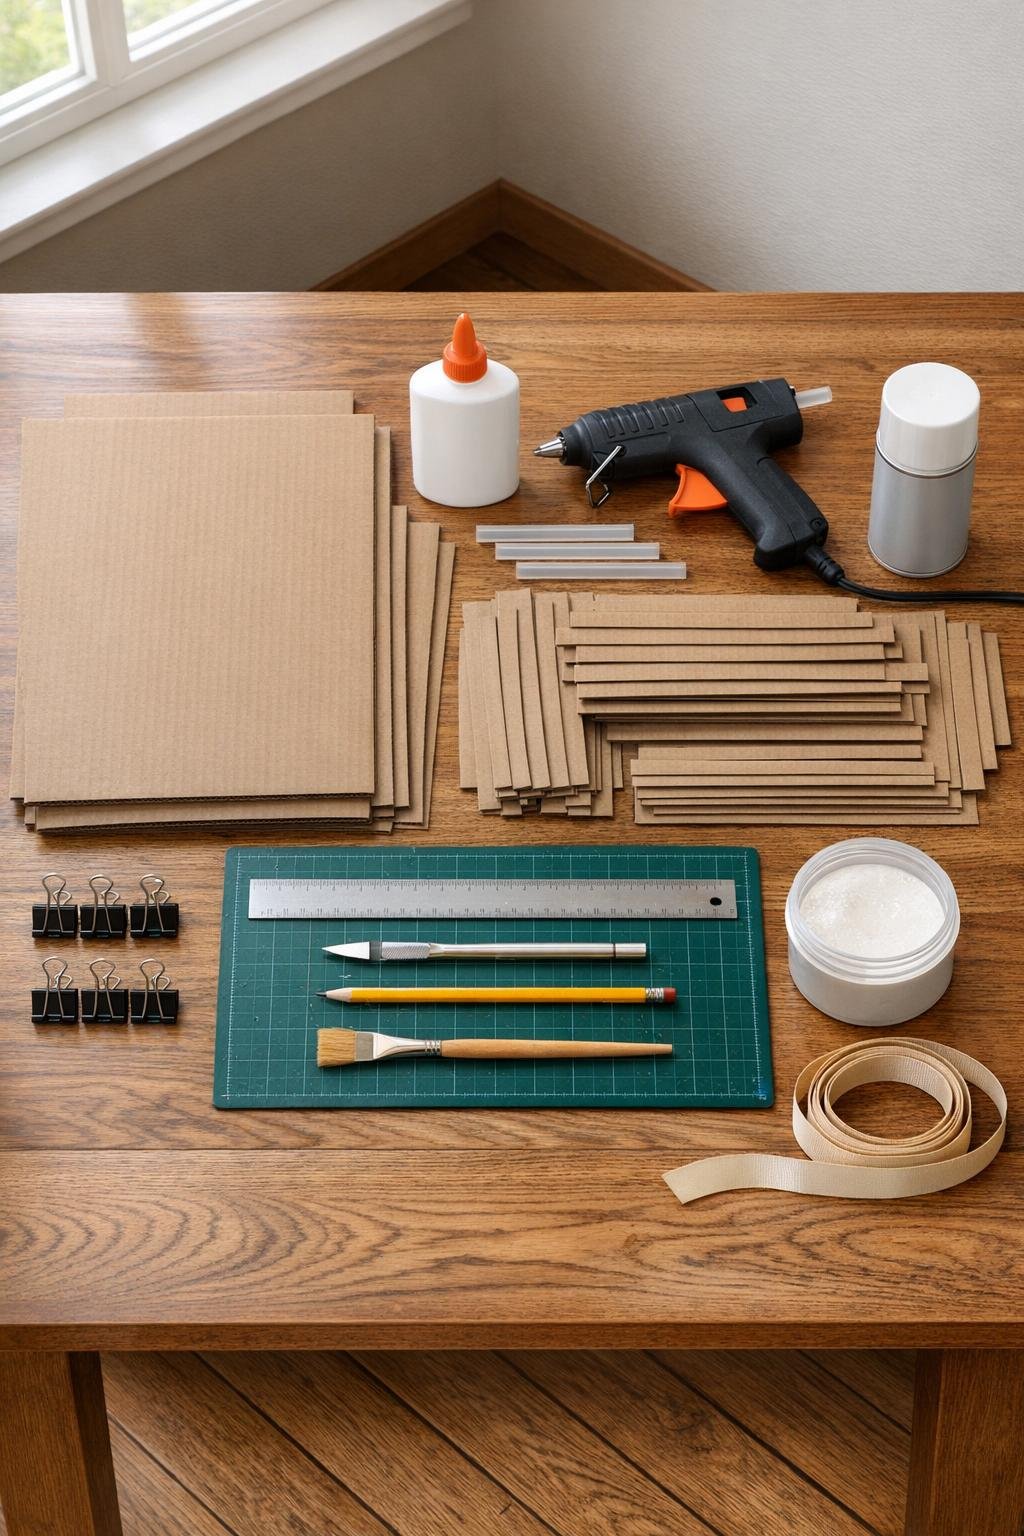
Materials
Instructions
1. Flatten your cardboard boxes and choose sections that are clean, dry, and not badly creased. Cut away taped seams and damaged corners so your strips come from the smoothest areas.
2. Mark and cut 36 strips that measure 1 inch wide by 18 inches long, keeping the corrugation running lengthwise so each strip bends neatly without falling apart. Cut one base rectangle measuring 8 inches by 12 inches.
3. If any strips feel too stiff, gently run them over the table edge to soften them just a touch without creasing sharply. This makes the weaving go more smoothly and helps the basket sides rise evenly.
4. Lay 6 strips vertically across the 8-by-12-inch base, spacing them evenly across the 12-inch width with a little over 1 inch between each strip. Glue each strip firmly to the underside of the base so 7 to 8 inches extend past both long sides.
5. Turn the base and repeat with 6 more strips across the 8-inch direction, again gluing them underneath so they cross the first set at right angles. You should now have a sturdy base with 12 upright spokes ready to fold upward around all four sides.
6. Fold all the protruding strips upward along the base edges to begin forming the basket walls. Use binder clips at the corners to hold the shape while you start the first woven row.
7. Take one weaving strip and start at a corner, threading it over one upright strip and under the next all the way around the basket. Keep the strip snug against the base and glue the tail in place where the ends overlap by 1 inch.
8. Weave the second row in the opposite pattern, going under where the first row went over. Press it down firmly so the rows sit tight and even, because this first inch sets the whole basket straight.
9. Continue weaving row by row with 10 to 12 more strips, alternating the over-under pattern each round. Add a dab of white glue at each overlap and keep pushing the rows downward so the walls become dense and sturdy.
10. Shape the corners as you go by creasing the woven strips gently at each turn. If a strip runs short, tuck the end to the inside, glue it, and begin the next strip with a 1-inch overlap so the join disappears into the pattern.
11. Stop weaving when the basket walls reach about 6 inches high or when only 1 1/2 inches of each upright strip remains above the last row. Check all sides and nudge the weaving until the top line looks level.
12. Trim any very uneven uprights, then fold each upright strip down inside the basket over the top woven row. Glue the folded ends neatly to the inside wall and clip them in place until dry to create a thick, clean rim.
13. Cut two extra strips to fit the long sides as interior rim covers, then glue them just under the top edge to hide raw ends and make the basket feel more finished. Press firmly all the way around so the rim looks smooth and substantial.
14. For a simple handle, braid or twist three 24-inch lengths of jute twine together and knot the ends. Punch or carefully cut one small hole near the top center of each short side, thread the handle through, and knot it inside the basket over small cardboard reinforcement patches.
15. Brush a little brown acrylic paint along any pale cut edges if you want a richer, more even look. Once dry, brush on a light coat of clear matte sealer inside and out to strengthen the surface and help the basket last longer.
16. Tie the ribbon in a small bow around one handle base or along the front rim for a simple finishing touch. Let everything dry completely before filling the basket with napkins, craft supplies, packets, or seasonal odds and ends.
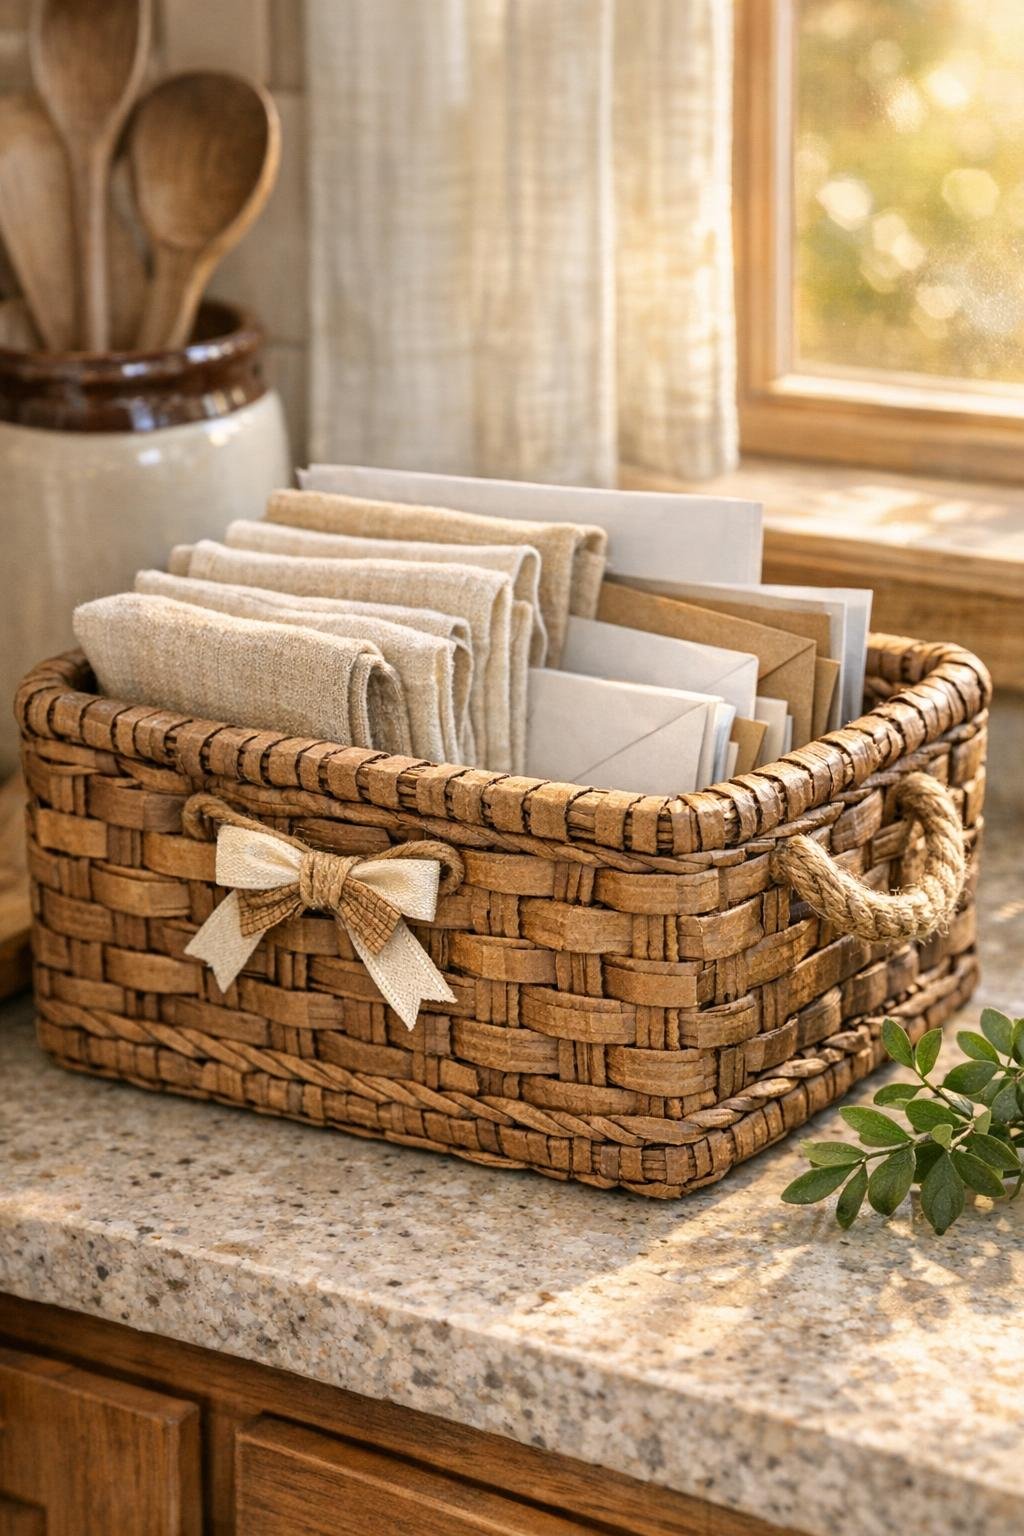
Variations & Tips
For a stronger basket: Use double-wall cardboard if you have it, or glue two strips together before weaving the first few rows around the base. That little bit of extra body makes the basket especially nice for pantry use.
For a softer finish: Cover the inside bottom with a fabric or kraft paper liner cut to 8 by 12 inches. I like this if I am using the basket for sewing notions or wrapped treats.
For cleaner cuts: Change your craft knife blade as soon as it starts dragging. Cardboard frays quickly with a dull blade, and crisp strips make the whole basket look more polished.
For color: Paint all the strips before weaving if you want a cream, black, or barn-red basket. Let them dry flat first, then weave exactly the same way.
For storage use: Make two matching baskets and size them to fit a shelf or pantry cubby. Handmade organizers like this remind me of old farmhouse cupboards, where every plain thing still had its place and purpose.