
There are some garden tricks that never really go out of style, and this is one of them. A simple punched aluminum soup can tucked into a raised bed becomes a slow, steady little water reservoir that delivers moisture right where roots need it most. When late-season beds are still producing but the mornings are starting to bite, I like having a watering method that keeps the soil evenly damp without splashing cold water all over tender leaves.
I’m making this version with just two main items: an aluminum soup can and a plastic bottle to use as a refill funnel and cover. It’s especially handy for raised beds with tomatoes, peppers, cucumbers, beans, and even a row of lettuce you want to carry a little longer before frost really settles in. It’s thrifty, quick, and the sort of practical fix my generation learned to appreciate because it uses what’s already on hand.
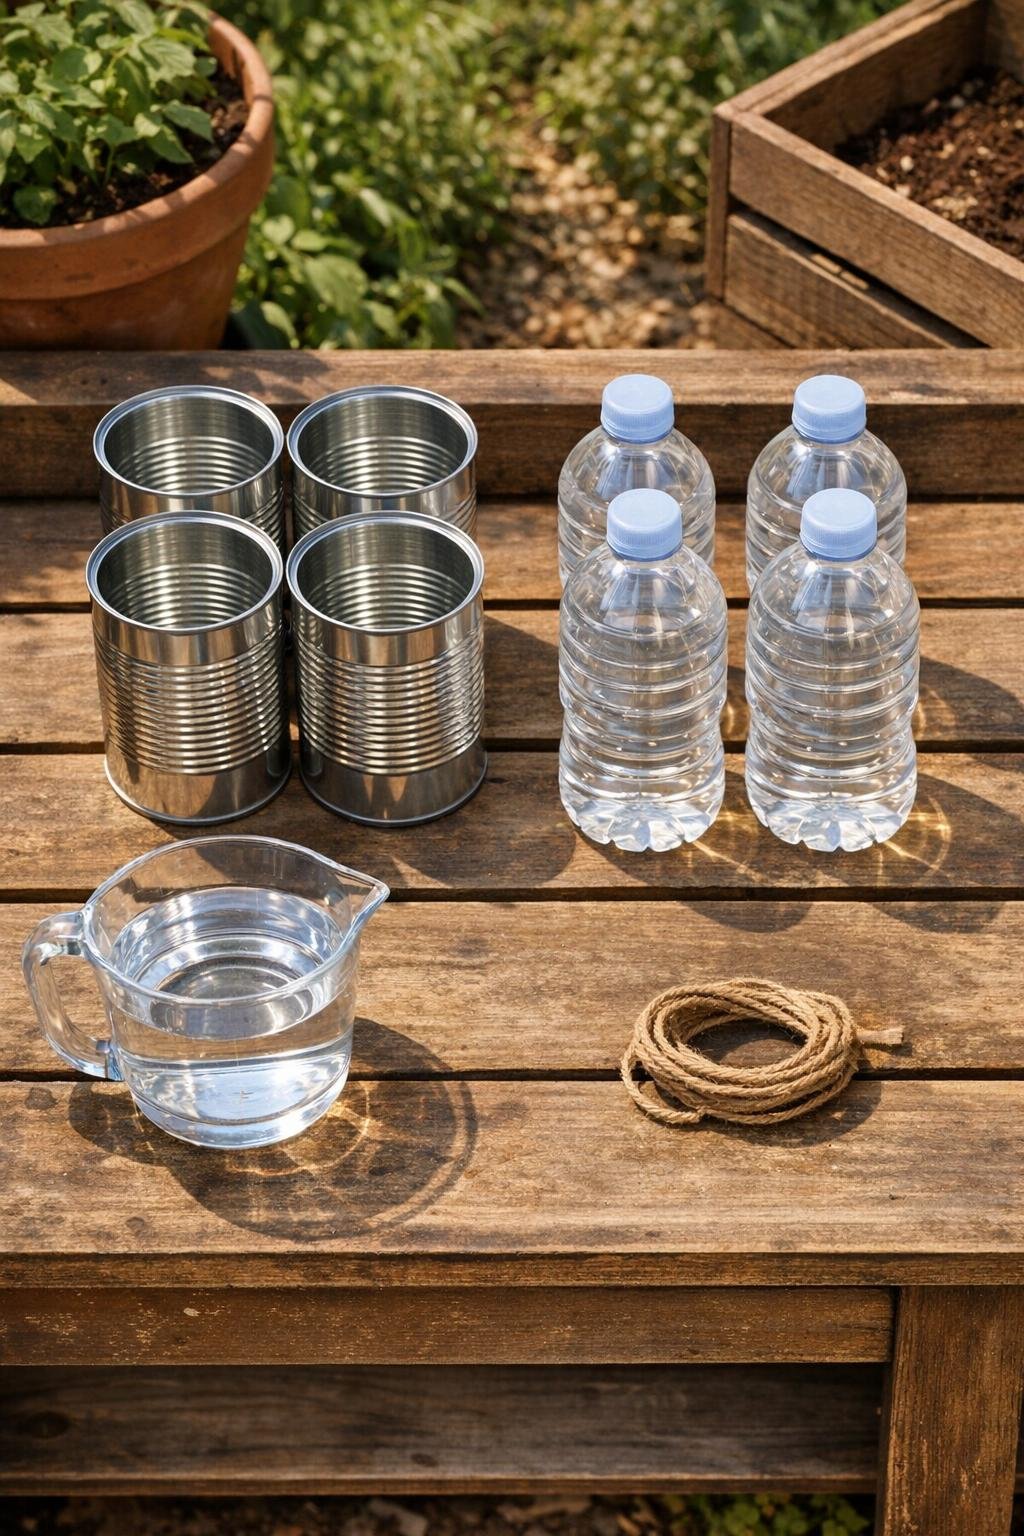
Materials
Instructions
1. Wash the soup cans well, remove the paper labels completely, and smooth any loose bits of glue so the metal surface stays clean in the bed.
2. Punch 6 to 8 small holes across the bottom of each can, spacing them evenly from center to edge so the water will seep out gradually instead of rushing in one spot.
3. Cut the bottom off each plastic water bottle, leaving the cap end intact, to make a wide refill funnel that will sit over the can and help keep soil and mulch out.
4. In your raised bed, dig a hole beside each plant or between two smaller plants deep enough so a can can sit with its rim about 1 inch above the soil line.
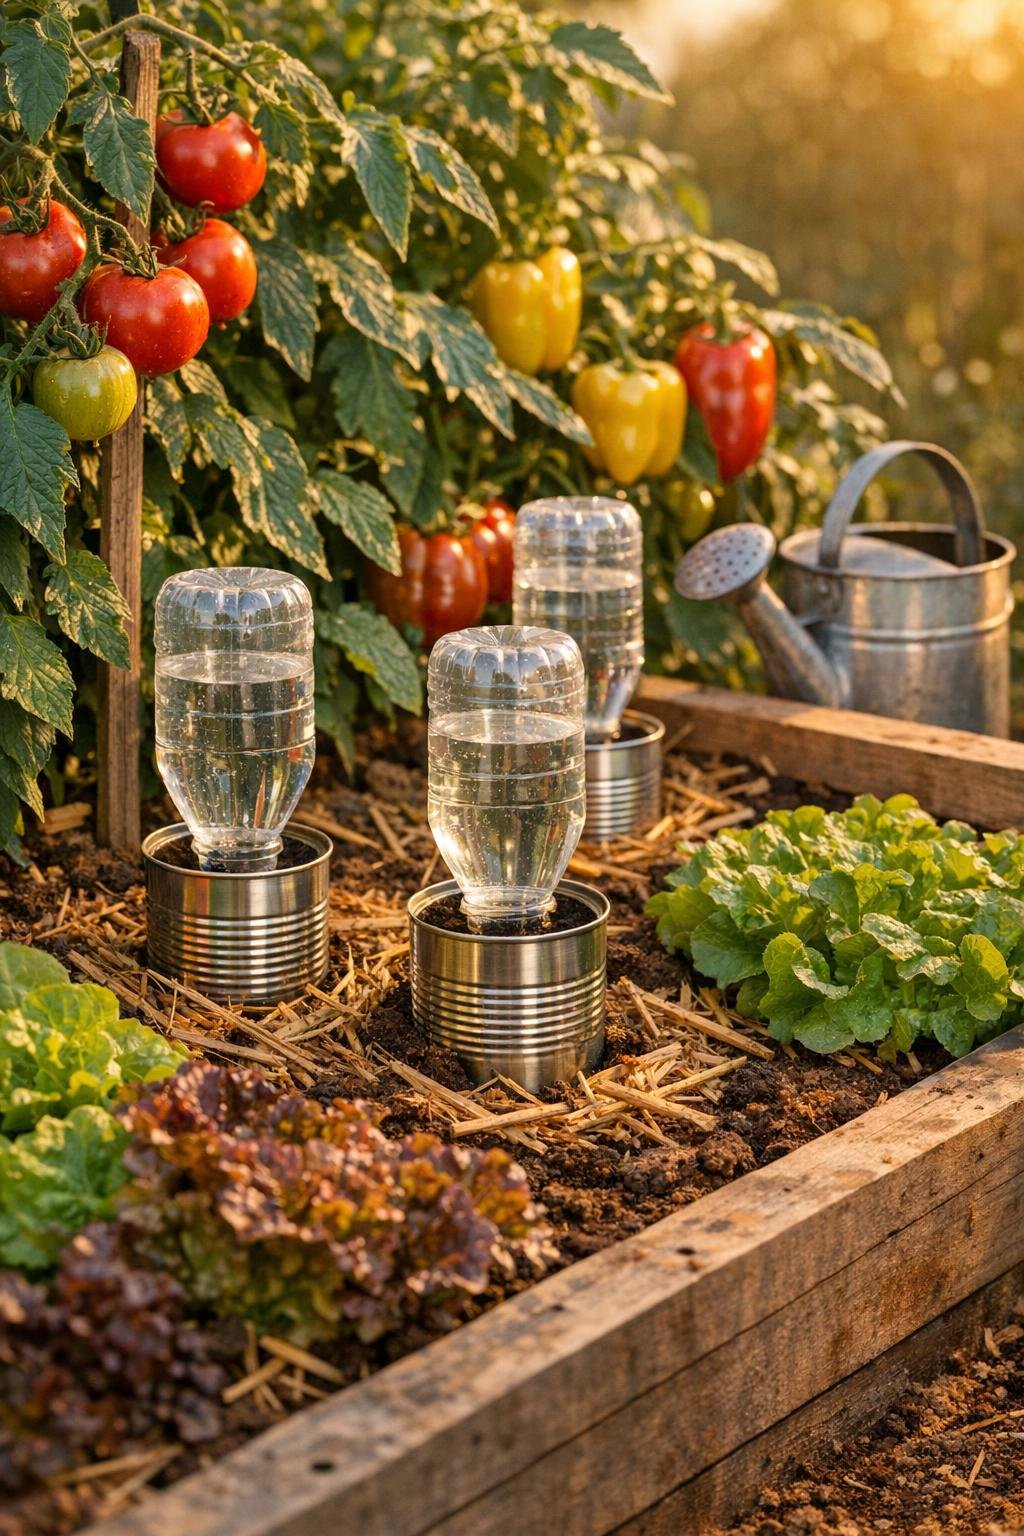
5. Set each can hole-side down into the soil, firm the dirt around it tightly, and keep the can upright so the water releases evenly below the surface.
6. Place one cut plastic bottle upside down over each can so the bottle neck points down into the can opening like a funnel.
7. Loosen or remove the bottle cap when you want a faster pour, or poke one tiny vent hole in the cap for a slower, steadier refill if you prefer more control.
8. Pour water into each bottle funnel until the can is full, then stop and let the water seep out through the holes into the root zone below the surface.
9. Test one filled can and note the drain time; if it empties in just a few minutes, use fewer holes next time, and if it stays full too long in heavy soil, add 1 or 2 extra holes.
10. Refill every day for thirsty summer vegetables, or every 2 to 3 days in cool pre-frost weather, always checking the soil 2 to 3 inches down before adding more.
Variations & Tips
Best placement: Put one can 4 to 6 inches from a large plant like a tomato or pepper, or place one can between two smaller plants so both root systems can benefit.
For mulch-heavy beds: Pull the mulch back before installing the can, then tuck it around the outside afterward; that keeps the top visible and the soil from collapsing into the opening.
For sandy soil: Use fewer holes at first because sandy beds drain quickly anyway, and you want the water to linger long enough to soak in below the roots instead of dropping straight through.
For clay soil: Add an extra hole or two and fill more slowly; heavy ground holds moisture longer, especially in cool autumn weather.
Cold-weather tip: In pre-frost season, water earlier in the day so roots can take up moisture before evening temperatures dip. That old habit makes a difference, especially with peppers and tomatoes trying to finish their last good crop.
Keep it tidy: If you’d like the bed to look a little more polished, ring each can with a thin layer of straw or shredded leaves. It softens the look and helps hold moisture besides.
Make it last: Replace cans when they begin to weaken or corrode, and rinse out the bottle funnels now and then so soil and algae do not slow your refill.
My favorite use: I rely on these most for plants that sulk when overhead watering turns chilly. It’s such a humble little setup, but like plenty of old garden wisdom, it earns its keep season after season.