
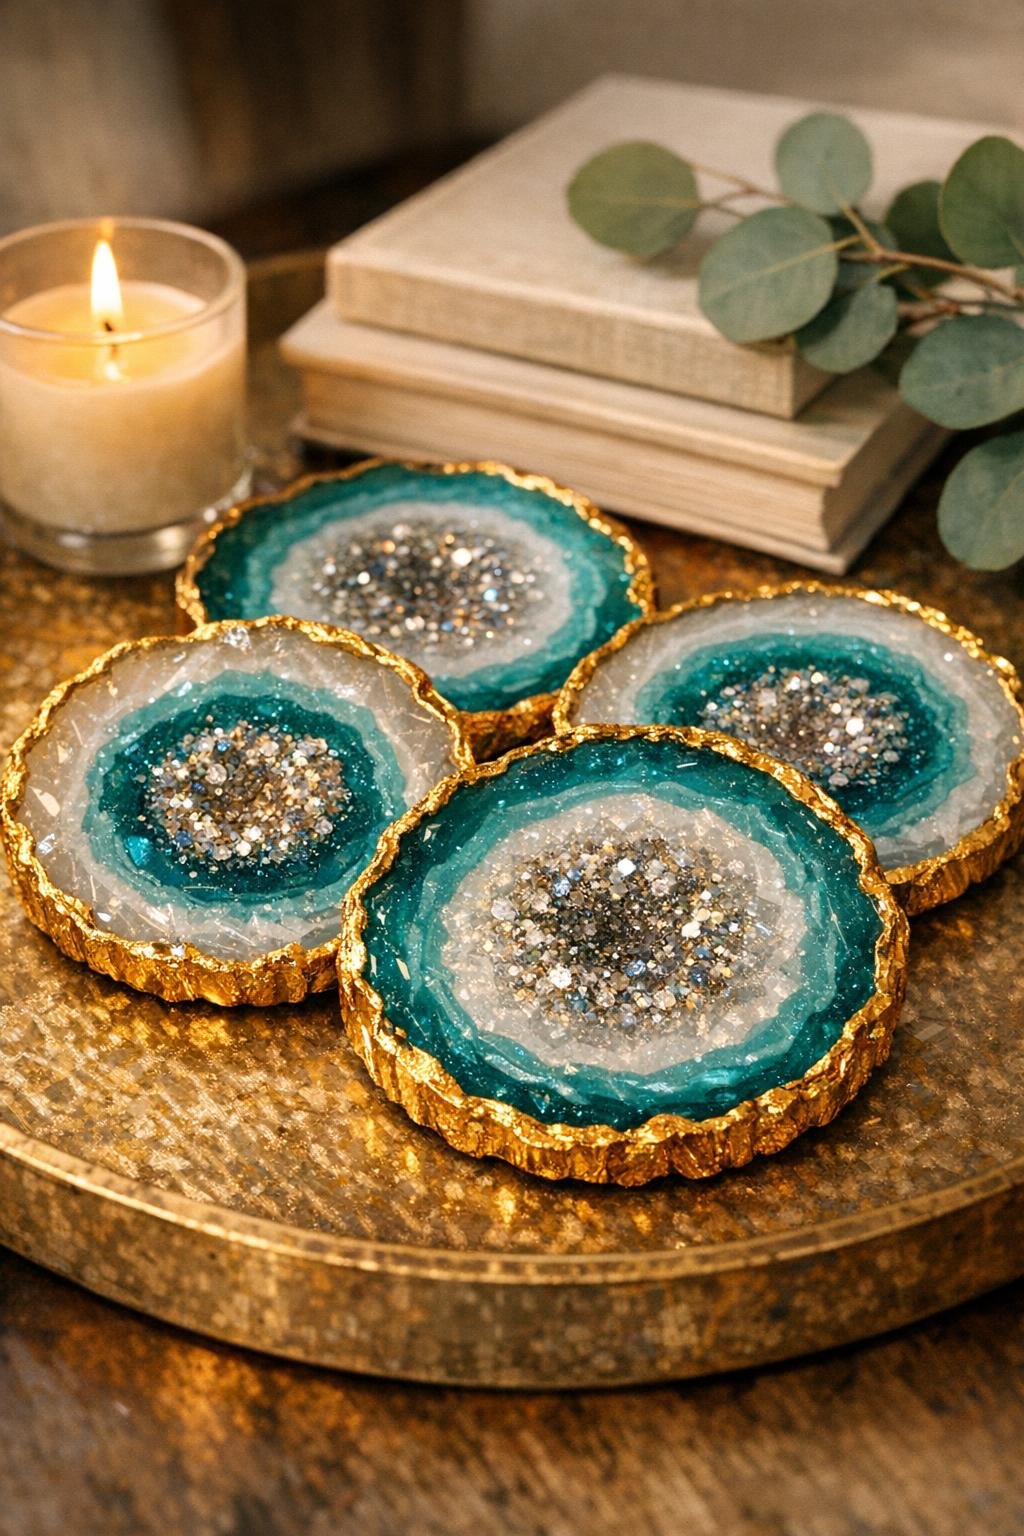
I love a craft that looks a little fancy but is secretly built from the easiest supplies in my drawer, and these faux geode slices absolutely fit that category. Using round silicone coaster molds, hot glue, glitter, and a little paint, you can make glossy decorative “stone” slices that catch the light in the prettiest way and honestly look much more expensive than they are.
This is the kind of project I reach for on a busy weeknight when I want something creative without dragging out half the house. The process is simple, fast, and very forgiving, so it’s great whether you’re brand new to crafting or just want a satisfying little project with a polished result. I like using mine as shelf décor, layered tray accents, gift toppers, or even turned into ornaments and magnets.
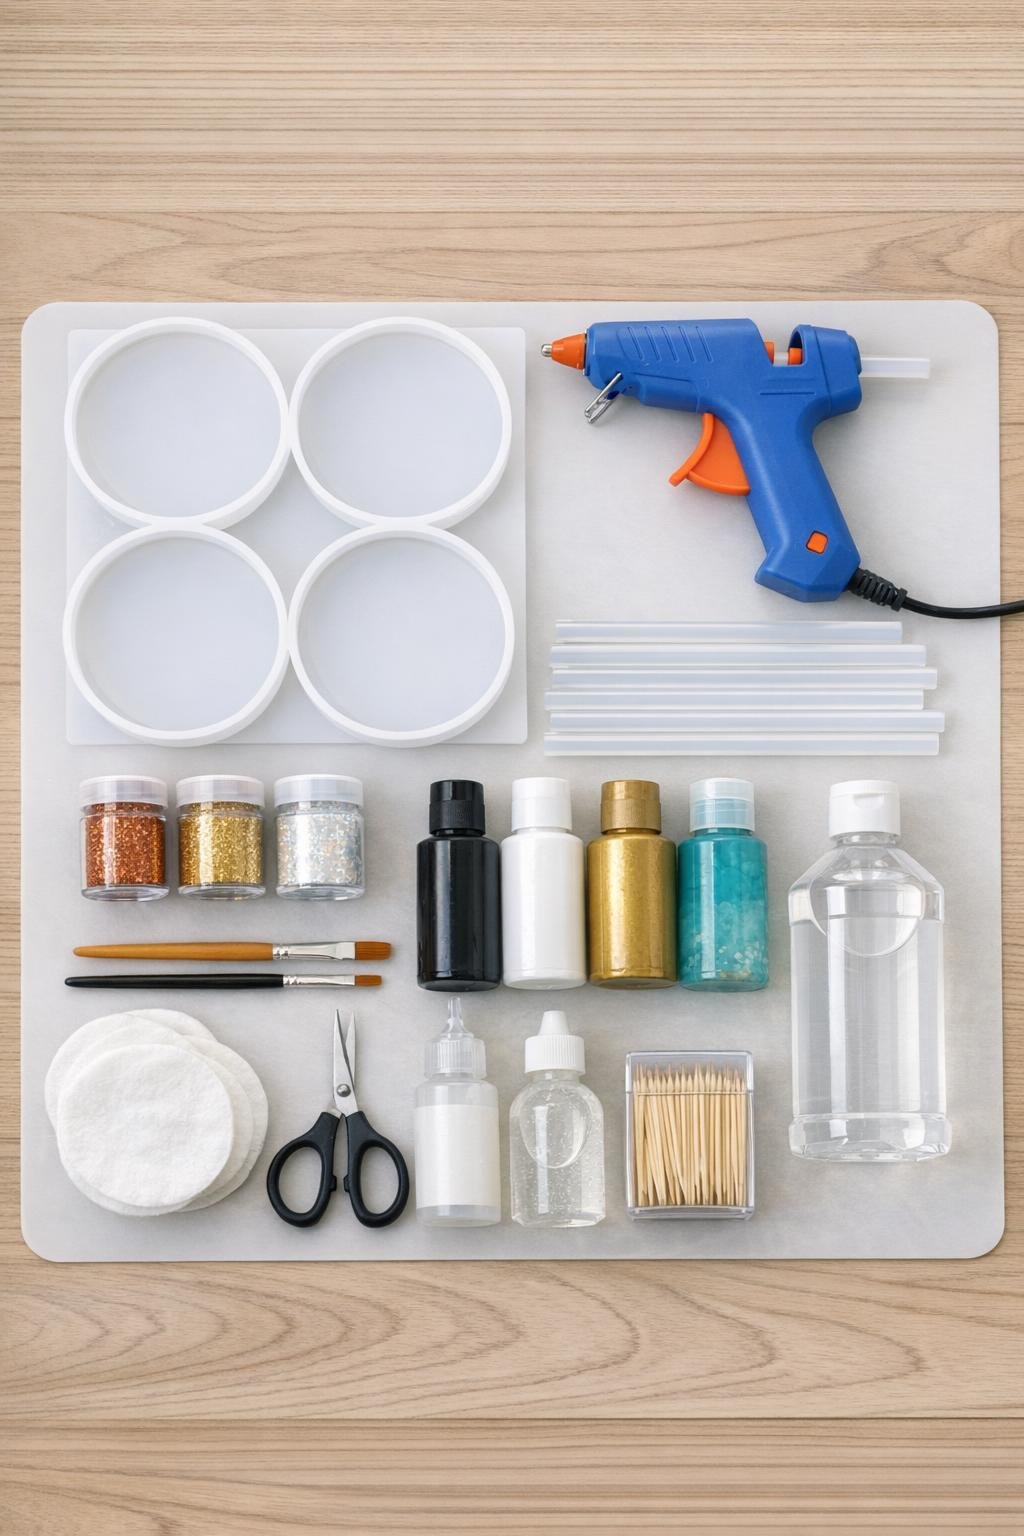
Materials
4 round silicone coaster molds, 4 inches wide each
Instructions
1. Wipe the inside of each silicone mold with a little rubbing alcohol and let it dry fully so the glue and paint finish stay clear and glossy.
2. Dust the bottom of each mold lightly with copper glitter, then tap in a pinch of gold and iridescent glitter off-center so the sparkle looks natural instead of perfectly even.
3. Heat the glue gun fully, then pipe clear hot glue into the first mold starting near the outer edge and spiraling inward until the base is covered about 1/8 inch thick.
4. Quickly add a little extra glue in a few uneven arcs and puddles to mimic the natural banding of a real geode, then drag a toothpick lightly through those areas before the glue sets.
5. Repeat with the remaining molds, varying the swirl pattern and glitter placement slightly so each slice looks like its own stone rather than an exact copy.
6. Let the glue cool completely for 10 to 15 minutes, then peel each slice out of the molds slowly to keep the edges smooth and rounded.
7. Trim away any glue strings or thin overflows with detail scissors, keeping the circles organic rather than perfectly manufactured.
8. Paint a thin irregular ring of translucent teal around part of each slice, then soften the edge with a small damp brush so the color fades into the clear glue.
9. Add a thinner broken line of white just inside the teal in a few areas, then blend it gently so it looks like a soft mineral layer instead of a painted stripe.
10. Use black paint very sparingly near one side or along a small inner band to give each piece depth and make the glittery center pop.
11. Brush metallic gold around the outer rim and in one or two narrow inner veins, leaving some sections unfinished so the edge looks more like a natural geode than a perfect gold circle.
12. Let the paint dry completely, then spread a thin coat of clear glossy dimensional glaze over the top of each slice to intensify the shine and give them that glassy polished-stone finish.
13. Leave the slices flat until the glaze is fully dry, usually 1 to 2 hours, then style them as decorative accents, add adhesive magnets to the back, or thread ribbon through a tiny punched edge hole if you want to hang them.
Variations & Tips
Color swap: Try blush and champagne, smoky gray and silver, or deep emerald with gold if you want the slices to match a specific room or holiday setup.
For more dimension: Build the glue slightly thicker in the center and thinner at the edges so the finished slices look chunkier and more stone-like without becoming hard to remove from the molds.
As coasters: These work best as decorative coasters for lightweight glasses, but add a cork circle to the back if you want a more stable base and a nicer table-safe finish.
For hanging décor: If you want ornaments or suncatcher-style pieces, make the hole near the edge while the glue is still warm using a toothpick instead of trying to force one through later.
Glitter control: Fine glitter gives the most believable geode look; chunky glitter can be fun, but I use it very lightly so the slices still read as polished stone instead of party craft.
Busy-day shortcut: When I’m squeezing this project into an evening after work, I make all the glue bases first, pop them out, and do the painting the next day; breaking it into two short sessions makes it feel really manageable.