
By the end of the garden season, the corners of my raised beds always seem to be the first thing that starts looking tired. Boards shift a little, mulch spills, and suddenly the whole bed looks less polished than it did in spring. This easy corner stabilizer fixes that problem with plain cinder blocks plus two inexpensive dollar store add-ons, and it gives your bed a finished, tidy look without rebuilding the whole frame.
I love projects like this because they feel substantial, but they’re still totally doable in an afternoon after work. If you’ve got a wobbly raised bed corner, a bare patch that needs structure, or you just want your garden to look more intentional going into fall and winter, this is the kind of practical upgrade that really pays off.
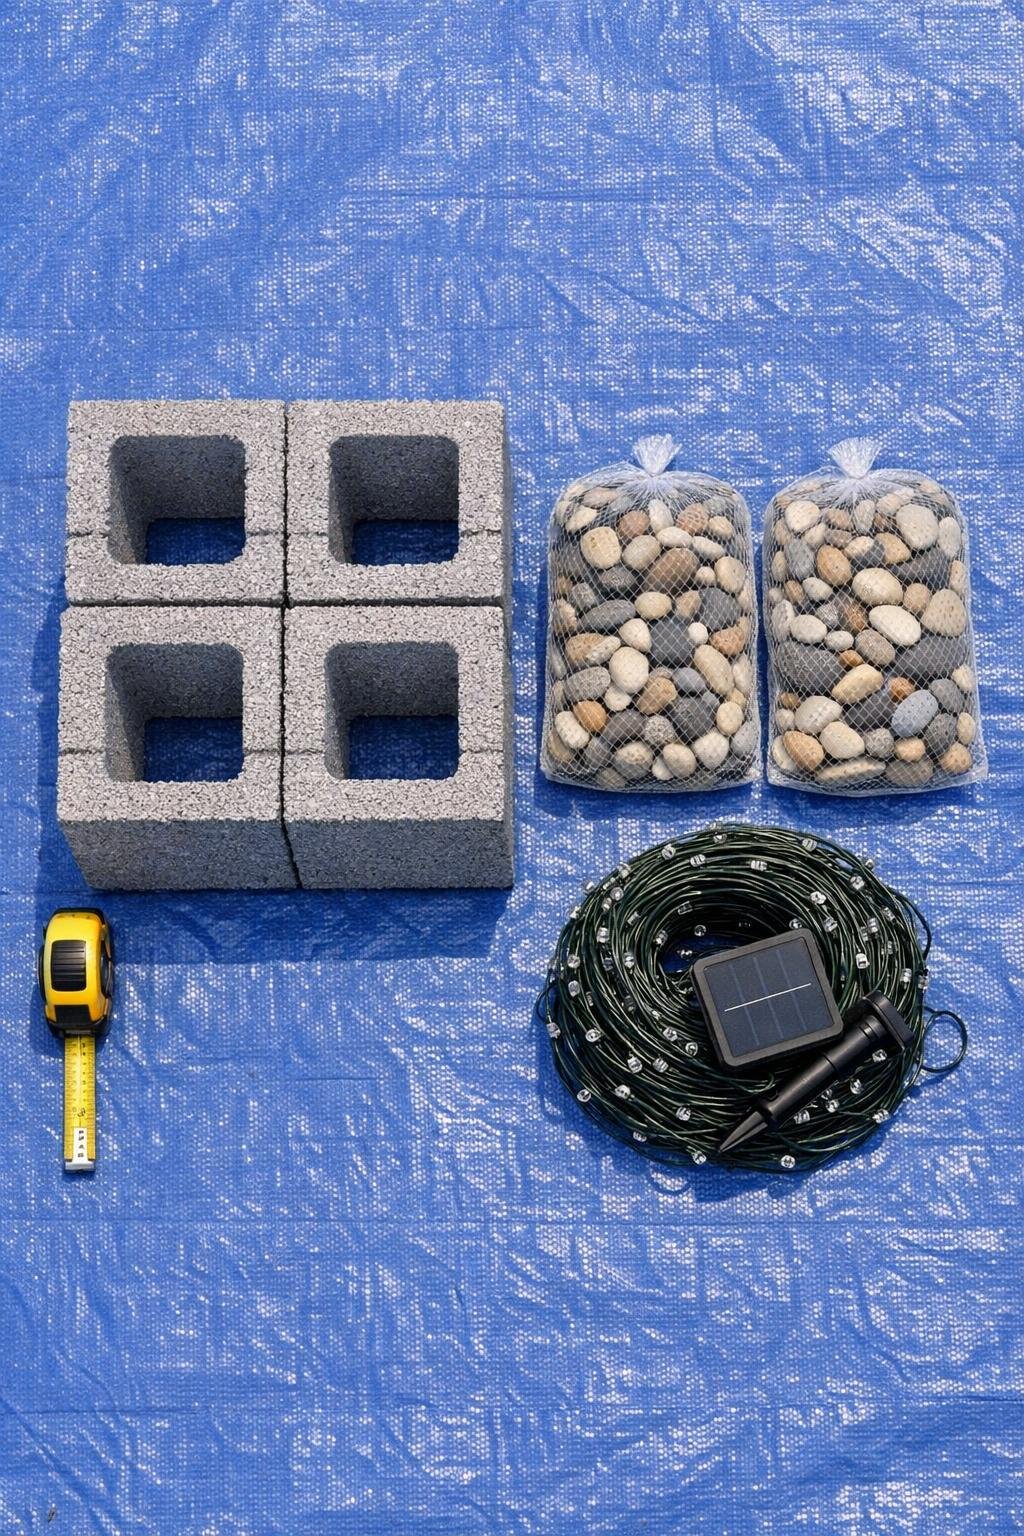
Materials
Instructions
1. Clear the raised bed corner and pull back any mulch, weeds, or loose soil so you can work on solid ground. Measure out an L-shape that extends 16 inches along each side of the bed corner.
2. Spread 2 cups of leveling sand over the marked area and tamp it flat with your hand or a scrap board. This gives the first blocks a stable base so they do not rock after rain or frost.
3. Set two cinder blocks on the ground at a right angle, one running along each side of the raised bed corner. Keep the open holes facing up and check that the outside edges line up cleanly with the bed.
4. Stack the third and fourth cinder blocks directly on top of the first layer, matching the same right-angle shape. Rotate them until the edges look square and the stack feels steady, then add a bead of outdoor construction adhesive between layers if you want a more permanent setup.
5. If the soil around the corner is loose, tuck a small square of weed barrier under the outside edge and backfill around the blocks. Press the soil firmly so the stacked corner looks built-in instead of dropped in place.
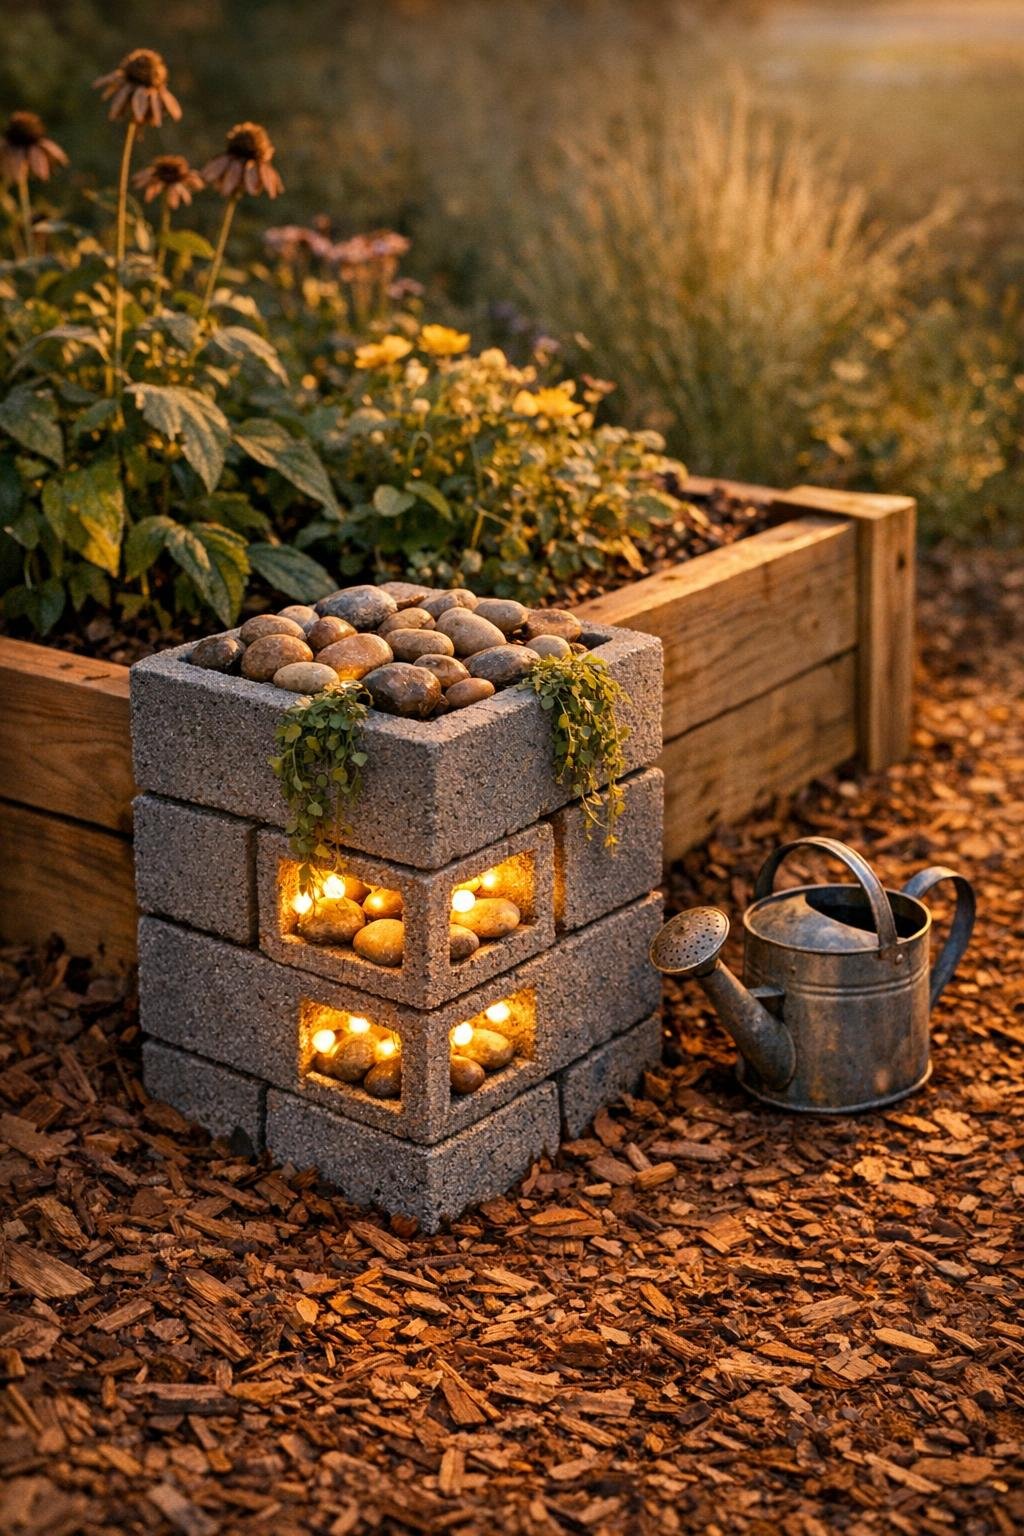
6. Fill the visible top openings with decorative river rocks or pea gravel, dividing the bags evenly across the block holes. The stones add weight, improve drainage, and give the whole piece a cleaner finished look.
7. Tuck the string lights into the block openings and around the inside edges of the stacked corner, weaving them so the wire mostly disappears. Leave the battery pack or solar panel hidden behind the bed or just beyond the back side of the blocks.
8. For extra polish, add a little potting soil into one or two of the top openings and plant small trailing flowers or seasonal plants. Turn the lights on at dusk and make any final adjustments so the corner glows evenly and looks balanced from both sides.
Variations & Tips
For a taller corner: If your bed is extra deep or the corner really shifts, use 6 cinder blocks instead of 4 and stack three high, but keep the base as level as possible before adding height.
For a no-lights version: Skip the string lights and fill every opening with river rocks or mini potted succulents for a clean daytime look that still feels finished.
For winter durability: In the Midwest, I like to use gravel instead of water-holding soil in most of the block openings once freeze-thaw weather starts, because it keeps the setup looking neat without becoming messy.
For a more decorative style: Dry-brush the cinder blocks with outdoor masonry paint in charcoal, soft white, or mossy green after stacking if you want the corner to blend in more with your garden decor.
Placement tip: This works best on corners that already feel a little exposed or messy, especially near paths, patios, or the side of the yard where people actually notice the raised bed.
Make it look intentional: A little mulch refreshed around the base and one or two tucked-in plants make a huge difference. That’s usually the point where a practical fix starts looking like something you bought on purpose.