
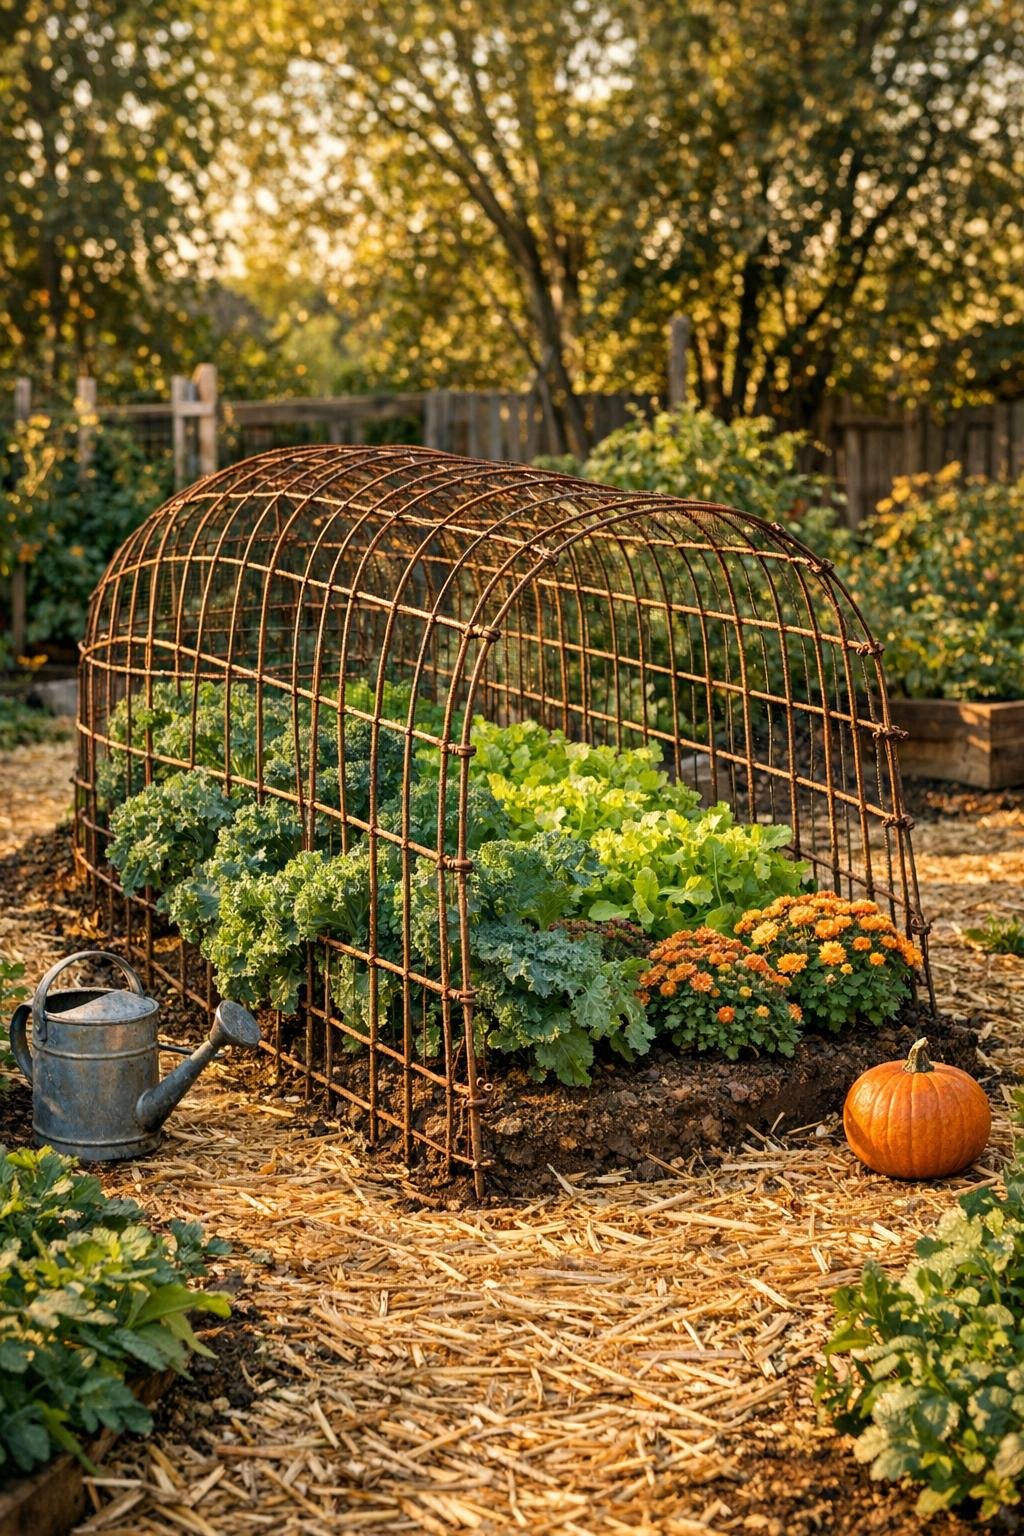
When rabbits, squirrels, and the occasional curious neighborhood cat start treating my garden bed like an all-you-can-eat buffet, I need a fix that is quick, inexpensive, and sturdy enough to last through a whole season. This simple critter fence uses stacked wire tomato cages plus two easy shed staples to create a low protective tunnel around a fall bed, and it comes together much faster than building a wood frame or wrestling with a roll of fencing.
I love this project for cool-season greens, lettuce, beets, radishes, and even newly planted mums or kale because it gives generous coverage without making the bed hard to water, weed, or harvest. If you already have old tomato cages leaning in a corner like I always seem to, this is one of those satisfying little garden fixes that feels almost too clever for how easy it is.
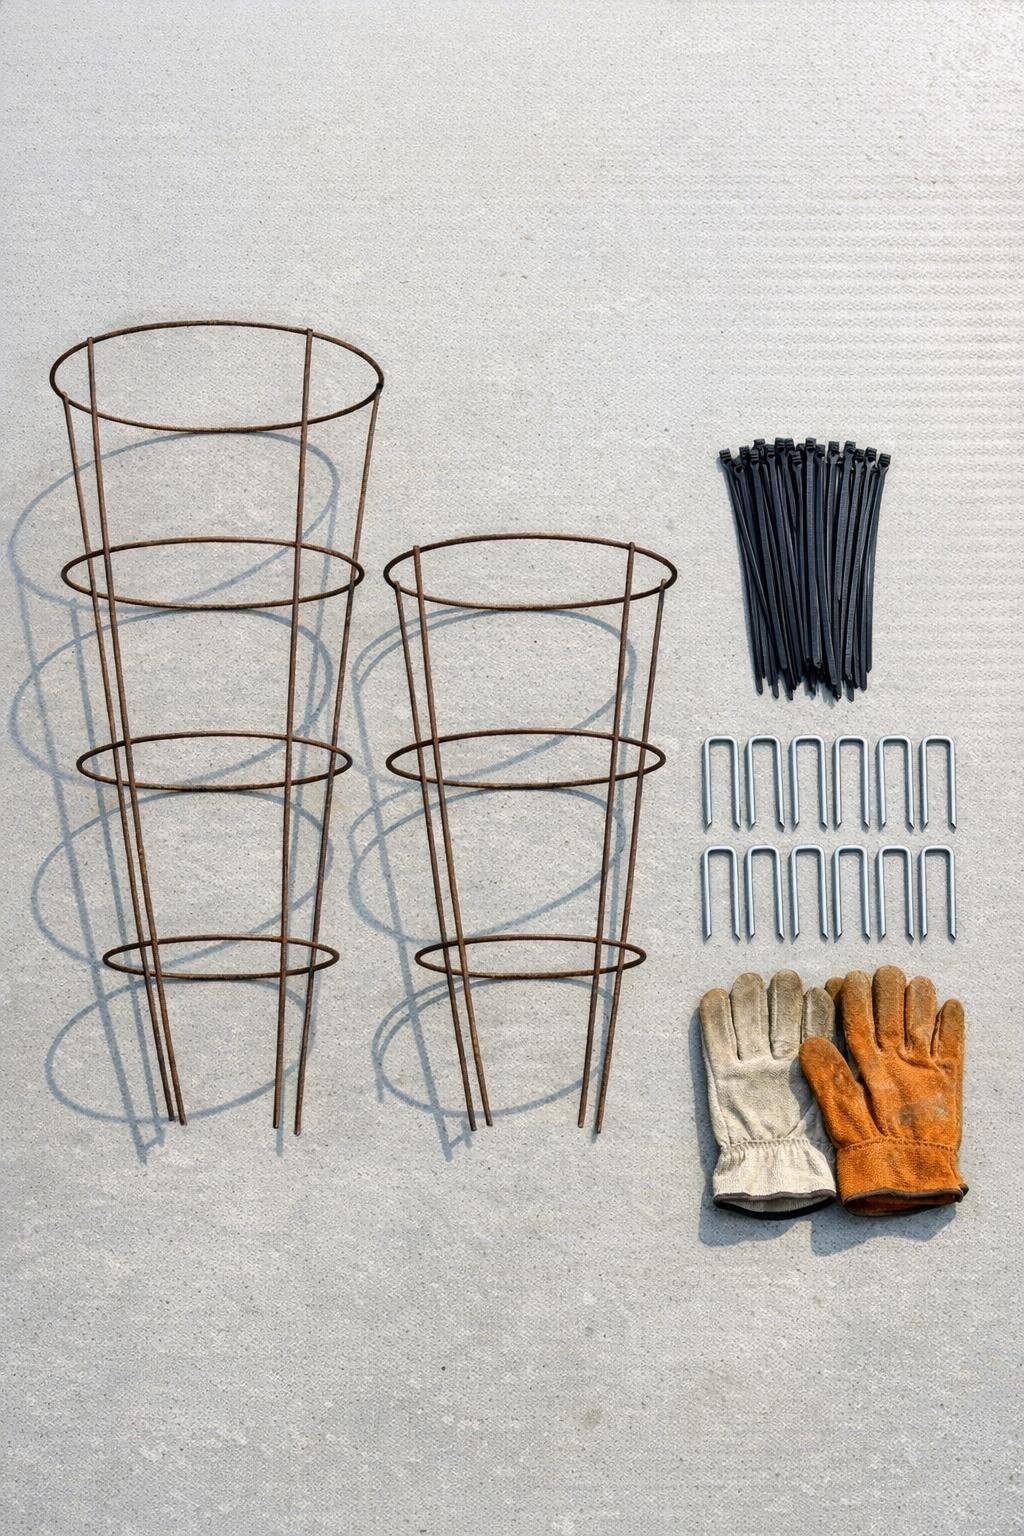
Materials
Instructions
1. Clear and level the garden bed surface where the fence will sit, removing any tall weeds, rocks, or mulch lumps so the cages can rest evenly on the soil.
2. Turn all three tomato cages on their sides and line them up end to end horizontally, overlapping each cage by 4 to 6 inches so they form one long rounded tunnel.
3. Fasten the first overlap with 4 zip ties, attaching the rings together at the top, both sides, and lower edge so the cages cannot twist apart.
4. Fasten the second overlap the same way with 4 more zip ties, then add 2 extra ties along any spot that still flexes to make the full length feel like one solid piece.
5. Rotate the joined cages so the widest, most stable side rests against the soil and the tunnel arches over the plants, covering the bed with enough height for fall crops to grow comfortably.
6. Press the tunnel down gently until the bottom wires touch the soil along both sides, then anchor one end with 2 landscape staples driven over the lower side wires.
7. Add 2 more staples at the opposite end and place the remaining 8 staples evenly along both long sides, pushing them over the bottom wires every 12 to 18 inches to keep critters from nudging underneath.
8. Tug lightly on each section and tighten any loose zip ties, then trim the zip tie tails if you want a neater finish and bend any sharp wire ends outward and down away from the planting area.
9. Leave one end unstapled on one side if you want a quick access flap, or simply pull one staple when you need to weed, water deeply, or harvest from inside the bed.
10. Fill the protected bed with fall crops or protect what is already planted, making sure leaves are tucked inside the tunnel so hungry visitors cannot reach through and nibble the edges.
Variations & Tips
For taller crops: Use larger 54-inch tomato cages if you want to cover broccoli, cauliflower, or young cabbages with more headroom.
For smaller pests: If chipmunks or very determined rabbits are your main problem, weave a piece of bird netting or hardware cloth over the outside of the cage tunnel and secure it with extra zip ties.
Easy harvest access: I like to leave one long side anchored a little more loosely near the middle so I can lift it like a lid instead of removing several staples every time.
Best bed length: Three standard cages usually cover about 5 to 6 feet once overlapped, which is a very nice span for one section of greens or a compact raised bed.
Picky-eater family tip: If you are protecting lettuces and kale for family salads, plant two kinds of greens inside the tunnel so everybody gets something they will actually eat. In my house, a mix of mild leaf lettuce and sweeter baby kale goes over much better than a whole bed of one strong-flavored green.
Make it look tidier: Matching black zip ties disappear visually better than white ones, and trimming the tails right away gives the whole project a cleaner, more finished look.
Rust is okay: Old rusty cages work beautifully here as long as the wire is still strong and not snapping at the joints, so this is a great use for cages that are too bent up for summer tomatoes.
Stormy-weather tip: In windy spots, add 2 extra landscape staples at the center on each side so the tunnel stays snug to the bed after heavy rain and gusty fall weather.