
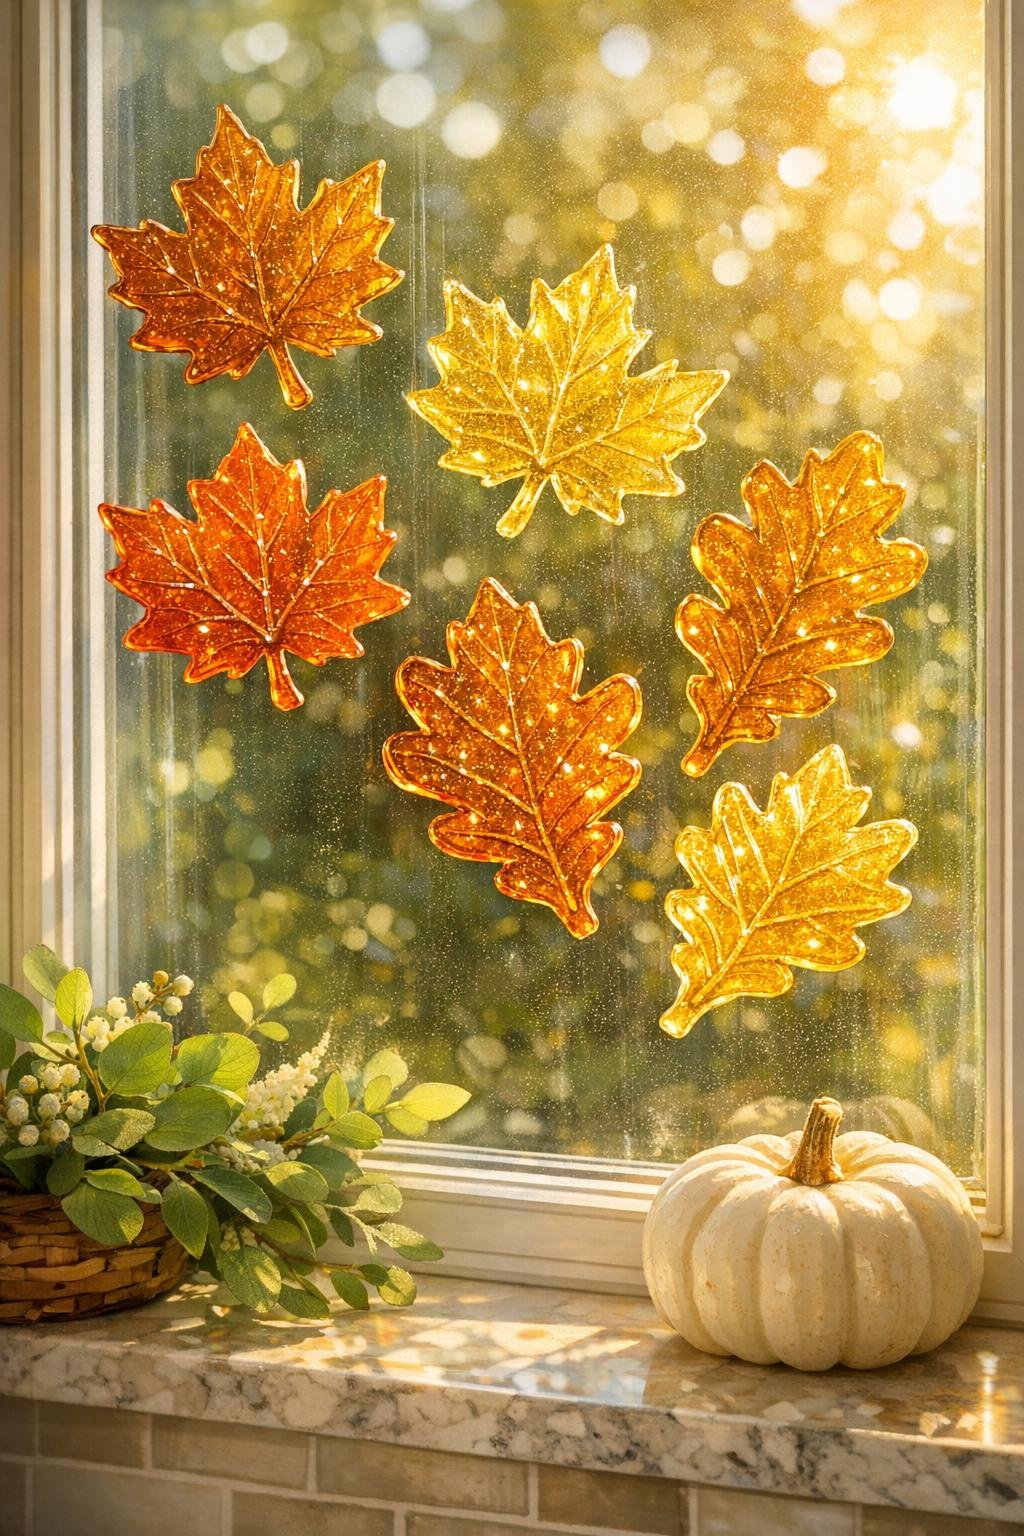
There’s something so satisfying about turning the simplest craft supply into something that looks unexpectedly special, and these hot glue harvest leaf window clings do exactly that. You fill silicone leaf molds with clear hot glue, let the shapes cool, then peel out glossy little leaves that catch the light beautifully on a window, mirror, or glass door.
I especially love this project for fall because it gives you that warm seasonal look without a big mess or a long supply list. If you like easy crafts you can finish in one afternoon, or you want something fun to make with older kids while dinner simmers in the background, this one is a keeper.
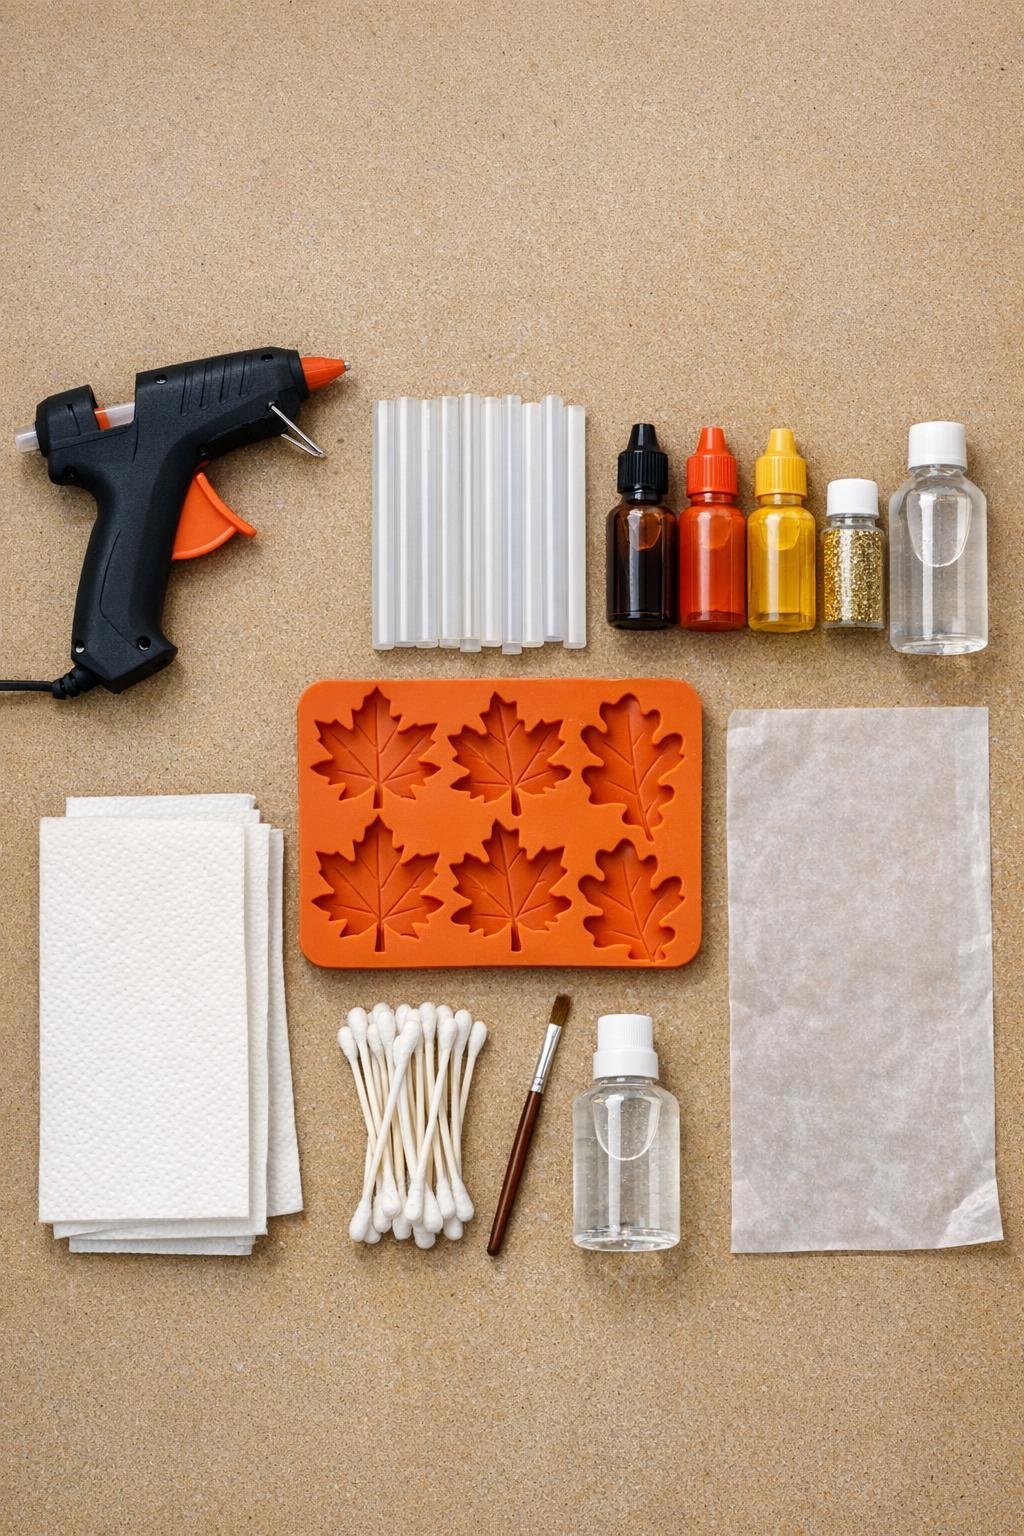
Materials
Instructions
1. Plug in the glue gun and let it heat fully while you wipe the silicone mold clean and dry with rubbing alcohol, because any dust in the cavities will show through the clear glue.
2. Brush the inside of each leaf cavity with the tiniest film of baby oil, then wipe away the excess with a paper towel so the molds look barely satin, not wet.
3. Add color to the molds before the glue goes in by dabbing a little amber, orange, and yellow alcohol ink into the cavities with a cotton swab, keeping the color light and mottled so the finished leaves stay translucent.
4. If you want a little sparkle, dust just a pinch of fine gold glitter into a few cavities, tapping out any heavy clumps so the leaves look glowy instead of chunky.
5. Set the mold on a flat protected surface, then slowly squeeze clear hot glue into one leaf cavity at a time, starting in the center and guiding the glue into the points and edges.
6. Slightly overfill each cavity by a hair, then use the glue gun tip to nudge the glue into any empty corners so every leaf has full crisp edges once peeled out.
7. Let the glue settle for 10 to 15 seconds, then pop any visible surface bubbles with the tip of a toothpick or the metal stand edge of the glue gun if needed, working carefully and quickly.
8. Continue filling all the cavities, and if the first leaves sink a little as they settle, add a small extra swirl of glue on top while they are still warm so the backs stay smooth and substantial.
9. Leave the mold completely undisturbed for 20 to 30 minutes, or until the glue turns firm and cool all the way through.
10. Gently bend the silicone mold back and peel each leaf out from the edges first, taking your time around the stem and pointed tips so the shapes stay neat.
11. Trim away any thin glue strings or rough edges with your fingers once the pieces are fully cool, and press any stubborn wisps flat while they are still slightly flexible.
12. To use them as window clings, press each leaf firmly against clean glass and smooth from the center outward; the glossy glue should grip on its own if the surface is free of dust and grease.
Variations & Tips
For deeper color: Add a little more alcohol ink in streaks instead of coating the whole cavity. I like this best because the light still shines through, which is what makes these feel magical.
For picky crafters: If you’re crafting with kids or anyone who doesn’t enjoy fiddly details, stick to larger maple leaf cavities first. Bigger shapes are easier to fill neatly and peel out cleanly.
For extra shine: After demolding, rub the leaves lightly with a drop of baby oil on a soft cloth, then buff off the excess. It gives them that glassy finished look.
If your leaves won’t cling: Clean the window with glass cleaner or rubbing alcohol and dry it well before pressing the leaves on. Even a little kitchen grease or dust can keep them from sticking.
To make a fuller display: Plan on making at least 18 to 24 leaves for one average window panel. A generous cluster in mixed sizes looks much prettier than spacing out just a few.
Color ideas: Try red-orange and gold for a classic harvest look, or use all golden yellow for a sunlit effect that reminds me of late afternoon in October.
Storage tip: Peel the clings off carefully and store them flat between sheets of wax paper in a shallow box. They can usually be reused next season if they stay clean and don’t get bent.