
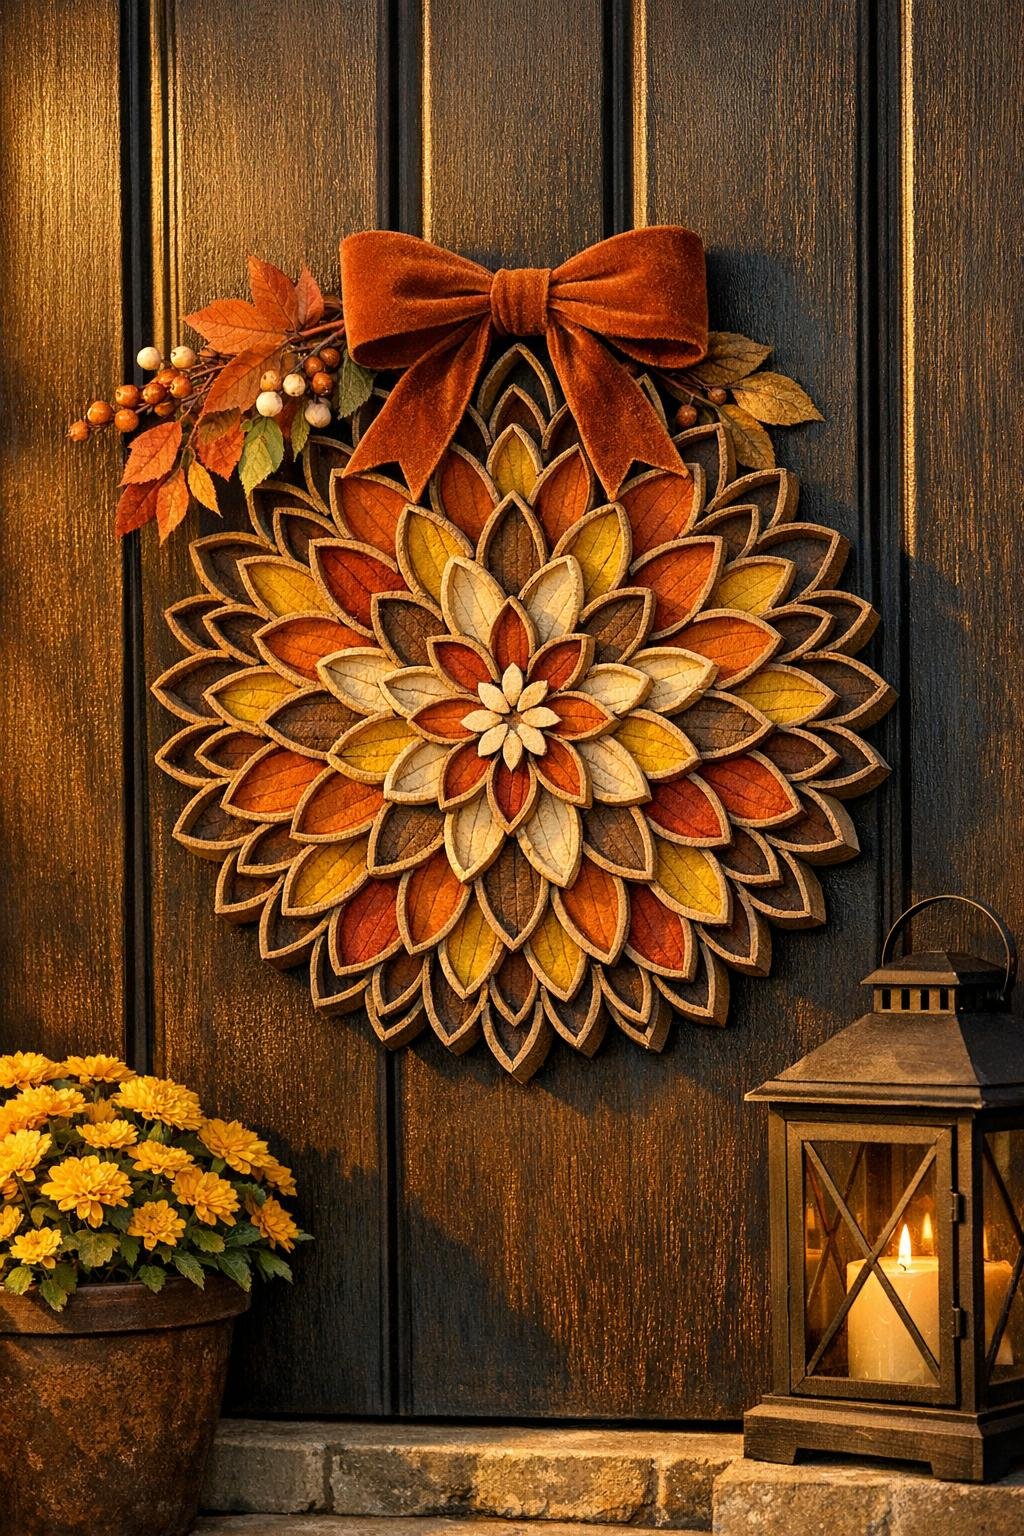
I love a project that looks far fussier than it really is, and this cardboard roll harvest wreath medallion is exactly that kind of win. You start with a stack of plain brown paper towel rolls, cut them into simple rings, and with a little arranging, flattening, and gluing, they turn into a full, intricate wall piece that feels perfect for fall.
This is a great craft for anyone who wants something dramatic and seasonal without spending much money or needing fancy tools. I’m a working-professional-weeknight crafter at heart, so this is the kind of project I reach for when I want a big payoff on the dining table after dinner, with a mug of tea nearby and just enough creative effort to feel satisfying.
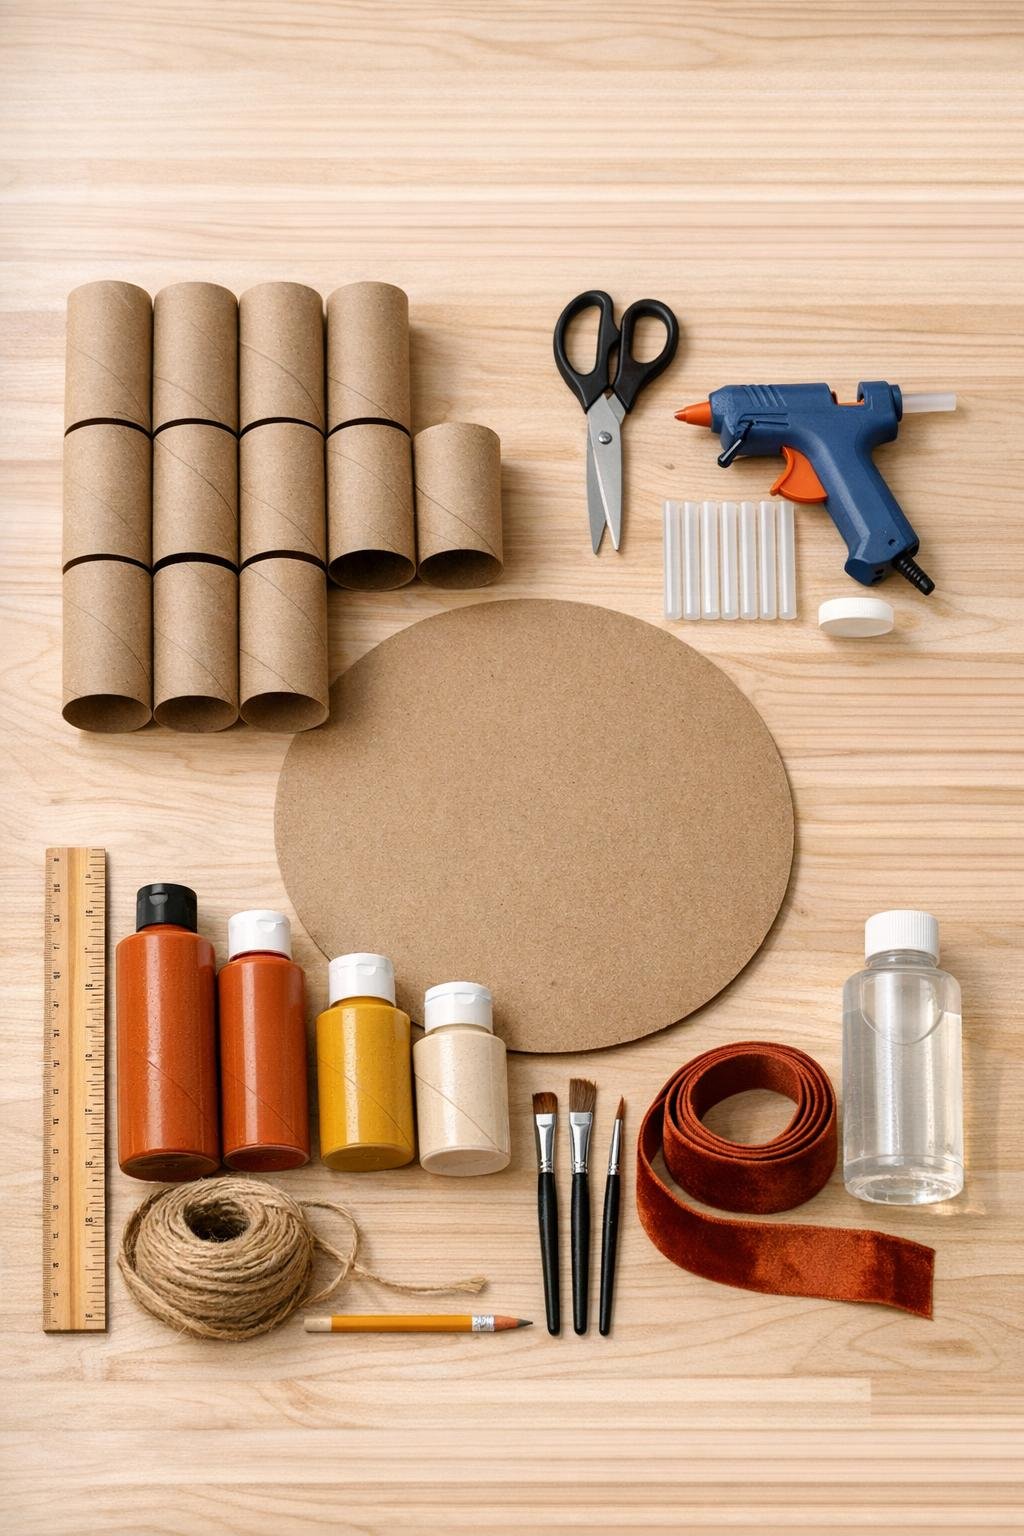
Materials
12 brown cardboard paper towel rolls, standard size
Instructions
1. Use the ruler and pencil to mark each paper towel roll every 1/2 inch, then cut all 12 rolls into rings with sharp scissors. You should end up with a large pile of evenly sized rings, roughly 140 to 160 total depending on the roll length.
2. Flatten each ring gently with your fingers so it forms a petal shape instead of a round loop. Press them all in the same direction so the finished medallion looks tidy and consistent.
3. Paint about half the flattened rings burnt orange, one quarter mustard yellow, and one quarter cream, leaving a handful plain brown if you want a little extra contrast. Brush paint lightly so the cardboard texture still shows through, then let everything dry completely.
4. Paint the 14-inch cardboard base dark brown on the front and around the edge so it disappears behind the design. Let it dry while you sort the petals by color.
5. Make the center flower by gluing 8 petals into a tight circle on the middle of the base, then glue 8 more petals between those to create a fuller second layer. Keep the points facing outward and the glued ends tucked close together.
6. Build the next ring around the center with 16 to 20 petals, alternating your painted colors for a harvest look. Overlap the bases slightly so the medallion looks full instead of airy.
7. Continue adding larger rounds of petals until the cardboard base is covered, working outward in even layers and filling any gaps with extra petals tucked between rows. Use your plain brown petals near the outer edge if you want a little depth and definition.
8. Glue 10 to 12 petals around the outermost edge, letting them extend slightly past the base to create a rounded wreath shape. This little overhang makes the finished piece look much more polished and substantial.
9. Tuck in the faux leaves and berry sprigs in three small clusters around the lower half and one side of the medallion, gluing them low so they accent the petals instead of covering them. Keep the embellishments balanced and fairly light.
10. Tie a full bow from the velvet ribbon and glue it near the leaf cluster that feels like the visual “top” or side accent of the wreath. If you want to hang it from a hook, glue a 12-inch loop of jute twine to the back before adding a small cardboard patch over the ends for strength.
11. Brush or spray on a light coat of clear matte sealer to protect the paint and help the whole piece feel finished. Let it dry flat, then fluff the bow and gently reshape any petals that shifted.
Variations & Tips
Make it larger: If you want a really dramatic wall piece, use a 16- or 18-inch base and save a few longer rings from each roll so your outer petals extend farther.
Keep the cardboard look: I love leaving some petals unpainted because the natural brown keeps the project grounded and makes it obvious this was made from humble paper towel rolls in the best way.
Try a metallic finish: Dry-brush a little gold paint just on the edges after the main colors dry for a dressier Thanksgiving look.
Swap the palette: For a more neutral style, use cream, taupe, sage, and soft brown instead of traditional harvest shades.
Work in batches: If you’re squeezing this into a busy evening like I usually do, cut and flatten the rings one day, then paint and assemble the next; it breaks the project into very manageable chunks.
Use the leftover petals: Any extras can be glued into small single flowers for gift tags, napkin ring toppers, or a matching mini garland.