
There’s a reason so many people are saving acorn caps right now: when you glue them into a ring, they turn into a beautifully textured candle accent that looks far more expensive than it is. I love projects like this because they use something simple and seasonal, but the finished piece has that warm, gathered look that makes a table or mantel feel finished in five seconds.
This acorn cluster candle ring is a great little fall project for anyone who likes natural décor and easy crafts with a big payoff. If you can use hot glue and sort pieces by size, you can make this. I also love that it’s forgiving; a slightly uneven cap here or there just adds to the charm, which is exactly my kind of craft on a busy week.
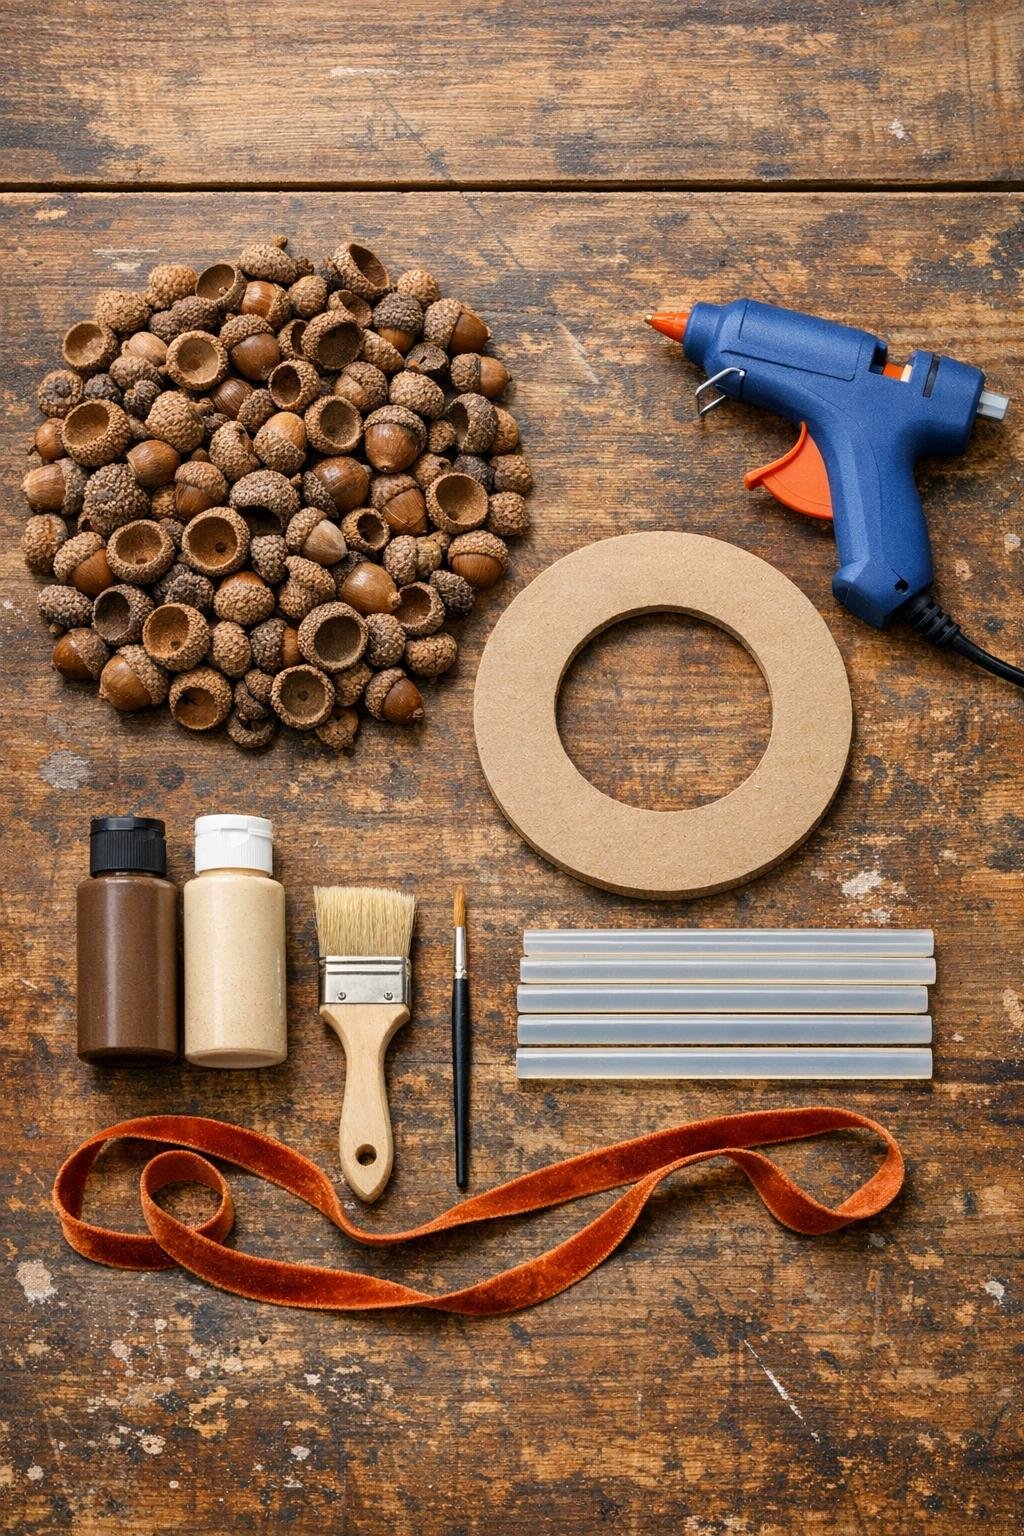
Materials
180 acorn caps, cleaned and fully dry, in mixed sizes from 1/2 inch to 1 inch wide
Instructions
1. Sort the acorn caps into small, medium, and large piles, and brush out any dust or loose bits so they glue cleanly.
2. Place the cardboard ring on wax paper and set your candle holder in the center to confirm the opening stays wide enough for a proper candle ring.
3. Glue the largest acorn caps around the cardboard ring, placing them edge to edge with the cup side facing upward and the tops slightly overlapping the inner and outer edges.
4. Add a second layer of medium caps on top of the first, gluing each one across the seams below so the ring becomes fuller and the cardboard disappears.
5. Fill gaps with the smallest caps, tucking them into open spots along the top, inner edge, and outer edge until the whole ring looks thick and clustered from every angle.
6. Let the glue cool for 5 minutes, then lift the ring and add extra caps anywhere the base still shows or the shape needs balancing.
7. Dry brush a little matte brown paint into any visible cardboard areas or pale spots so the base blends into the natural acorn color.
8. Lightly brush the outer tips of a few caps with matte cream paint for a soft highlighted effect that makes all that texture stand out without looking painted over.
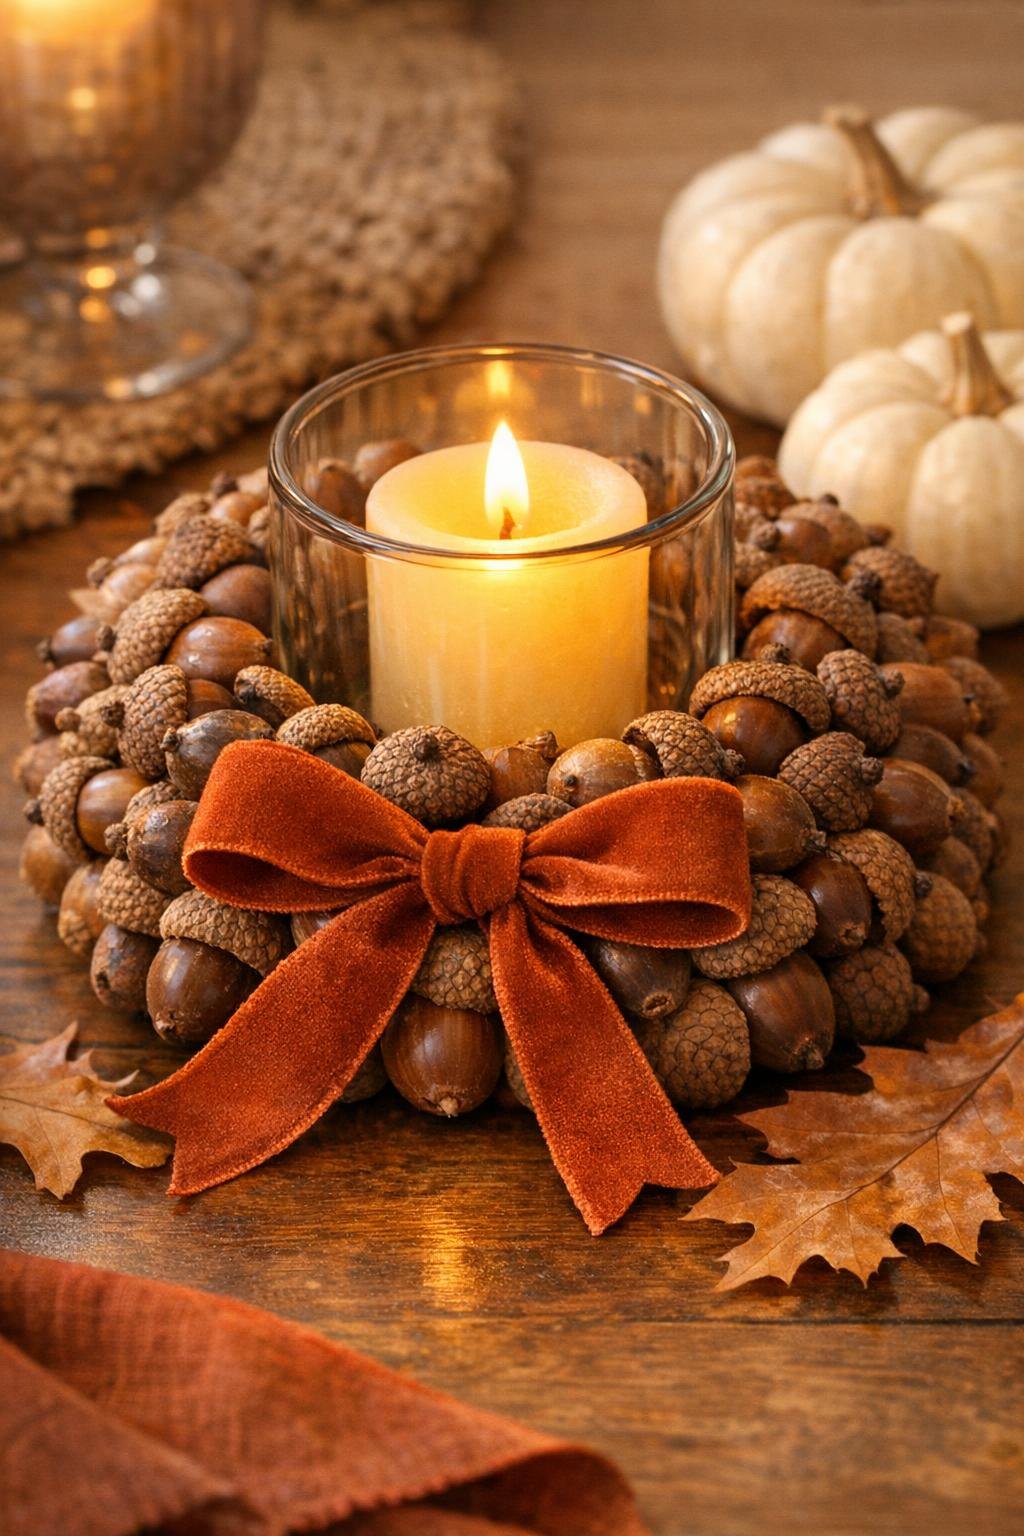
9. Tie the ribbon into a small neat bow and glue it onto one side of the ring, or wrap it around the candle holder instead if you want a simpler finish.
10. Set the finished ring around a candle holder and check that nothing leans inward too far; trim away any glue strings and keep only a flameless candle or enclosed holder inside for safe display.
Variations & Tips
For a fuller look: Use closer to 200 acorn caps and build outward as well as upward. I always think these natural projects look best when they’re a little abundant rather than too tidy.
For picky decorators: If your family doesn’t love a bow, skip it and keep the ring natural. The texture alone is pretty enough to carry the whole project.
Color variation: Mix in a few darker caps or touch some with extra brown paint if your gathered acorn caps are very uneven in color. That little bit of blending makes the finished ring look intentional.
Base option: If you don’t have chipboard, cut the ring from a cereal box and double it. Just glue the two layers together first so the base stays sturdy under the weight of the caps.
Styling tip: I like this best around a small hurricane holder, on a Thanksgiving table, or tucked onto a mantel with a few candles at different heights. It’s one of those quiet little touches that makes the whole room feel warmer.
Safety note: Because this is made from dried natural material, use a flameless candle or a fully enclosed glass candle holder. I never place an open flame directly against acorn caps.