
Turning worn bed sheets into something useful is exactly my kind of project: practical, thrifty, and surprisingly satisfying. This no-sew braided rag rug is made from simple cotton sheets torn into strips, then braided, coiled, and secured with stitching and a little fabric glue for extra hold. It’s an old-fashioned method, but it still earns its place in a modern home because it uses what you already have and gives you a sturdy piece with real character.
If you’ve never made a rag rug before, this is a very friendly place to start. The process is repetitive in the best way, and once you get the braid going, it settles into that nice rhythm I usually associate with kneading dough or rolling dumplings—simple motions that build into something far more impressive than the ingredients suggest.
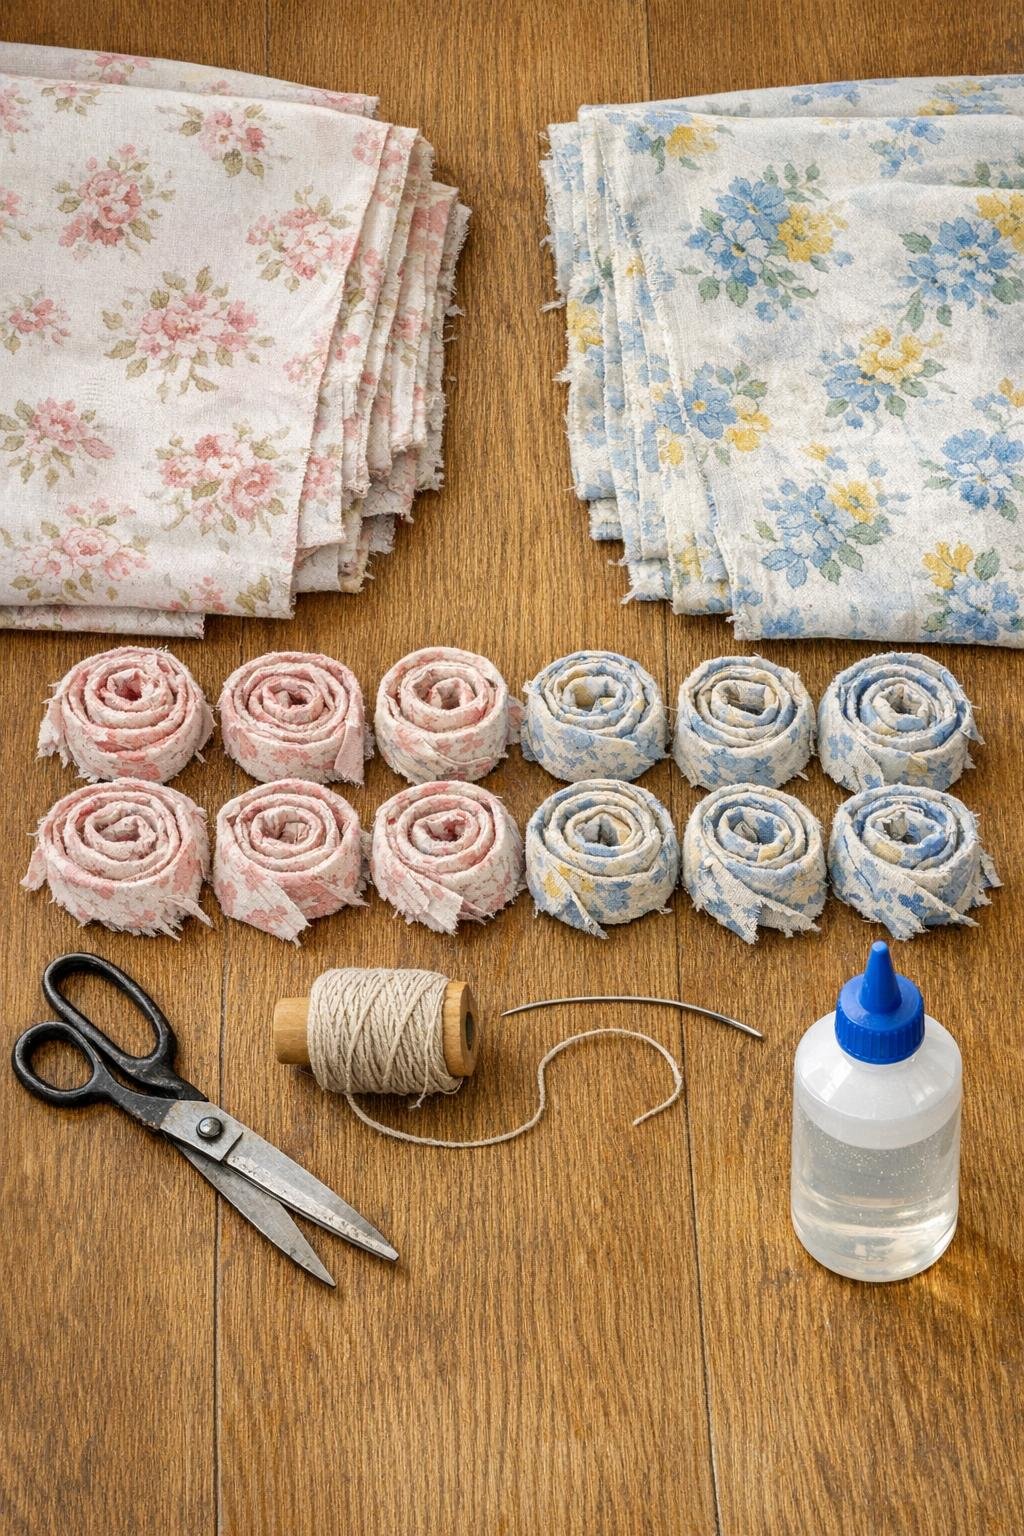
Materials
2 old flat cotton bed sheets, twin or full size, washed and dried
Instructions
1. Wash and fully dry the bed sheets first, then smooth them out on the floor or a large table so the fabric tears evenly and stays easy to handle.
2. Cut a small notch at the edge of each sheet every 2 inches, then tear the fabric lengthwise into 15 long strips, keeping the width as consistent as you can.
3. Trim away any bulky hems, then stretch each strip lightly with your hands to curl the raw edges inward and make a neater braid.
4. Gather 3 strips, align one end, and thread your needle with heavy thread to stitch those ends together securely with several tight passes.
5. Braid the 3 strips tightly for several feet, keeping even tension so the braid stays flat instead of twisting.
6. When one strip gets short, overlap the next strip by 2 inches and secure the overlap with a dab of fabric glue; let it grab for a moment, then keep braiding.
7. Continue until you have five long braided ropes made from all 15 strips, then stitch the ends of each braid so they do not unravel.
8. Take one braided rope and coil it tightly into a small flat circle at one end, stitching through the sides of the braid with heavy thread every 1 to 2 inches to hold the coil together.
9. Add the next braid to the end of the coil, butting the ends neatly together, and keep wrapping and stitching through adjoining braid edges so the rug grows outward in an even spiral.
10. Check the rug every few rounds and ease the braid gently if needed; if the center starts to cup, loosen your stitching slightly, and if it ripples, pull the stitches a little tighter.
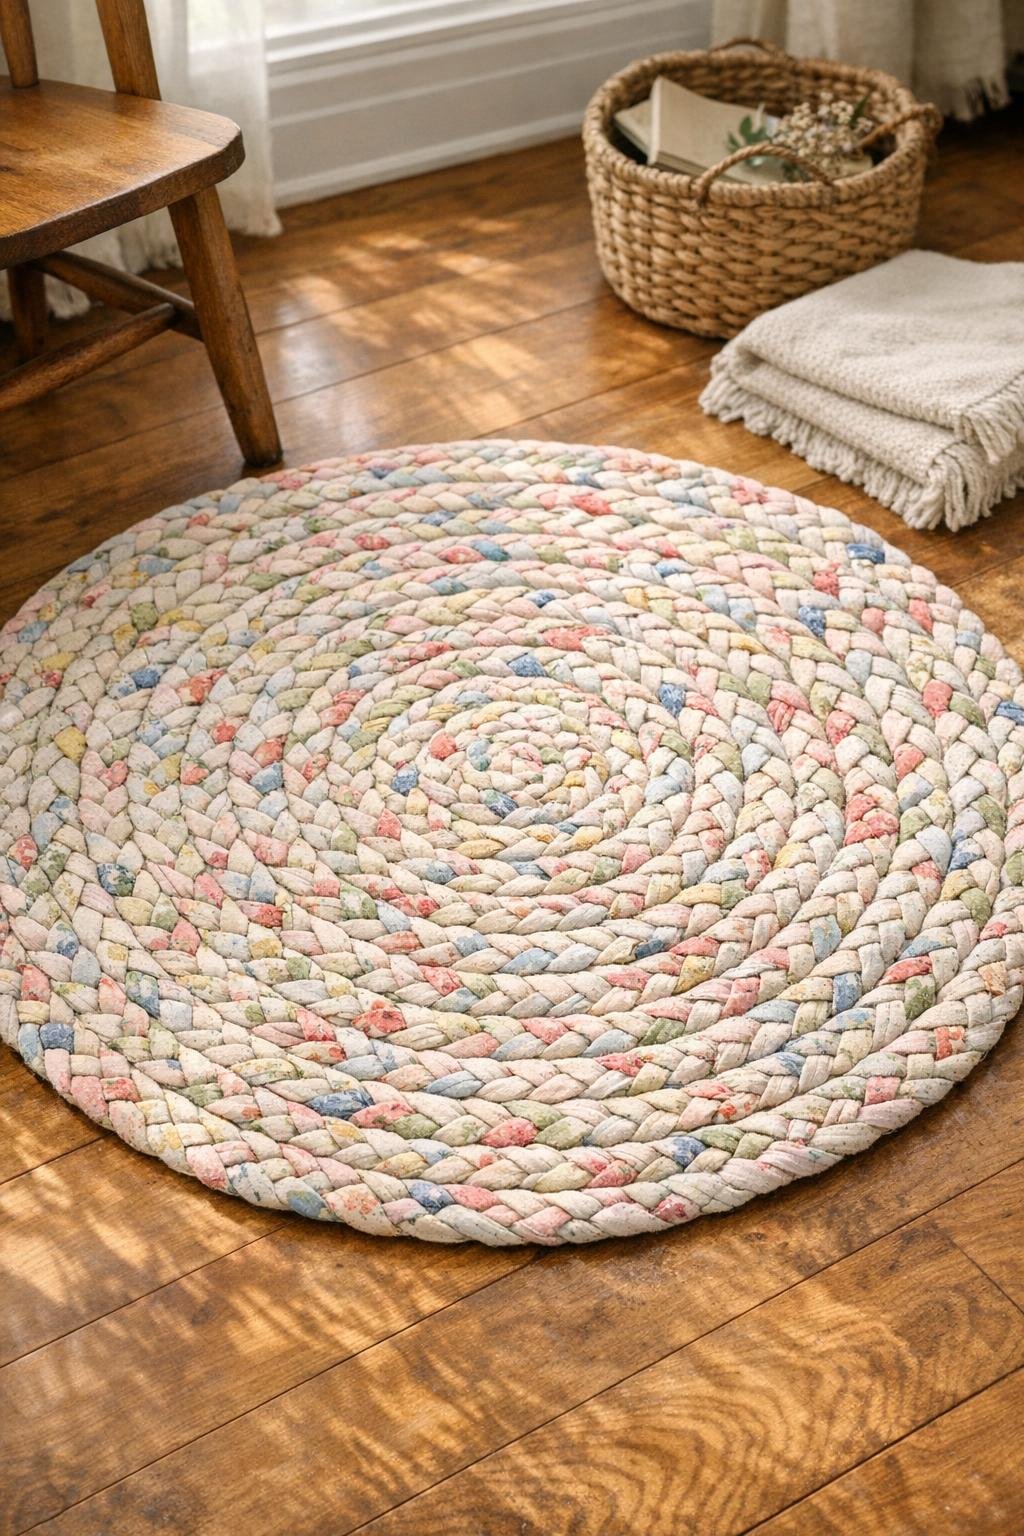
11. Keep coiling and sewing until all five braids are attached and the rug reaches your desired size, aiming for a dense, full round shape with no gaps between rows.
12. Tuck the final tail under by 2 inches, trim any excess bulk, glue it in place, and add a few hidden stitches to lock the end down cleanly.
13. Turn the rug over, reinforce any loose joins with extra stitches, and let any fabric glue dry fully before using or washing it.
Variations & Tips
For a larger rug: Use queen-size sheets or add a third sheet so you can make more than five braided ropes; the same method works beautifully as long as you keep the braid width and stitching consistent.
For better color mixing: Alternate strips from both sheets within each braid instead of braiding one print at a time; this gives the finished spiral a more blended, layered look.
If your sheets are slippery: Polyester or slick blends tend to loosen and shift, so reserve those for small accent rugs or mix them with mostly cotton strips for better grip.
For easier sewing: Sit with the coil in your lap once it gets larger; I find that supporting the weight this way makes it much easier to stitch neatly through the braid edges.
To keep it flat: The secret is steady tension, not force; braid firmly, but don’t yank, and correct cupping or rippling early before several more rounds lock the shape in place.
For washing: Machine wash on a gentle cycle in cold water and lay flat or hang to dry; because the rug is made from sheet-weight cotton, it handles regular cleaning quite well once the stitching is secure.
For a polished finish: After the rug is dry, trim any stray threads and clip fuzzy frays sparingly rather than cutting deeply into the braid, so the edges stay tidy without weakening the fabric.