
There’s something mighty satisfying about turning a pile of humble summer leftovers into something that looks like it came from a little country market. Around here, berry season always leaves us with stacks of those plastic baskets, and I’ve never liked tossing away something that still has good use in it. This project takes those everyday baskets and gives them a second life with a woven look that feels equal parts practical and charming.
If you enjoy easy upcycling projects and don’t mind a bit of snipping and weaving, this one is for you. It’s simple enough for an afternoon at the kitchen table, but the finished piece has that “where did you buy that?” quality I always love. The best part is that the materials are inexpensive—or free, if you’ve been saving berry baskets all summer long.
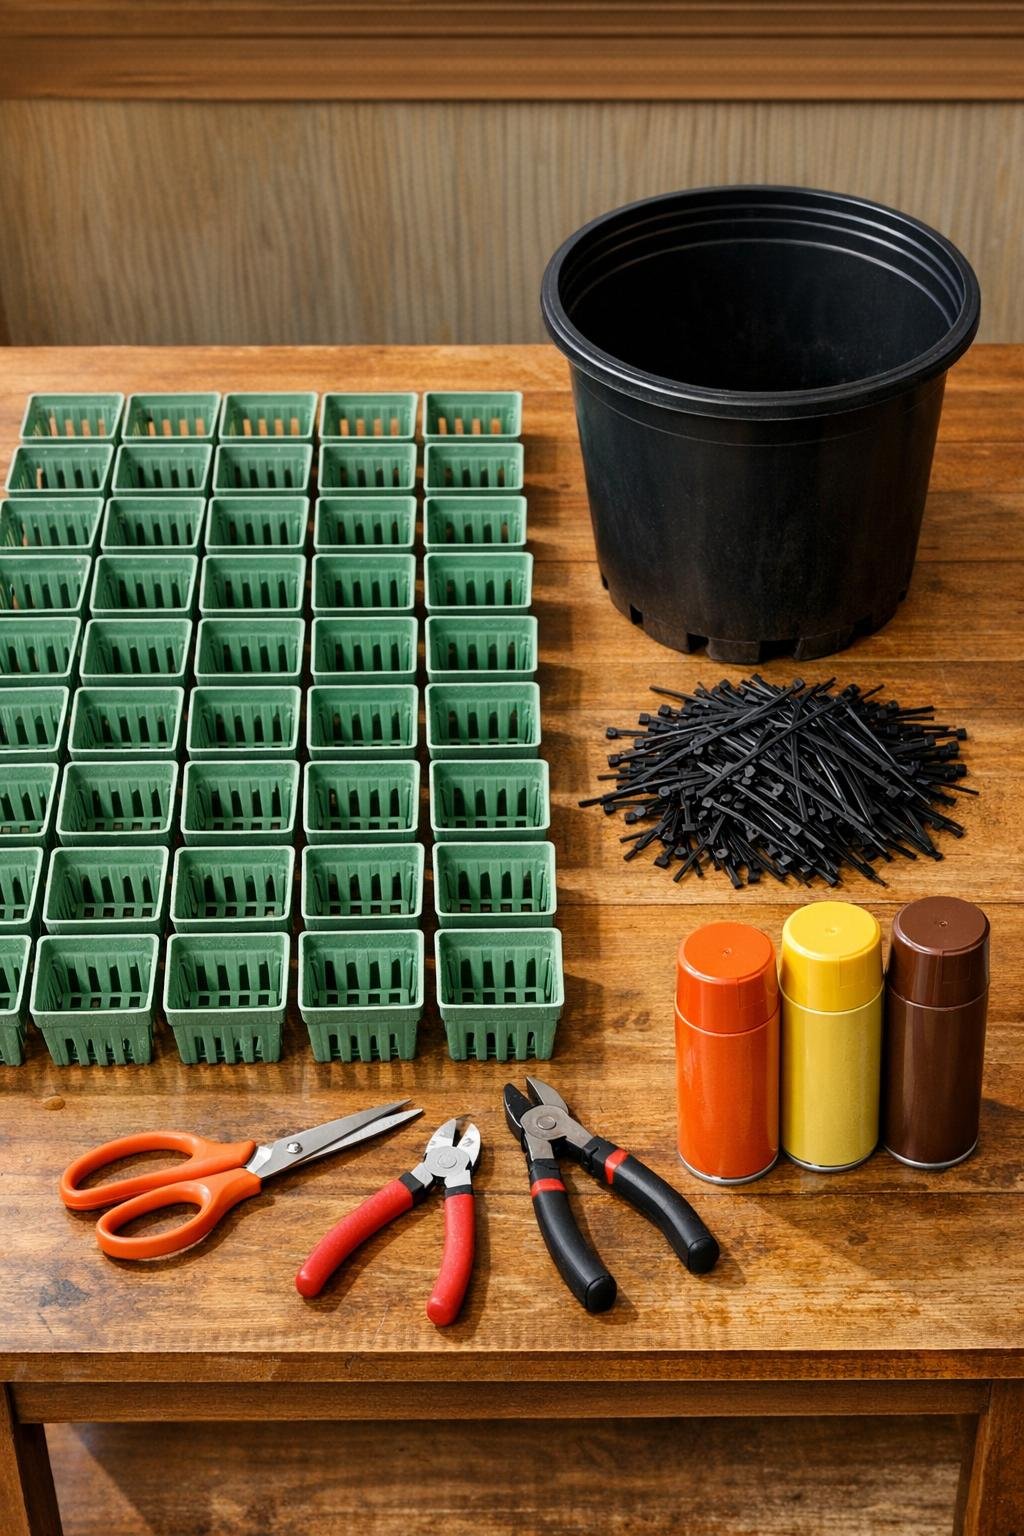
Materials
50 plastic berry baskets, cleaned and fully dry
Instructions
1. Wash the berry baskets with warm soapy water, rinse them well, and let them dry completely so the paint will stick later.
2. Cut each berry basket from top to bottom into long vertical strips about 1/2 inch wide, keeping the strips connected at the base whenever possible so they stay easy to handle while weaving.
3. Trim away any thick rims or ragged edges from the cut baskets so the strips bend more easily and look tidy in the finished weave.
4. Set the nursery pot upright and choose 8 to 10 of the longest cut basket sections to make your first round, spacing them evenly around the outside of the pot with the strips running vertically.
5. Thread another cut basket section horizontally in and out through those vertical strips, working around the pot like a basket weave and pulling it snug against the plastic base.
6. Secure the ends of that woven section with zip ties on the inside of the pot, tightening them just enough to hold the strips firmly without warping the weave.
7. Continue adding more horizontal strips, alternating the over-under pattern with each row, and attach new sections with zip ties inside the pot as needed until the sides are covered from near the base to just below the rim.
8. Fill in any thin spots by tucking extra strips into the weave so the coverage looks generous and balanced all the way around.
9. Add one final band of strips around the top edge and one near the bottom to give the whole piece a finished, sturdy basket shape.
10. Use wire cutters to trim every zip tie tail close to the lock so the inside looks neat and nothing catches your hands when planting.
11. Move the project onto a drop cloth outdoors or in a well-ventilated area, then spray the entire woven surface with light coats of autumn-colored paint until the different plastic pieces read as one cohesive finish.
12. Let the paint dry, then add a second and third light coat where needed, blending the colors softly for a weathered harvest look and making sure to reach into the woven openings from a few angles.
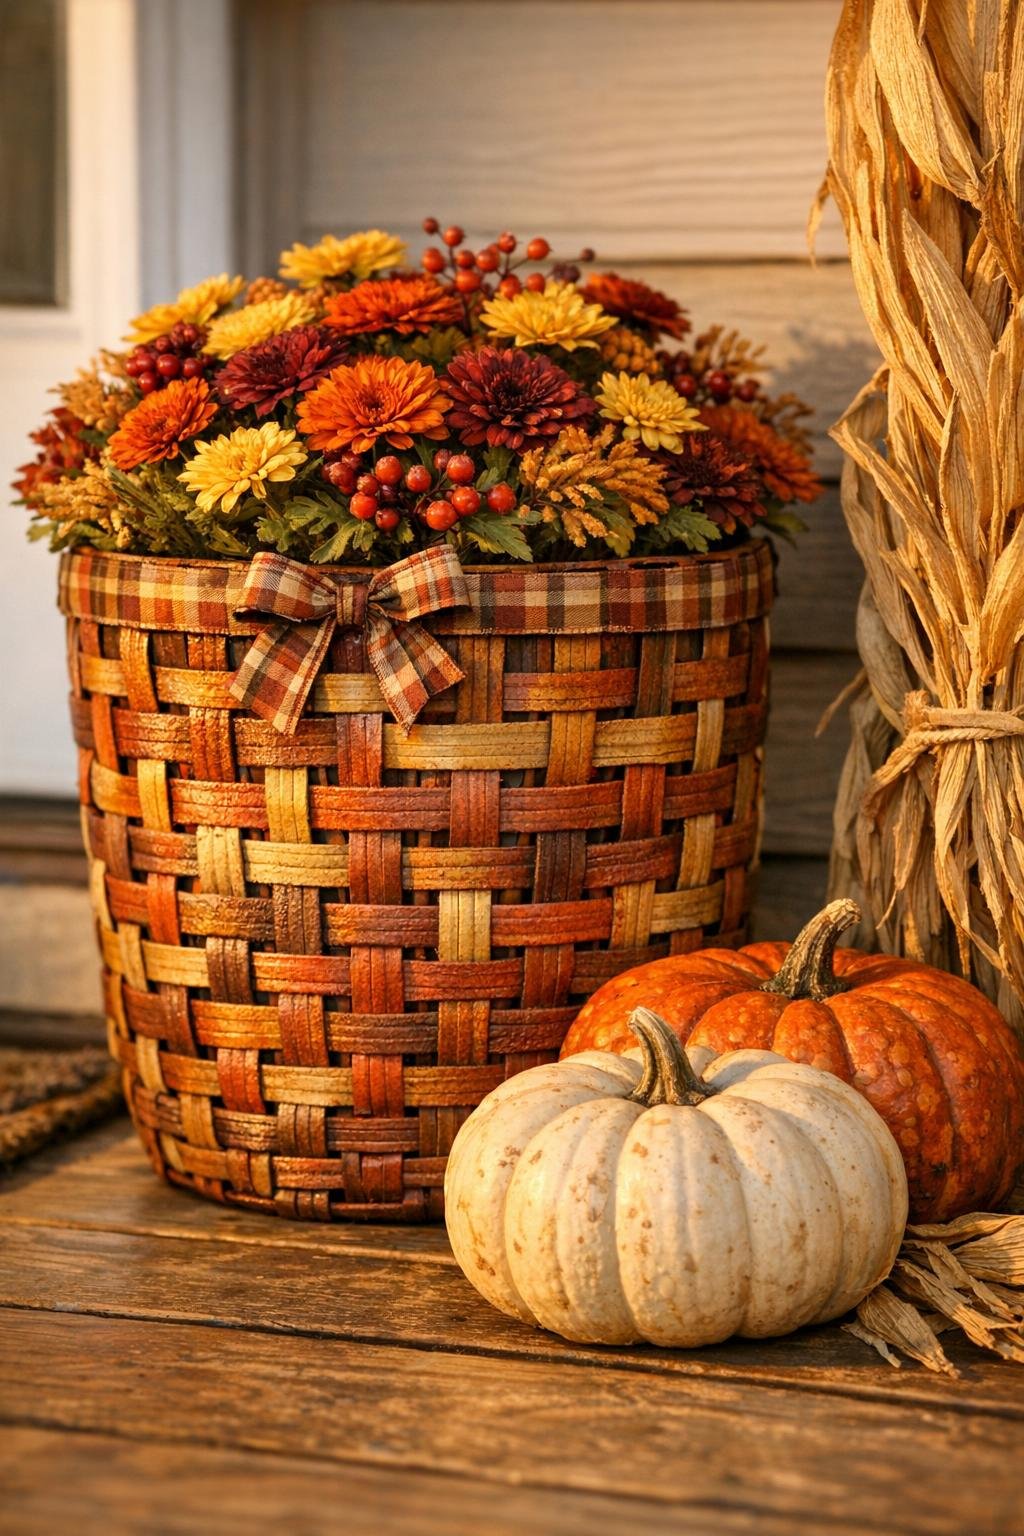
13. Once fully dry, set the planter in place and drop in a potted plant, keeping the nursery pot inside so the woven outer layer stays supported and simple to use.
Variations & Tips
Color choice: If you want a more weathered farmhouse look, use mostly matte brown and wheat tones with just a light dusting of rust over the top. For something a little brighter, burnt orange and muted gold are pretty in fall.
Best basket size: Berry baskets that are all close in size make the weaving easier and neater. If yours vary a little, use the largest ones through the middle and save smaller pieces for filling gaps near the top and bottom.
Pot sizing: A sturdy nursery pot gives this project its shape, so choose one with slightly tapered sides rather than a straight cylinder. That gentle slope helps the weave hug the form like an old-fashioned basket.
Keeping it sturdy: Don’t skimp on zip ties inside the pot. I like to add them every few inches, because once the planter is painted, those hidden fasteners are what keep the whole thing looking crisp and well made.
Outdoor use: This is best on a covered porch or patio rather than out in harsh sun all season long. The paint helps unify the finish, but a little shelter will keep it looking nice much longer.
Easy seasonal swap: After fall, you can reuse the same woven planter with winter greens, spring flowers, or even summer herbs. That’s the kind of practical beauty I was raised to appreciate—make it once, and enjoy it again and again.