
There’s a particular kind of project I love most out here in the country: one that uses plain, humble things, asks very little of you, and somehow still turns into something with real charm. This one does exactly that. With a handful of wooden dishwashing scrub brushes and a bag of quick-set concrete, you can make the sweetest little garden ornaments with wonderfully prickly texture and a sturdy, weather-ready finish.
I’m especially fond of projects like this for porch pot displays, tucked-in flower beds, or that bare little spot near the steps that needs a touch of personality. It’s easy enough for a beginner, inexpensive besides, and because you’re making a whole little group at once, the final effect feels generous and playful without much fuss.
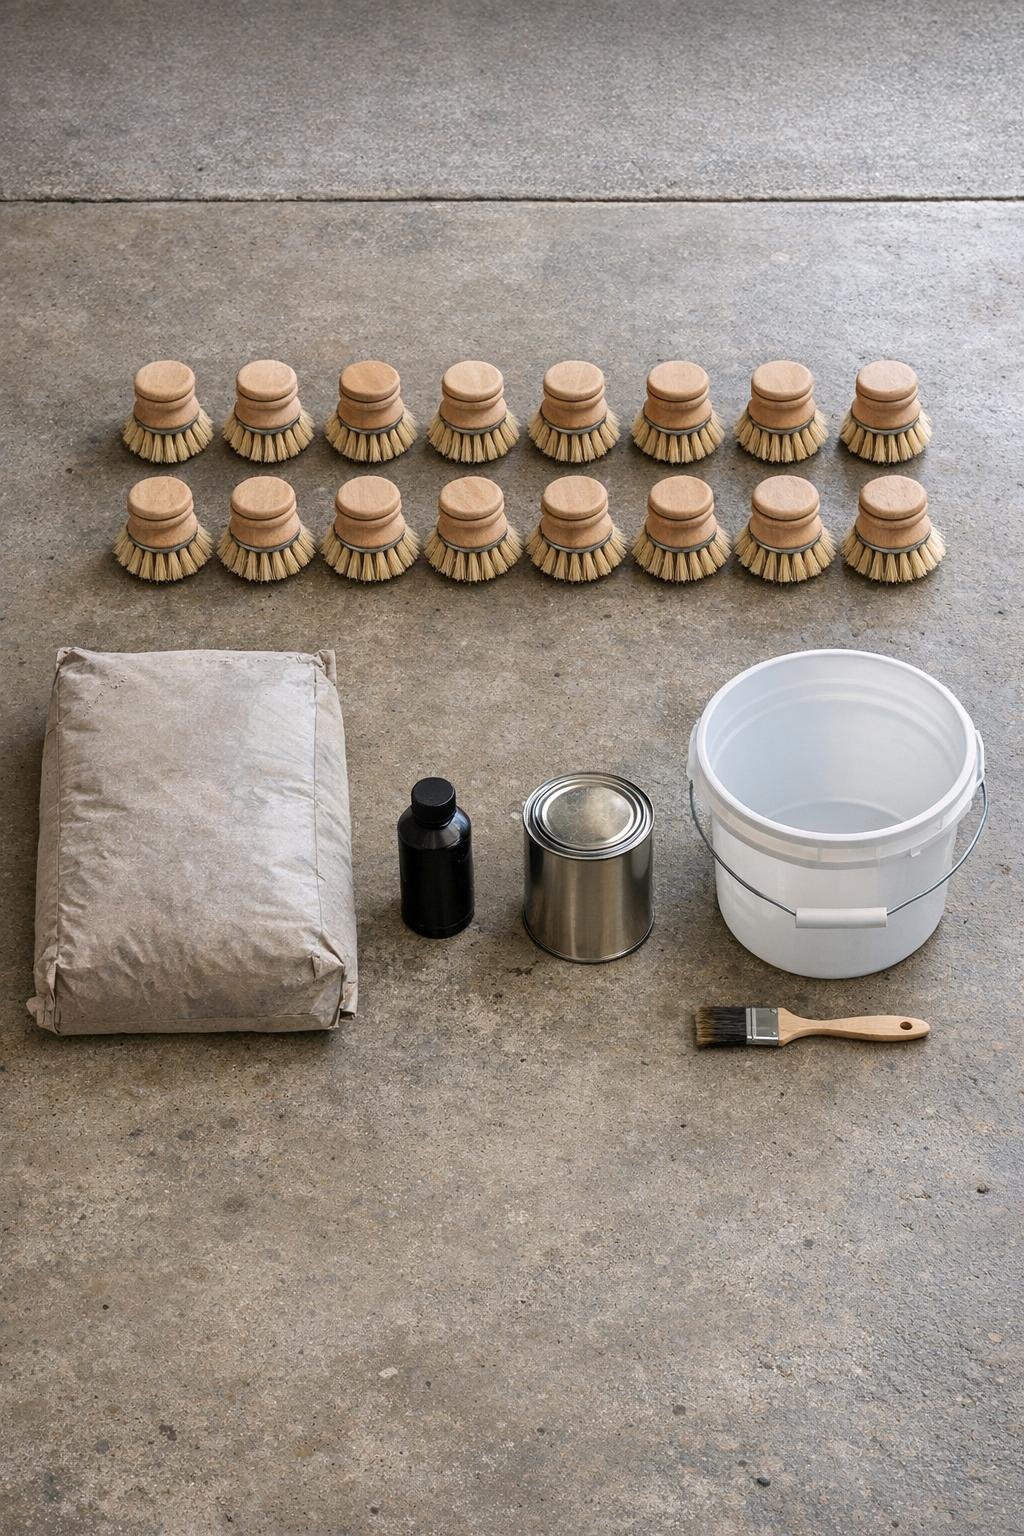
Materials
15 wooden dishwashing scrub brushes, each about 6 to 7 inches long
Instructions
1. Set your work area on a garage floor, driveway, or other flat surface where the brushes can stand undisturbed for a full day. Keep all 15 scrub brushes lined up nearby so you can move quickly once the concrete is mixed.
2. Pour the quick-set concrete into the mixing bucket and stir in water a little at a time until it reaches the texture of thick pancake batter. You want it wet enough to coat the brush heads well, but thick enough that it clings instead of running off.
3. Hold one scrub brush by the wooden handle and dip only the bristle end halfway into the wet concrete. Turn it gently as you lift so the cement wraps around the base of the bristles and forms a rounded body while the bristle tips stay exposed.
4. Stand the dipped brush upright on its handle end so the coated bristle head sits on top, and nudge the concrete lightly with your fingers or the paintbrush handle if you want a rounder, more nose-like front. Repeat with the remaining brushes, giving each one a slightly different shape for a more natural little grouping.
5. Let the brushes cure upright for 24 hours without moving them. Once firm, tap off any loose grit and check that the concrete feels fully hardened before painting or sealing.
6. Use the small paintbrush and black acrylic paint to add two tiny dot eyes near the front of each concrete-coated head. Keep the dots small and evenly spaced so the faces stay simple and sweet.
7. Brush or spray on a clear outdoor sealant over the concrete portion and painted eyes, avoiding heavy buildup on the exposed bristle tips. Let the sealant dry fully according to the product directions before placing the pieces outdoors.
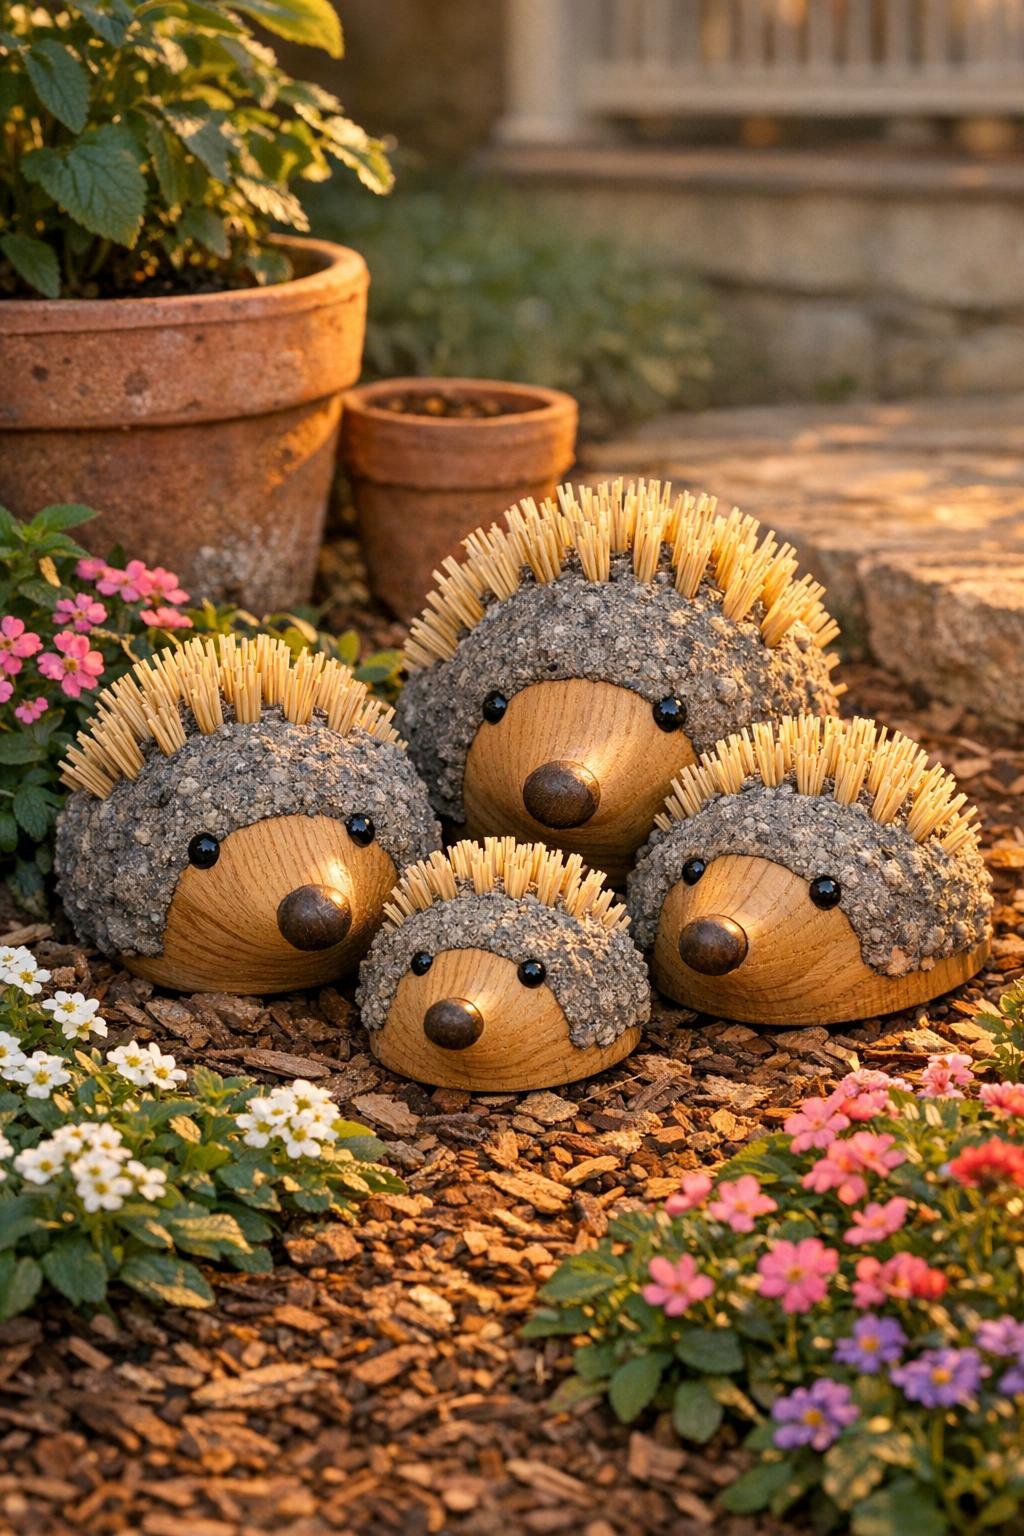
8. Tuck the finished pieces into garden beds, porch planters, or along a path with the pointed bristles facing back and the painted faces peeking forward. Grouping several together gives the nicest effect and makes the display feel intentional and full.
Variations & Tips
Make a more rounded body: If your concrete seems a little thin, wait 2 to 3 minutes after mixing and try again. Slightly thicker concrete builds a plumper, smoother shape around the brush head and gives a more finished look.
Give them personality: I like to vary the angle of the painted eyes and the exact amount of concrete on each brush. A little difference from one to the next makes the group feel like a family instead of identical copies.
Use them in clusters: Three tucked into a planter is cute, but all 15 spread through a garden bed is what really makes this project shine. Nestle some close together and place a few farther apart so the eye keeps discovering them.
Protect them from puddling: They’ll hold up best if you set them on mulch, gravel, or well-drained soil rather than in a spot that stays soggy after rain. That helps both the wood and the sealant last longer.
Refresh seasonally: If they stay outdoors year-round, add a fresh coat of clear sealant every season or two. That little bit of upkeep keeps the painted eyes crisp and the concrete looking clean.
Keep the bristles visible: Don’t bury the whole brush head in concrete. Leaving the outer bristle tips exposed is what gives the finished pieces their wonderful texture and makes the transformation so delightful.