
I love a project that looks surprisingly elevated without eating up my whole evening, and this one absolutely fits that category. By giving inexpensive faux fall leaves a quick dip in melted beeswax, you can soften that shiny plastic look and turn them into something much richer and more natural-looking for seasonal decorating.
This is a great little craft for anyone who wants a high-end fall touch on a real-life budget. I’m especially fond of projects like this during busy weeks, because I can set everything up after dinner, work assembly-line style for a bit, and end up with a finished piece that looks far more expensive than the supplies actually were.
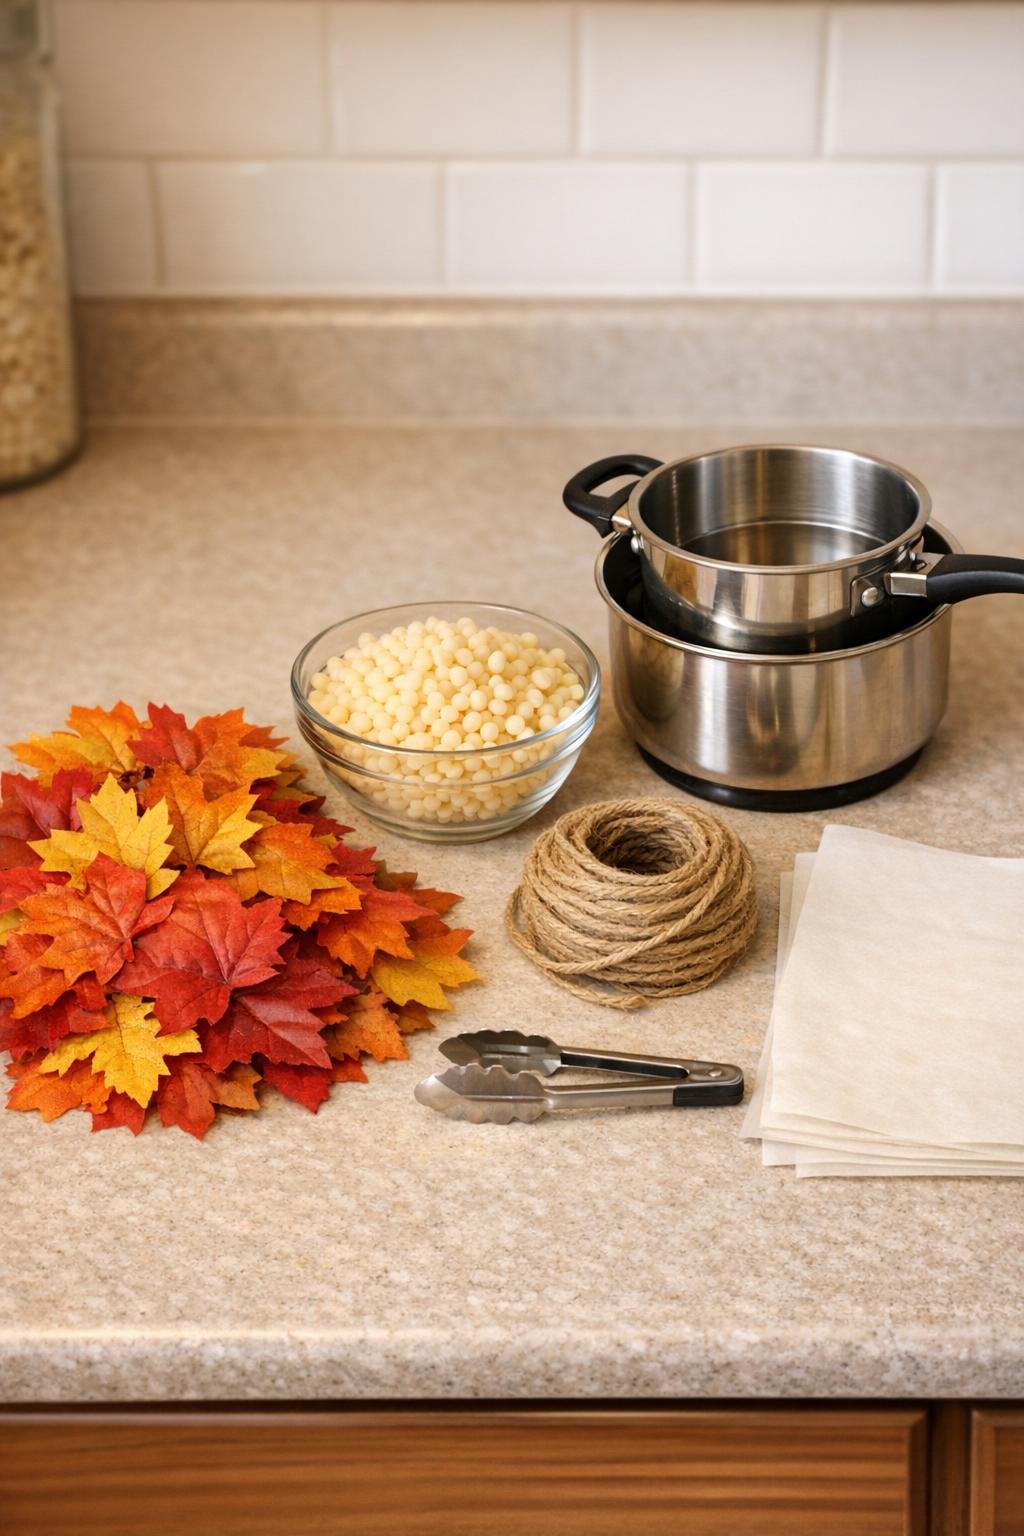
Materials
30 faux fall leaves, about 3 to 5 inches wide, in mixed autumn colors
Instructions
1. Line a baking sheet or flat work surface with parchment paper, and cut your twine to the finished garland length you want, leaving an extra 8 to 10 inches for hanging.
2. Sort the 30 faux leaves into a pleasing color mix and gently flatten any bent stems or curled edges so they dry nicely after waxing.
3. Add the beeswax pellets to the top of your double boiler and melt them over low heat until fully liquid; keep the wax warm but not smoking.
4. Hold one leaf by the stem with tongs, dip it fully into the melted wax for just 1 to 2 seconds, then lift it out and let the excess drip back into the pot; a quick coat gives the best natural finish.
5. Lay the waxed leaf flat on the parchment paper and smooth any curled edge right away while the coating is still soft; repeat with the remaining leaves, working in small batches.
6. Let the leaves cool completely for 15 to 20 minutes until the wax is firm and no longer tacky to the touch.
7. Arrange the cooled leaves along the twine, alternating colors and sizes for a full balanced look, and space them about 1 to 2 inches apart.
8. Tie each leaf onto the twine by wrapping the stem around twice and knotting securely, or use a skewer to help guide thicker stems into place without cracking the wax.
9. Fluff and adjust the finished strand so the leaves overlap slightly and face different directions, which makes the garland look fuller and more natural.
10. Hang the garland on a mantel, across a window, or along a shelf using the extra twine at each end, and store it flat when the season is over to help prevent the wax from cracking.
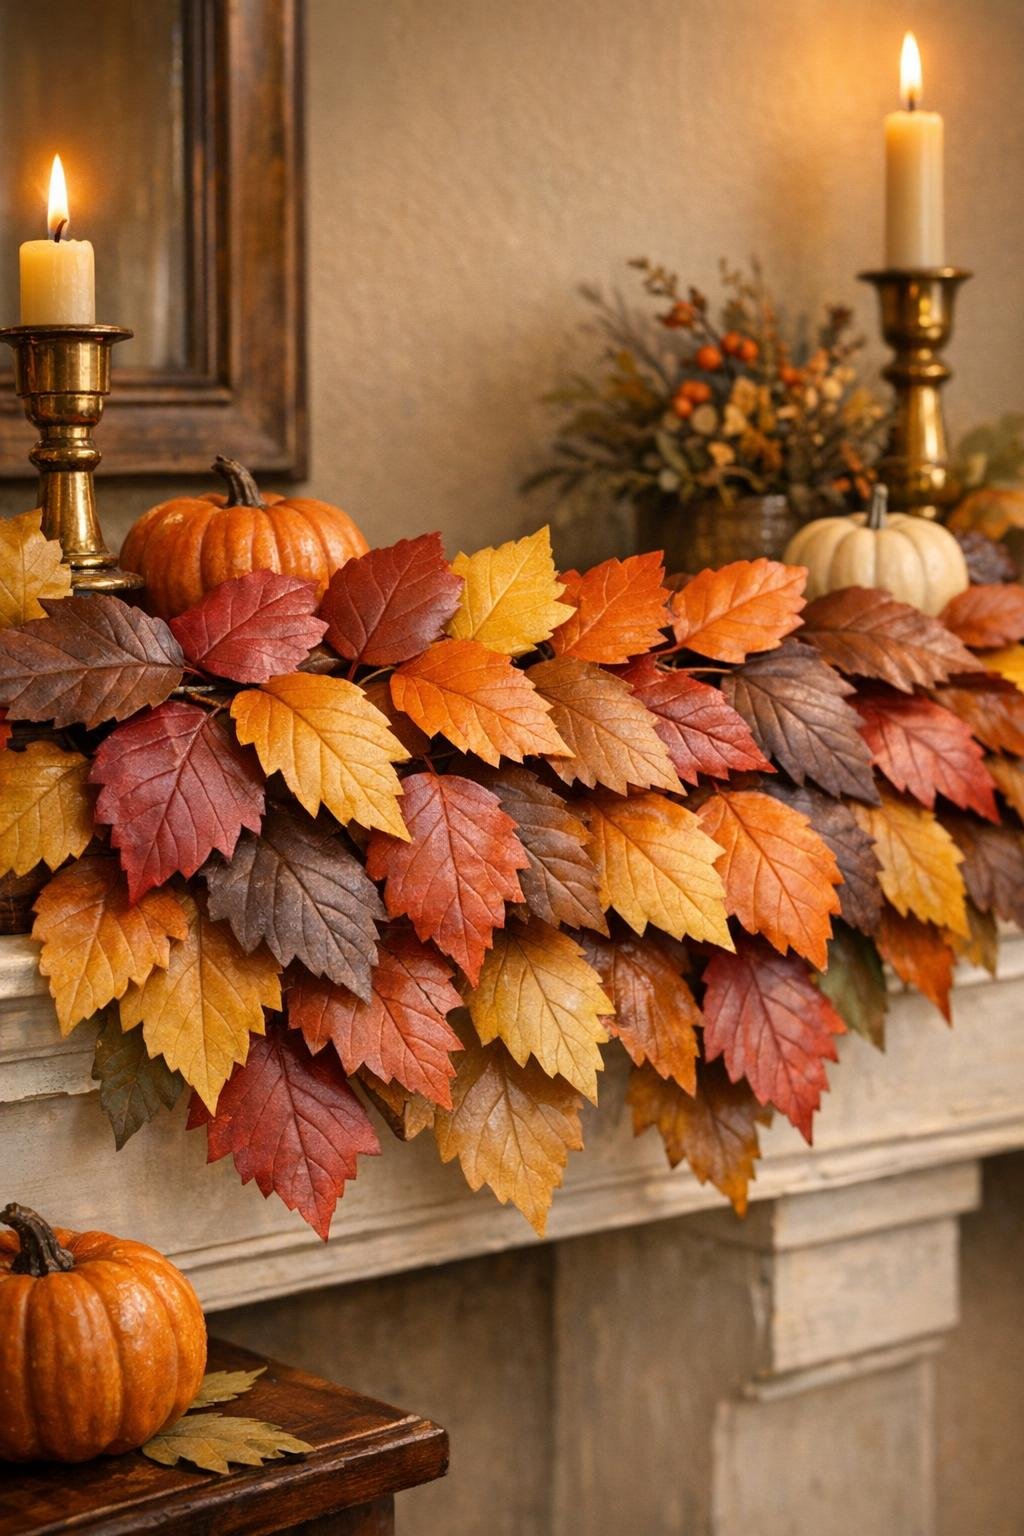
Variations & Tips
For a fuller garland: Use a 5- to 6-foot twine length instead of stretching the leaves too far apart. Keeping the leaves closer together gives you that lush, boutique-style look.
For the most realistic finish: Keep the wax coat thin. I know it’s tempting to redip, but one quick pass is what cuts the plastic shine without creating thick, cloudy buildup.
Color balancing tip: I like to spread darker burgundy and brown leaves evenly across the strand instead of clustering them in one area. It makes the whole garland feel intentional and polished.
If your leaves have short stems: Tie a tiny knot of twine around each stem first, then attach that knot to the main garland strand. It’s an easy fix and helps everything stay in place.
Best places to display it: This works especially well on a mantel, buffet, bookshelf, or over a kitchen window. I’d skip exterior doors or sunny windows since heat can soften wax over time.
Storage tip: Lay the garland flat between sheets of parchment paper in a shallow box. That little extra care makes a big difference when you pull it out next fall.