
A plain floating shelf can do a whole lot more than hold a candle and a little framed photo. By adding a row of small brass cup hooks underneath, I turn that empty space into a tidy jewelry holder that keeps necklaces untangled, hoops easy to grab, and the whole bedroom looking a little more finished. It’s one of those simple projects that feels clever the minute it goes up, and it has that polished, custom look people always notice.
I especially love a project like this because it doesn’t ask for fancy carpentry or a whole weekend of work. If you can measure carefully and twist in a hook, you can make this. It’s perfect for anyone who wants prettier storage in a bedroom, dressing area, or even a guest room, and it gives everyday jewelry a proper place instead of letting it collect in a dish like loose change.
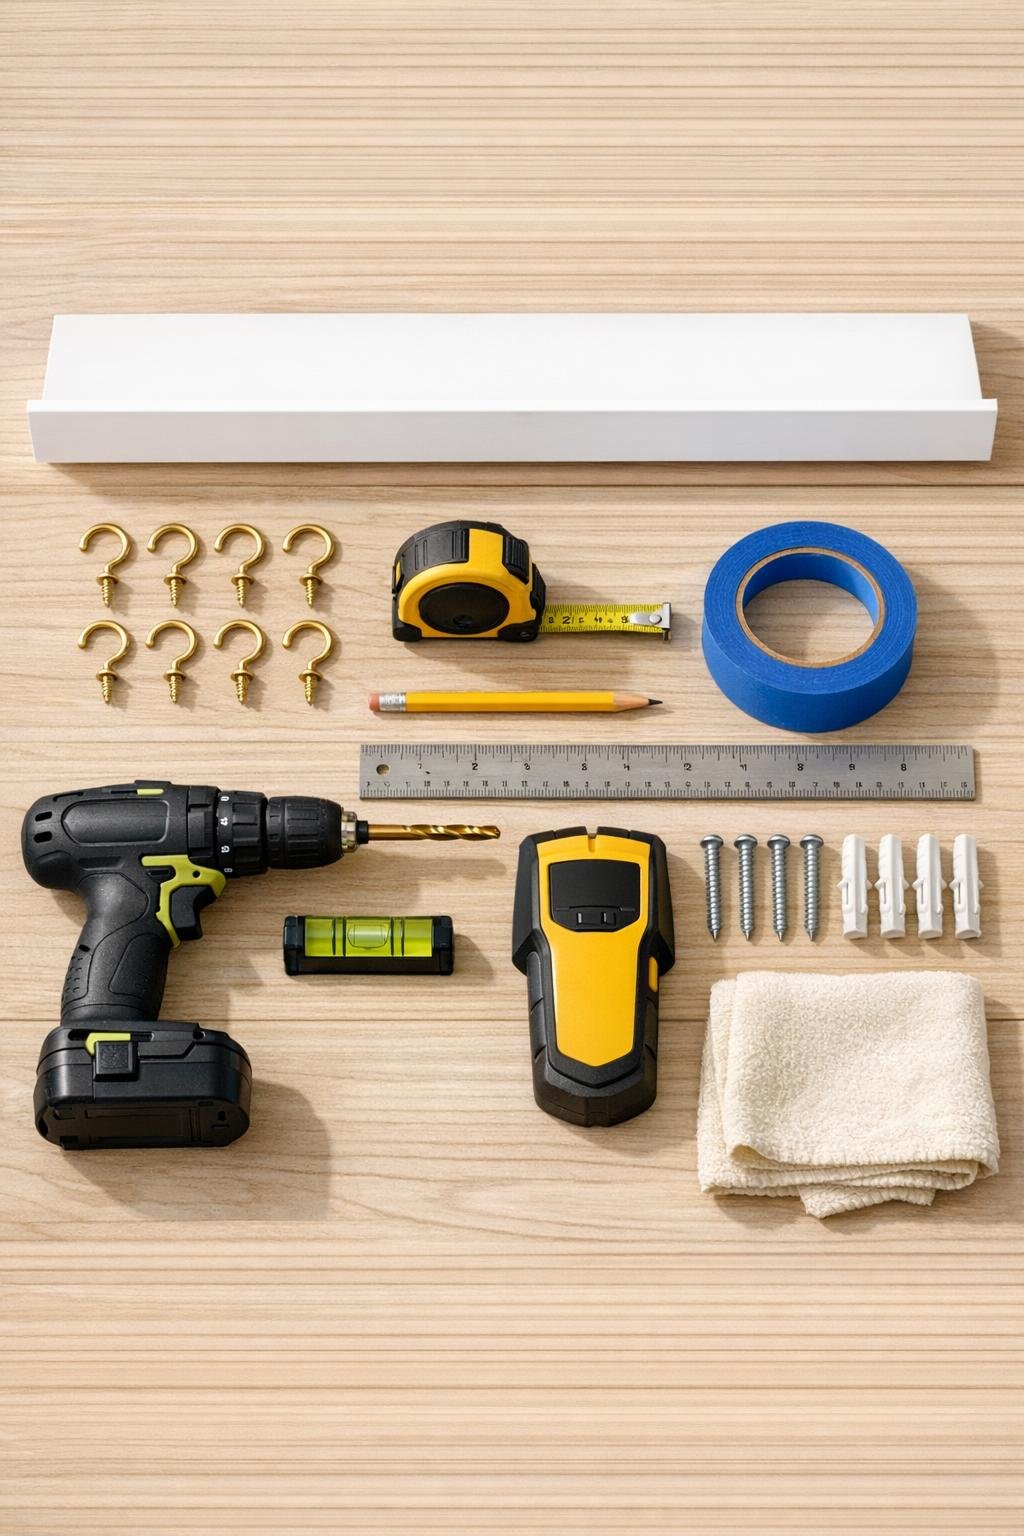
Materials
1 white floating shelf, 24 inches long x 6 inches deep
Instructions
1. Wipe the floating shelf clean and set it upside down on a protected surface so you can mark the underside without scratching the finish.
2. Place a strip of painter’s tape along the underside front edge of the shelf, then use a ruler and pencil to mark hook positions evenly across the length.
3. For a 24-inch shelf, mark the first and last hooks about 2 inches in from each end, then space the remaining 8 hooks about 2 1/4 inches apart so the row looks full and balanced.
4. Drill a shallow pilot hole at each mark, keeping the bit straight so the hooks will hang evenly and won’t tilt once installed.
5. Twist a brass cup hook into each pilot hole by hand until the threads are snug and all the hook openings face the same direction.
6. Hold the shelf against the bedroom wall at your chosen height, check for level, and mark the mounting points according to the shelf hardware.
7. Use a stud finder to locate at least one wall stud if possible; if not, drill the marked holes and insert the wall anchors for a secure mount.
8. Attach the shelf bracket or mounting hardware firmly to the wall with the screws, then slide or fasten the shelf into place following the shelf style you have.
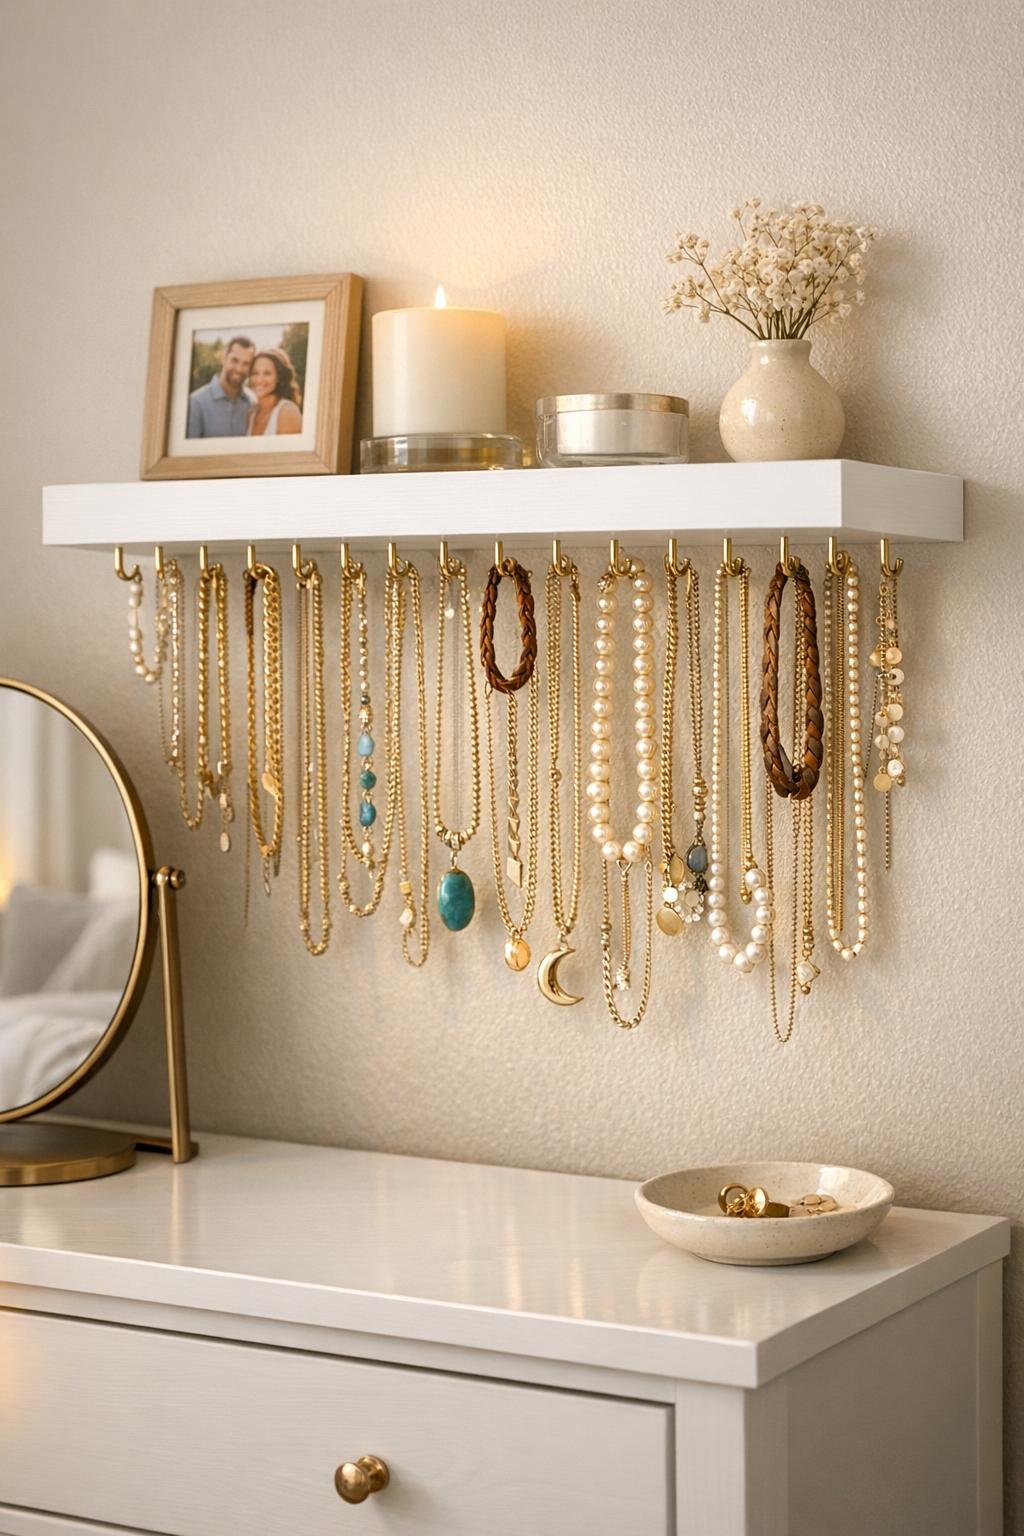
9. Load the top of the shelf with a few light decorative items like a small framed photo, a bud vase, or a candle, keeping the display simple so the jewelry remains the star.
10. Hang necklaces, bracelets, and larger hoop earrings from the brass hooks, spacing bulkier pieces apart so they drape neatly without tangling.
Variations & Tips
For more storage: Use a 30-inch or 36-inch floating shelf and increase the number of hooks to 12 or 14 so you have enough room for longer necklaces and chunkier pieces.
For delicate walls: If you’re mounting into drywall only, don’t skip the anchors; jewelry may be light piece by piece, but a fully loaded shelf and décor on top add up quickly.
For better spacing: I like to alternate shorter and longer necklaces across the row so they don’t overlap too much and everything stays easier to see.
For a polished look: Keep all the hook openings turned the same way before tightening the last few twists; that little bit of order makes the whole project look custom-made.
For earring storage: Reserve one or two hooks just for hoop earrings or looped bracelets, especially near the end of the shelf where they’re easiest to reach.
For finish protection: If the shelf gets fingerprint smudges during installation, buff it with a soft cloth after mounting so the white finish looks crisp and clean against the brass.
For styling: A white shelf with brass hooks has a lovely classic look, and in a bedroom it pairs beautifully with a small lamp, linen bedding, or a vintage mirror without feeling fussy.