
If you organize a pantry the way I do a spice drawer—equal parts optimism and practical compromise—this little riser project is a smart fix. By stacking small wooden picture frames flat under glass storage containers, you create an instant tiered lift that makes jars easier to see, easier to reach, and honestly a lot prettier on the shelf.
I like this project because it feels a bit like good kitchen prep: simple ingredients, clean technique, and a result that makes everything run better afterward. It’s ideal for anyone who wants a more polished pantry without building custom shelving, and it’s especially useful if your glass canisters tend to disappear behind one another on deep shelves.
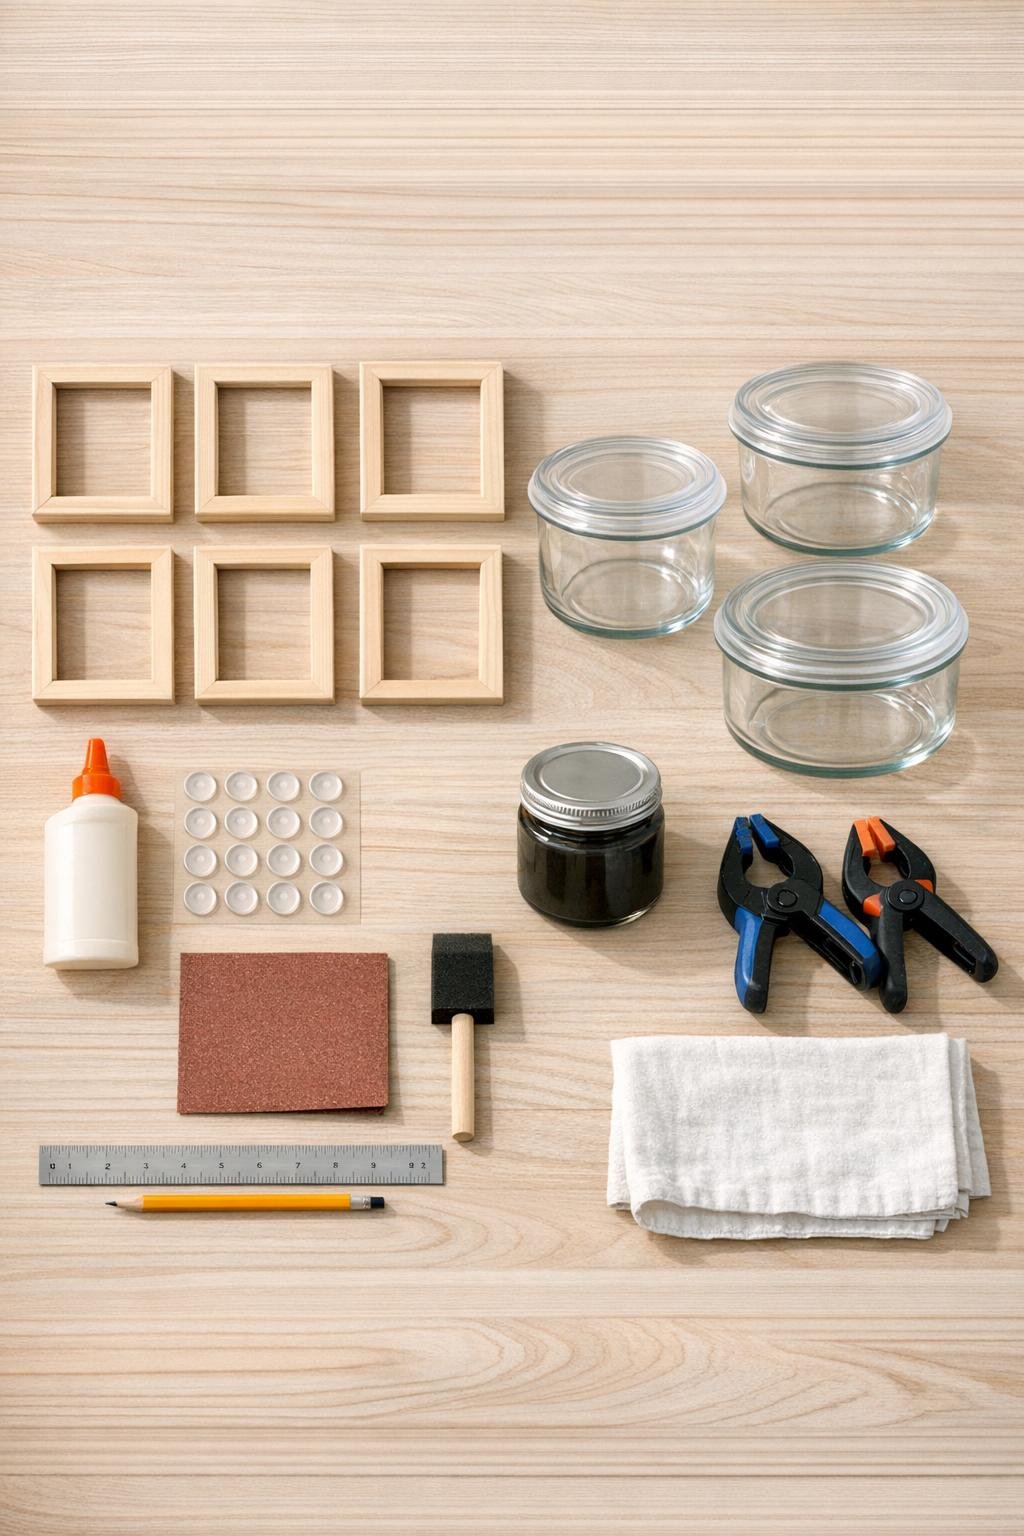
Materials
6 small unfinished wooden picture frames, 5 x 7 inch size, with glass and backing removed
Instructions
1. Remove the glass, backing, tabs, and hanging hardware from all six wooden picture frames so you are left with smooth, flat wooden frame shapes only.
2. Sand each frame lightly with 120-grit sandpaper, then smooth with 220-grit to soften sharp edges and help the finish go on evenly.
3. Pair the frames by size and shape, then stack two frames flat together for each riser base, checking that the outer edges line up neatly on all sides.
4. Run a thin, even bead of wood glue along the flat contact surfaces, stack each pair, and clamp them or weigh them down with heavy books until fully dry according to the glue directions.
5. Once dry, sand the outer edges of each stacked pair so the seams look tidy and the doubled frames read as one solid riser instead of two separate pieces.
6. Paint or stain all visible sides of the risers, including the inner openings, then let them dry completely before adding a clear topcoat if you want extra wipe-clean durability.
7. Stick four clear rubber bumper pads to the underside corners of each riser to keep the wood off the shelf and prevent sliding.
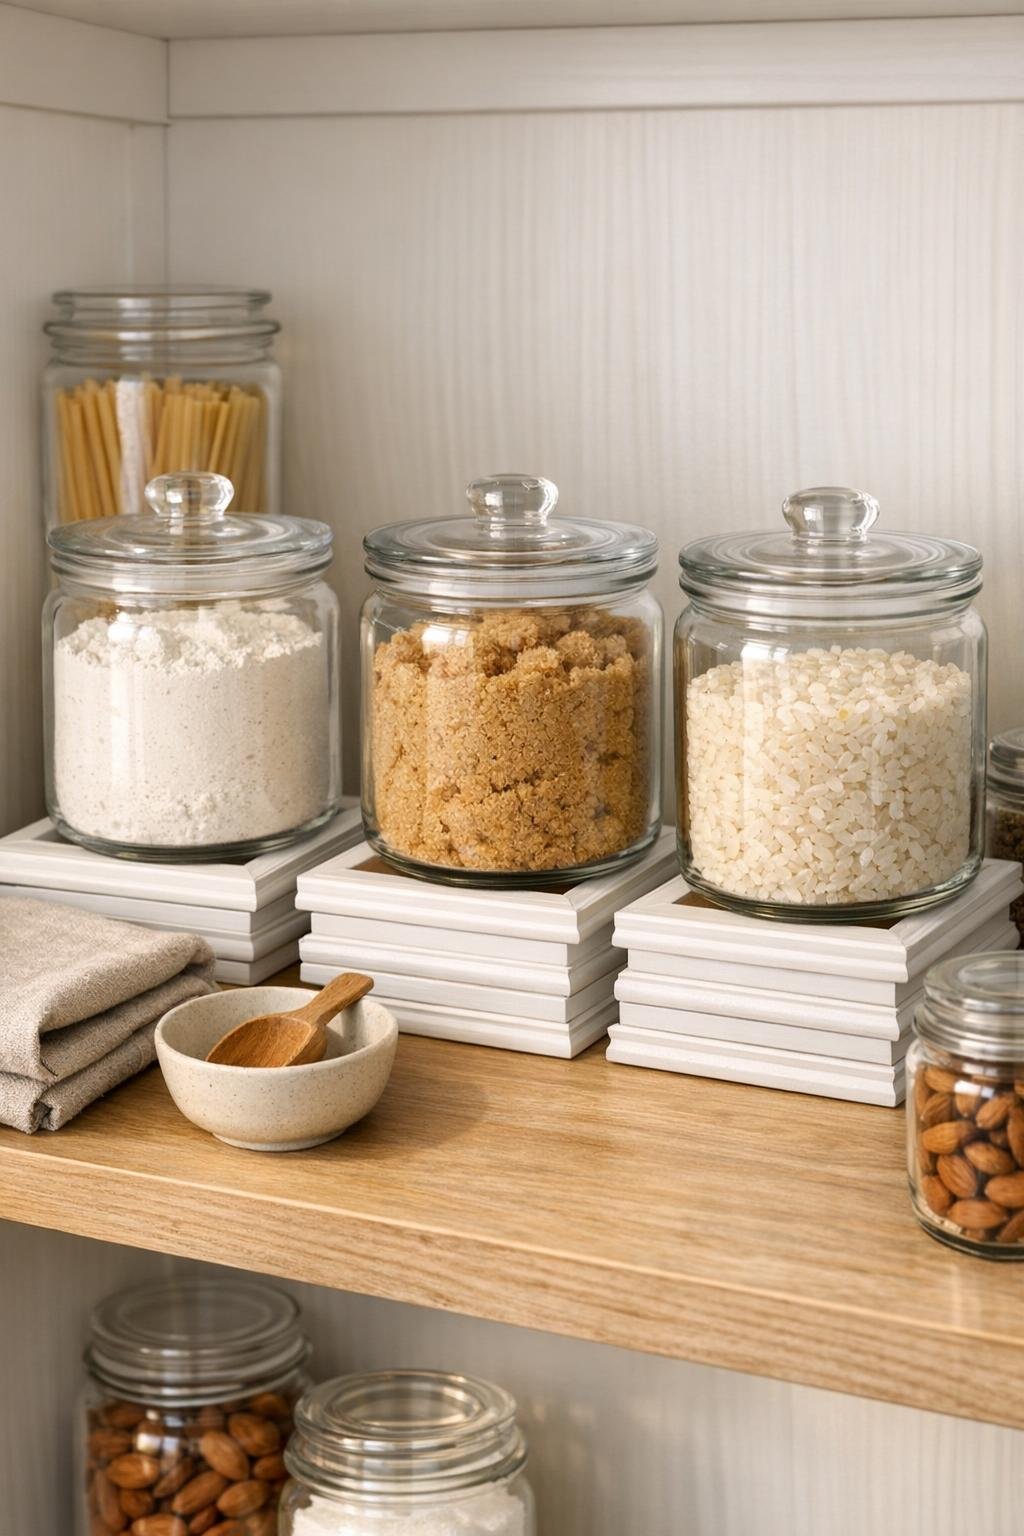
8. Set the three finished frame risers on your pantry shelf with a little space between them, and center one glass storage container on top of each riser so the wooden frame shape stays visible underneath.
9. Fill the containers with pantry staples like flour, sugar, pasta, oats, beans, or snacks, arranging the tallest jars toward the back if you are styling a deep shelf.
10. Wipe the glass and shelf clean, then make small adjustments so the risers sit evenly and the jars look aligned, stable, and easy to grab.
Variations & Tips
Finish choice: I like a matte painted finish for a clean pantry look, but a light oak stain or walnut stain works beautifully if your kitchen has warmer wood tones.
For heavier jars: Use hardwood frames instead of lightweight craft frames, and choose squat glass containers rather than very tall ones to keep the center of gravity low.
Non-slip upgrade: If your shelf surface is slick, add a square of clear museum gel or removable putty between the riser and the container for extra grip.
Make them look custom: Paint the risers to match your shelf trim or pantry cabinetry; that small color match makes the whole setup feel intentionally built-in.
Best sizing method: Before gluing anything, set your actual containers on the frames and make sure each jar footprint sits comfortably inside the outer frame edges with at least 1/2 inch to spare.
Easy cleaning tip: A water-based topcoat is worth the extra few minutes because pantry shelves collect flour dust and sugar grit, and sealed risers wipe down much more easily.
Use beyond the pantry: This same frame-stacking idea works nicely under countertop canisters, tea jars, spice collections, or even small bathroom apothecary jars where you want a little lift without bulky organizers.