
When I’m trying to keep my fall seedlings happy without babysitting the garden every hour, I lean hard on simple little tricks like this one. This DIY cold frame vent prop uses soaked wooden popsicle sticks plus two basic shed staples to make an easy adjustable prop that helps crack a cold frame lid open just enough to release heat on sunny afternoons and then close back down when the temperature drops.
I love projects like this because they’re inexpensive, fast, and genuinely useful, especially if you’re stretching the season for lettuce, spinach, herbs, or fall-started brassicas. If you’ve got a basic cold frame, an old window-top frame, or even a small hinged garden cover, this is the kind of low-effort fix that can make it work so much better.
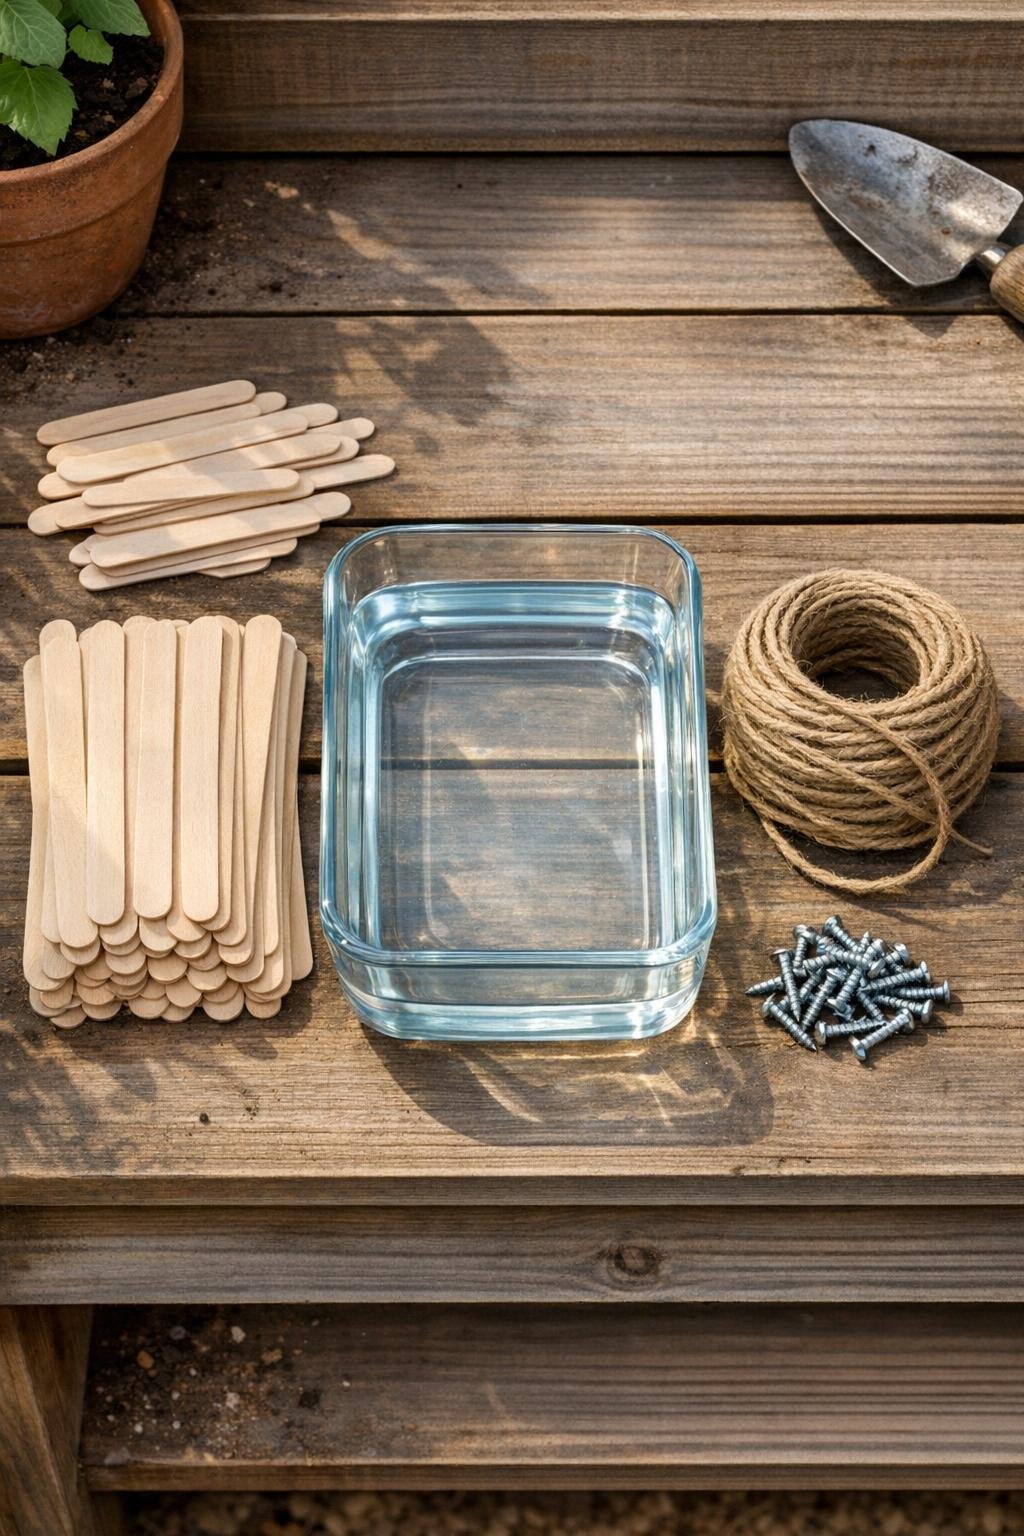
Materials
40 wooden popsicle sticks, standard size 4 1/2 inches long
Instructions
1. Fill the glass baking dish with water and soak 24 wooden popsicle sticks for 2 to 3 hours, until they bend gently without snapping.
2. Remove 12 soaked sticks, pat them dry, and stack them into three bundles of 4 sticks each to make three strong vent slats.
3. Wrap jute twine tightly around both ends of each bundle, tying each bundle 1/2 inch in from the ends, then knot securely so the slats stay flat and rigid.
4. Take 6 more soaked sticks and bend each one into a shallow arch, then tie or hold them in shape with twine while they dry for about 1 hour; these will act as springy spacer bows.
5. Stack two arched sticks together for each spacer bow and tie their ends together with short pieces of twine, making 3 doubled arches that feel flexible but sturdy.
6. Use one screw at each end of the first flat slat to attach it horizontally to the inside sidewall of the cold frame near the bottom, creating a fixed anchor point.
7. Screw the second flat slat to the underside of the cold frame lid, parallel to the first one, so it lines up when the lid is partly open.
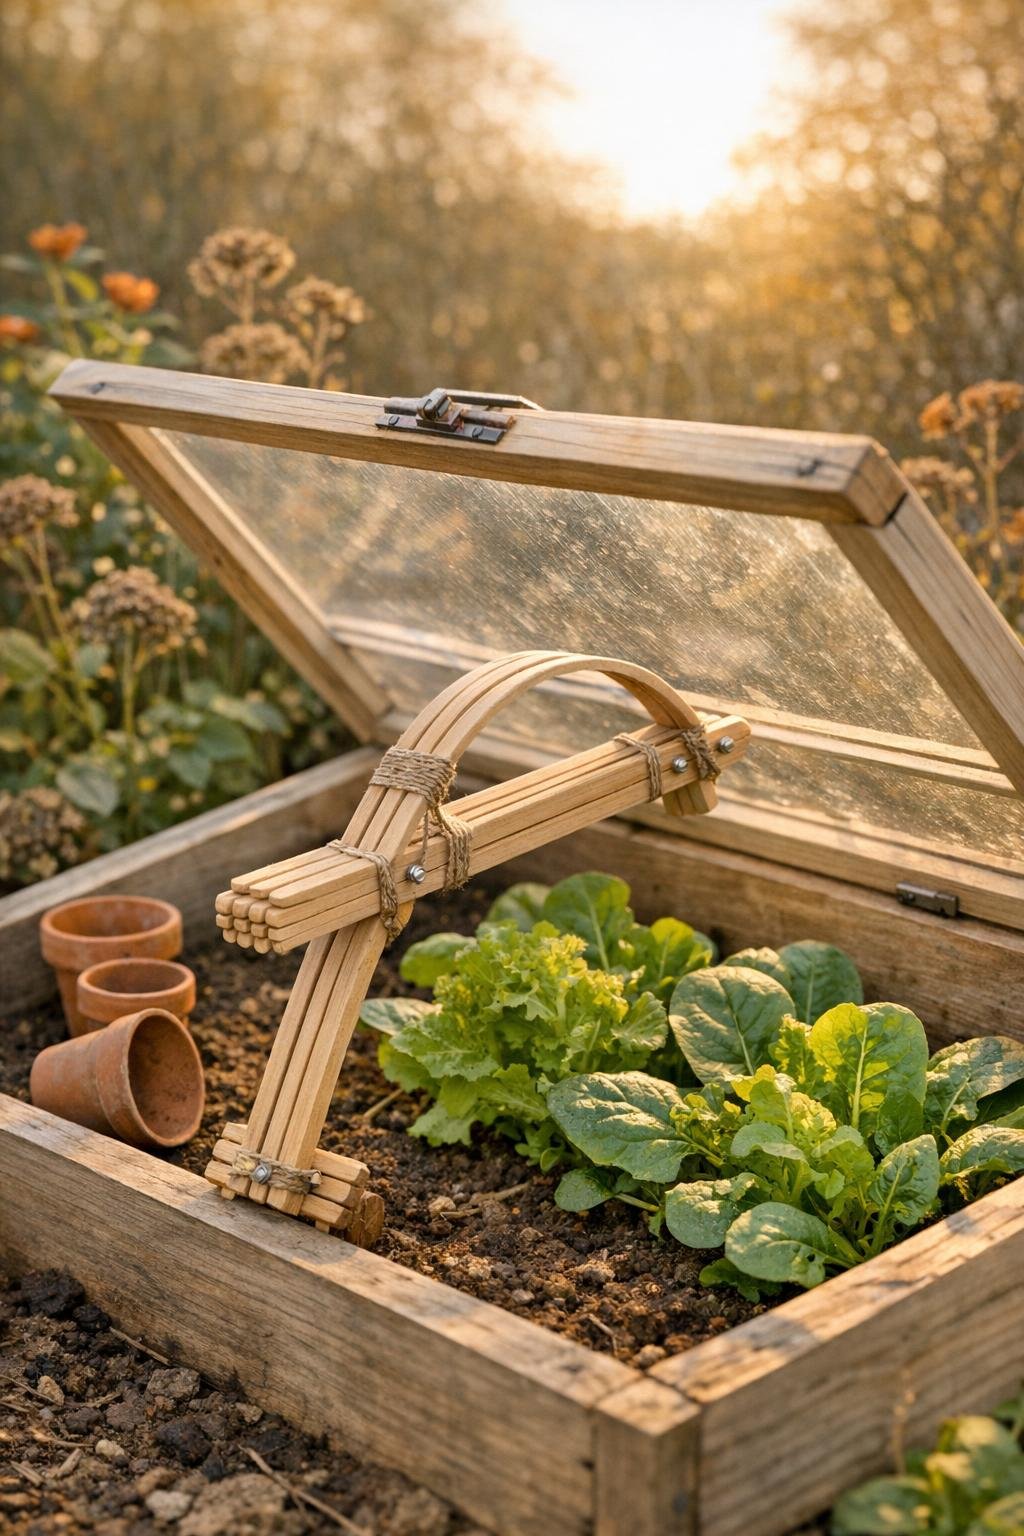
8. Fasten the third flat slat vertically between those two slats using loops of twine at each end, creating a simple articulated prop that can swing into place when you lift the lid.
9. Tie one doubled arched spacer bow onto the center of the vertical slat, then add the other two above and below it, spacing them evenly to create gentle tension and multiple venting positions.
10. Open the cold frame lid and test the prop by shifting the center slat forward or back until the lid holds at three useful openings: barely cracked, medium vented, and fully propped for warm afternoons.
11. Let the sticks dry completely in place overnight so they stiffen into their final shape, then trim any loose twine ends for a neater finish.
12. On sunny fall days, set the prop at the smallest gap in the morning and widen it later if the cold frame heats up; tuck it flat when freezing wind or evening cold moves in.
Variations & Tips
For larger cold frames: Double the thickness of each flat slat to 6 sticks per bundle instead of 4 if your lid is heavy old glass or a bigger reclaimed window sash.
If you need faster drying: I set the tied bundles on a wire rack near a sunny window or in a warm mudroom, and they firm up much faster without warping as much as they do outside overnight.
Best twine choice: Jute gives this prop a nice grip and a classic garden look, but synthetic garden twine lasts longer in wet weather if your cold frame stays outdoors all season.
Waterproofing tip: Brush the finished sticks with a light coat of exterior water-based polyurethane or outdoor sealer once they’re fully dry if you want them to last beyond one season.
How I use it day to day: On bright Midwest fall afternoons, my cold frames heat up much faster than I expect, so I check them around lunchtime and bump the vent open one setting wider before things get steamy.
Easy replacement plan: Keep the extra soaked-and-dried sticks in your shed because if one bundle eventually softens or cracks, you can swap in a fresh piece in five minutes instead of rebuilding the whole prop.