
I love a craft that looks charming, costs almost nothing, and actually does a job around the house. This project turns plain knee-high stockings and play sand into weighted little pumpkins that are cute enough for fall decorating but sturdy enough to work as doorstops too. The best part is that the process is simple and repetitive in the most satisfying way, so once you make one, it’s very hard not to keep going.
If you want an easy dollar-store project that gives you a big finished display without a lot of tools or mess, this is a great one. I usually save projects like this for an evening when I want something low-stress after work, and the finished pieces have that cozy, handmade look that makes a porch, hearth, or entryway feel instantly more seasonal.
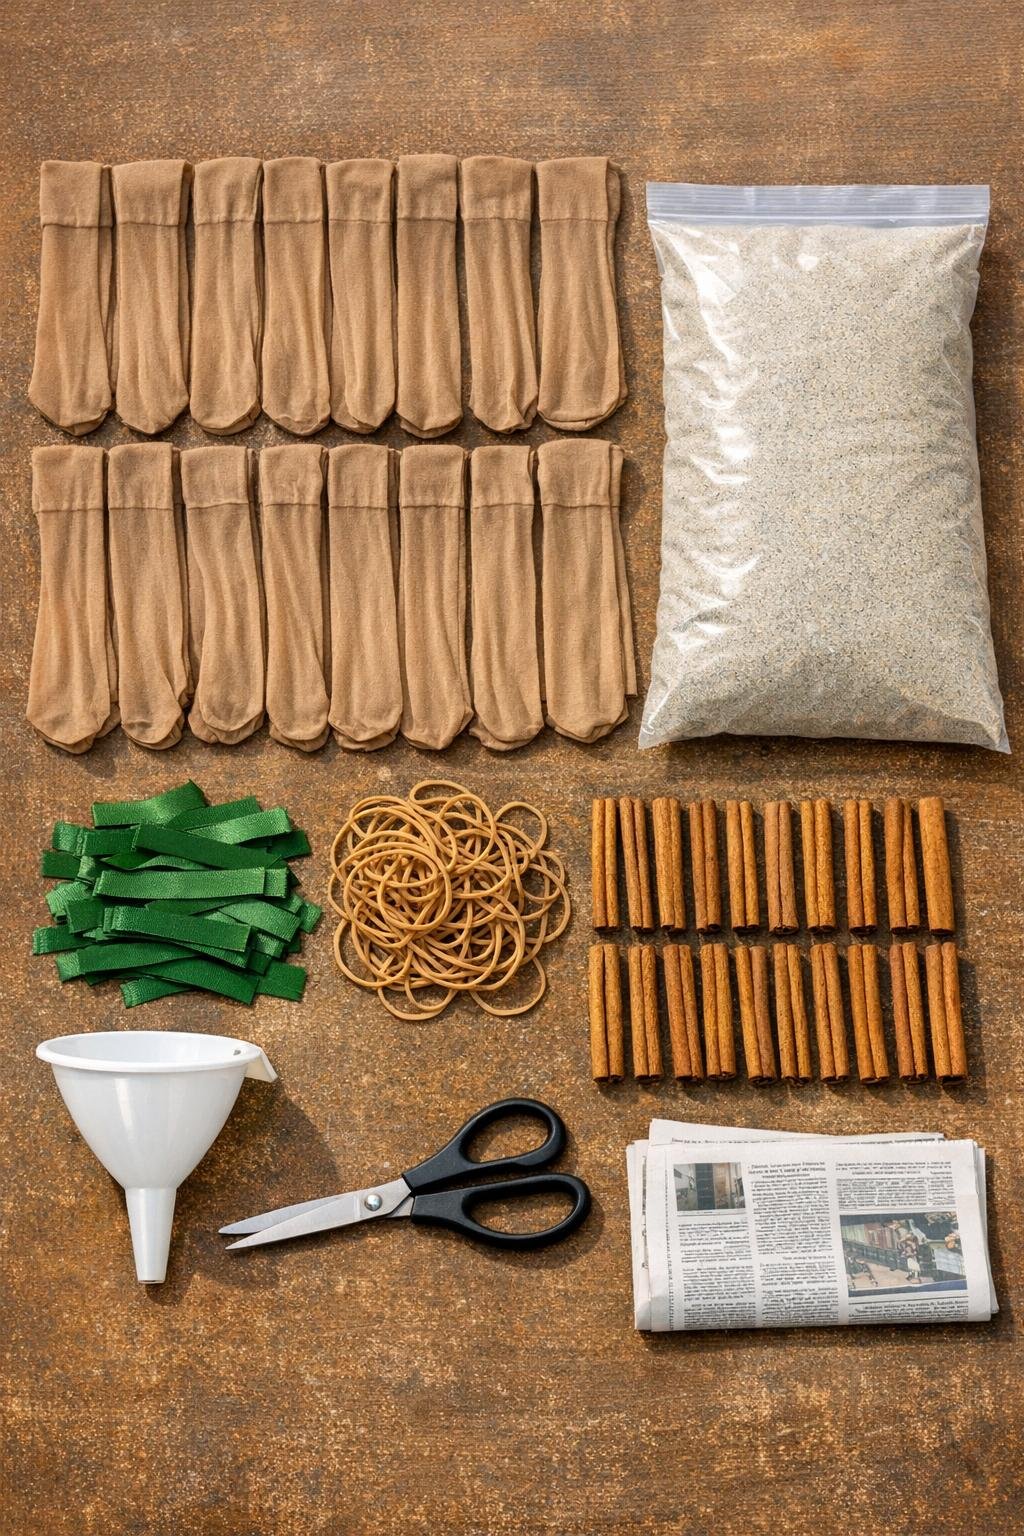
Materials
20 tan knee-high stockings
Instructions
1. Cover your work surface with newspaper and set out the stockings, sand, funnel, rubber bands, cinnamon sticks, ribbon, and scissors so everything is within reach.
2. Open one knee-high stocking and place the funnel into the top, then pour in 2 to 3 cups of play sand for a small pumpkin, 4 to 5 cups for a medium one, or 6 to 7 cups for a large one.
3. Tap the filled stocking on the table to settle the sand, then squeeze and round the base with your hands until it forms a full, smooth pumpkin shape.
4. Twist the empty top of the stocking snugly right above the sand and secure it tightly with a rubber band so the pumpkin body stays firm.
5. Wrap a second rubber band straight down around the center from top to bottom to create the first deep ridge, then repeat with 3 to 5 more rubber bands spaced evenly around the pumpkin for a segmented shape.
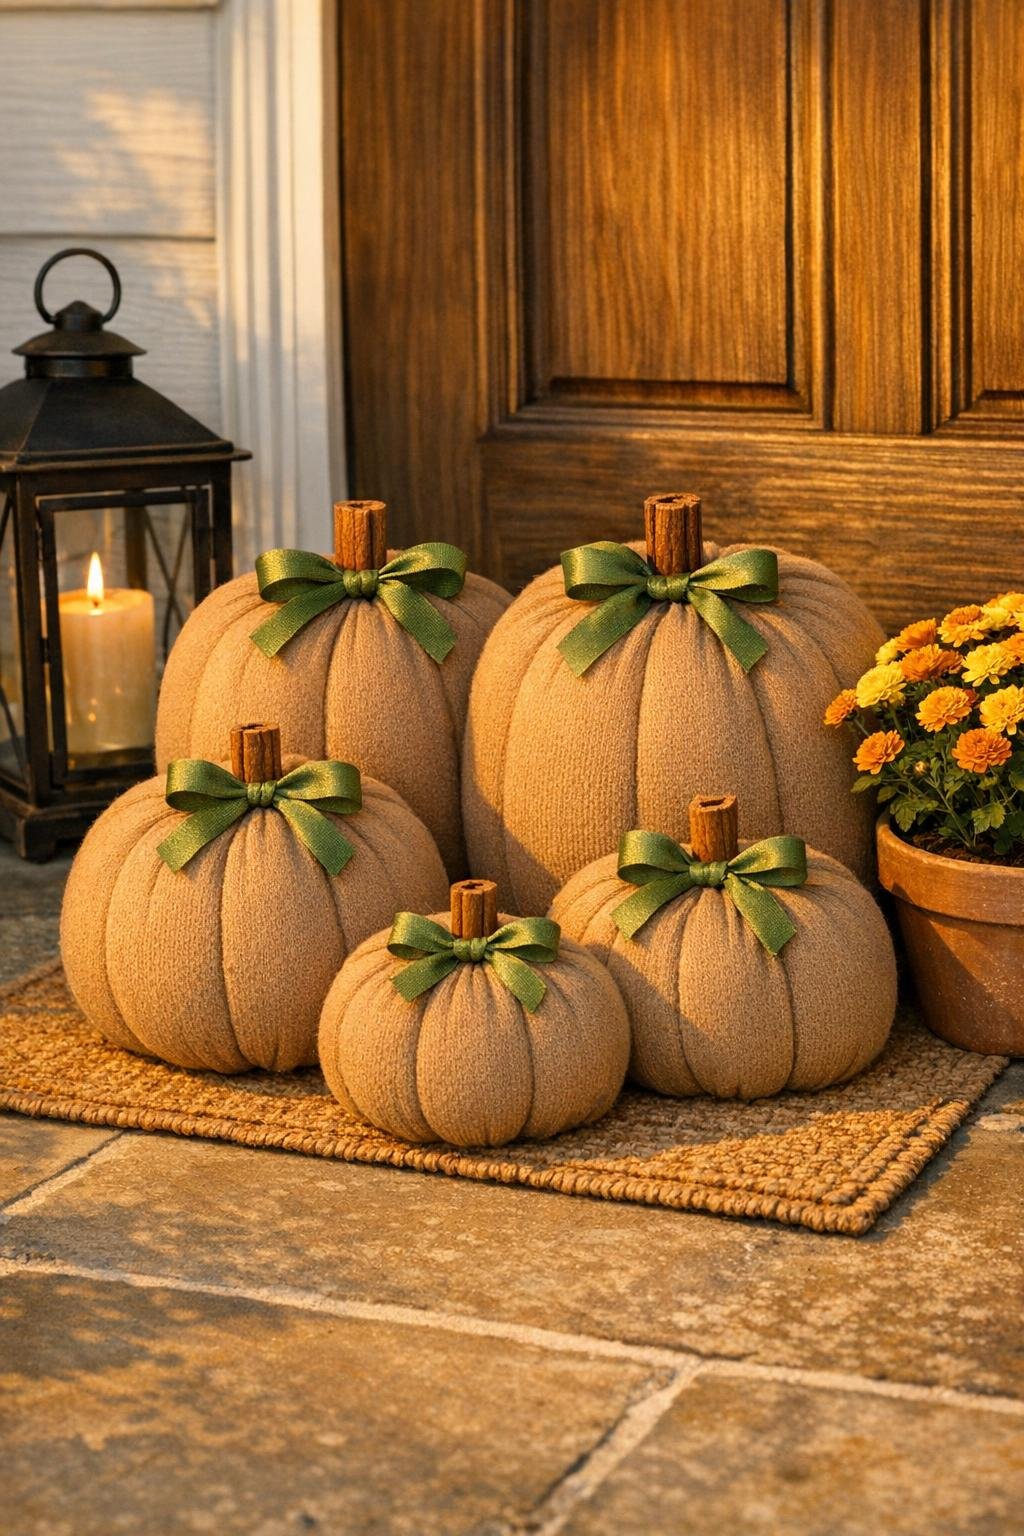
6. Press a cinnamon stick into the gathered top center, tucking it into the twisted stocking opening so it sits upright like a stem.
7. Cut an 8 to 10 inch piece of green ribbon and tie it into a small bow or loose knot at the base of the cinnamon stick to cover the rubber band and add a finished touch.
8. Repeat the filling and shaping process with the remaining 19 stockings, making a mix of large, medium, and small pumpkins so the group looks full and balanced when displayed together.
9. Trim any overly long stocking tails above the tied section, but leave enough fabric under the ribbon to help hold the stem securely in place.
10. Arrange the finished pumpkins as a clustered set by a door, along a hearth, or on porch steps, with the largest in back and the smallest in front for the most polished look.
Variations & Tips
Make varied sizes: I like using three size groups for the best “family” look: about 4 large pumpkins, 6 medium pumpkins, and 10 small pumpkins. That gives the arrangement a fuller, layered look instead of twenty same-size pieces lined up flat.
Choose the right stocking color: Tan or nude stockings give the most natural pumpkin look right away, which is why this project is so easy. If your stockings lean more beige or camel, that still works beautifully for a warm fall palette.
Use a cup for consistency: If you want matching sets, scoop the sand with the same measuring cup each time. It makes it much easier to repeat sizes when you’re batch-making several pumpkins in one sitting.
Double-band heavy pumpkins: For the largest ones, I often use two rubber bands at the top opening instead of one. The extra hold helps because these get surprisingly heavy once filled.
Keep the ridges deep: Don’t be shy when stretching the rubber bands around the filled stocking. Pulling them snugly is what gives you that classic pumpkin shape instead of a plain sand-filled ball.
Try a different ribbon finish: Green ribbon looks like leaves and vines, but narrow brown twine or a mix of two green ribbons also works if you want a more rustic or layered finish.
Display them where weight helps: These are perfect near a drafty door, beside a fireplace screen, or on covered porch steps because the sand gives them enough weight to stay put. I always appreciate a seasonal decoration that earns its keep.
Store them carefully: Keep the finished pumpkins dry and store them in a bin or sturdy box after the season. Since they’re weighted, stacking too many on top of each other can flatten the nicest round shapes.