
There’s something deeply satisfying about turning a stack of everyday leftovers into something you’ll actually use. When I first started saving plastic shopping bags instead of stuffing them into the cabinet under the sink, I wanted a project that was practical, sturdy, and simple enough to finish in an afternoon. This one checks every box, and it’s especially nice if you like thrifty projects that don’t ask you to run out and buy a bunch of extras.
If you can cut, loop, twist, and braid, you can make this. It’s a good project for a quiet evening at the table, and once you get into the rhythm, it has that same steady, calming feel as kneading bread or shelling peas. The trick is keeping your strands even and braiding firmly so the finished piece holds its shape and stays durable.
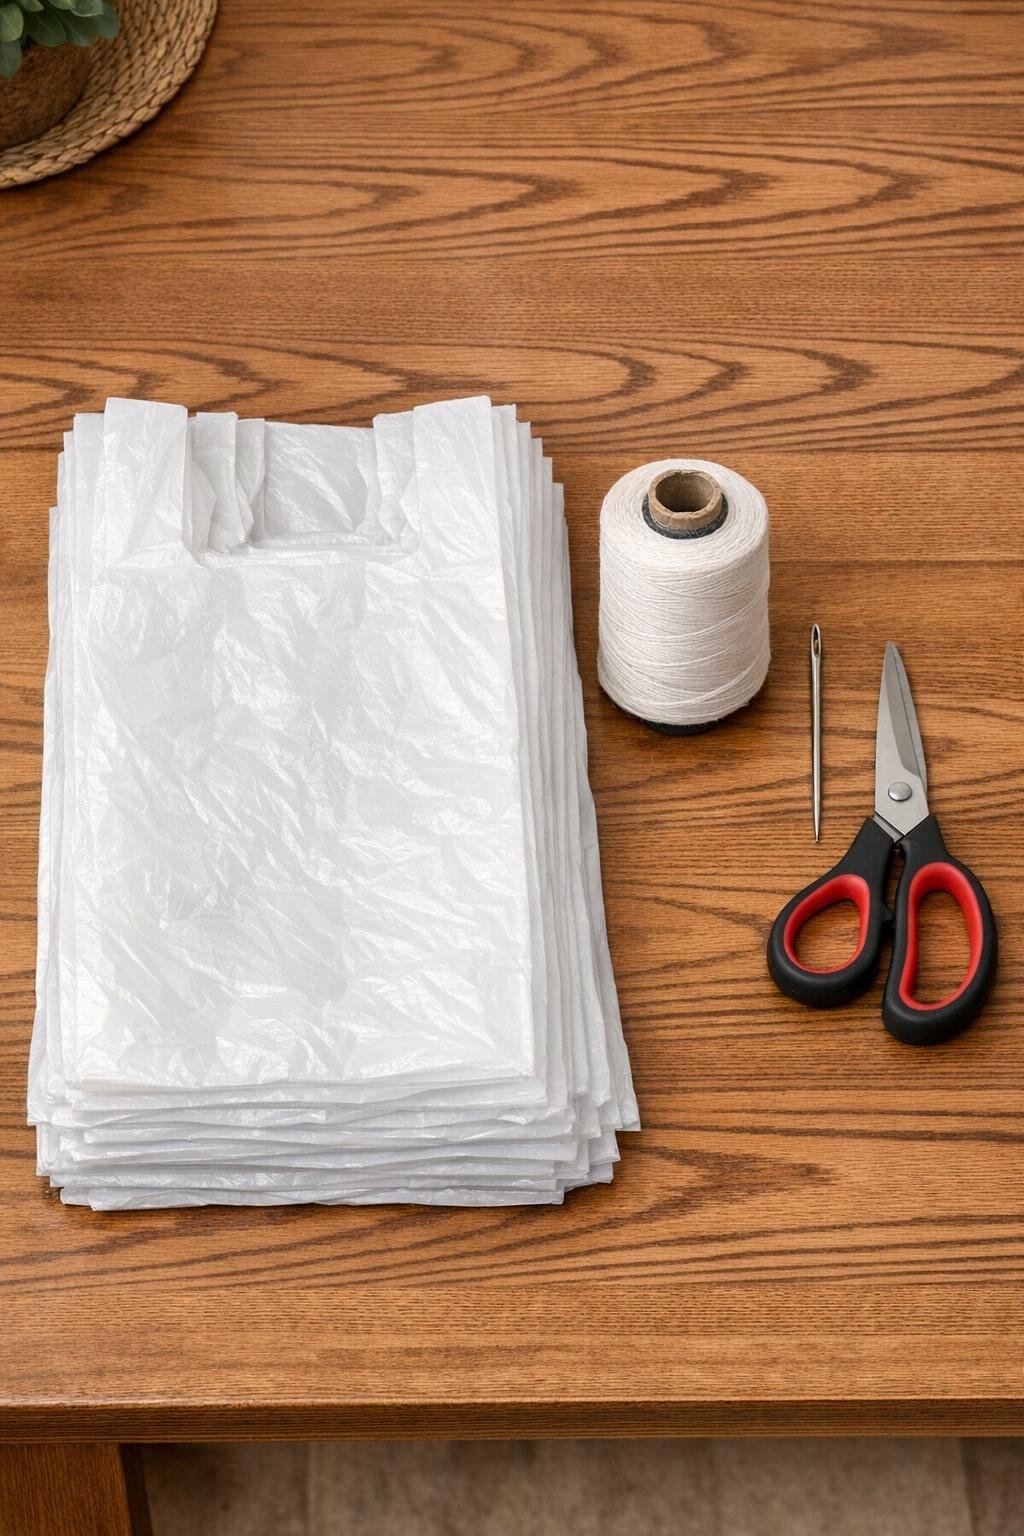
Materials
30 plastic shopping bags, standard grocery size, clean and dry
Instructions
1. Flatten all 30 plastic bags on your table and smooth out the wrinkles so they stack and cut evenly. Trim off the handles and the bottom seam from each bag, leaving a simple tube.
2. Fold each bag tube flat and cut it crosswise into loops about 1 1/2 inches wide. This size makes plarn that’s thick enough for a sturdy finished braid without being too bulky to handle.
3. Join the loops by slipping one loop halfway through another, then pulling the loose end of the second loop through itself to make a larks-head style connection. Repeat until you have three long chains of joined loops, using about 10 bags per chain.
4. Gently stretch each chain and twist it tightly from end to end to make plarn rope. Let the twist coil back on itself a little as you work so the strand becomes rounder and stronger.
5. Knot the three plarn ropes together securely at one end and clip or hold that end in place. Braid the strands tightly all the way down, keeping steady tension so the braid stays dense and won’t unravel later.
6. When you reach the end of the braid, tie it off firmly with heavy-duty thread. Make a second and third braided length the same way if your first braid is not long enough to build a full mat.
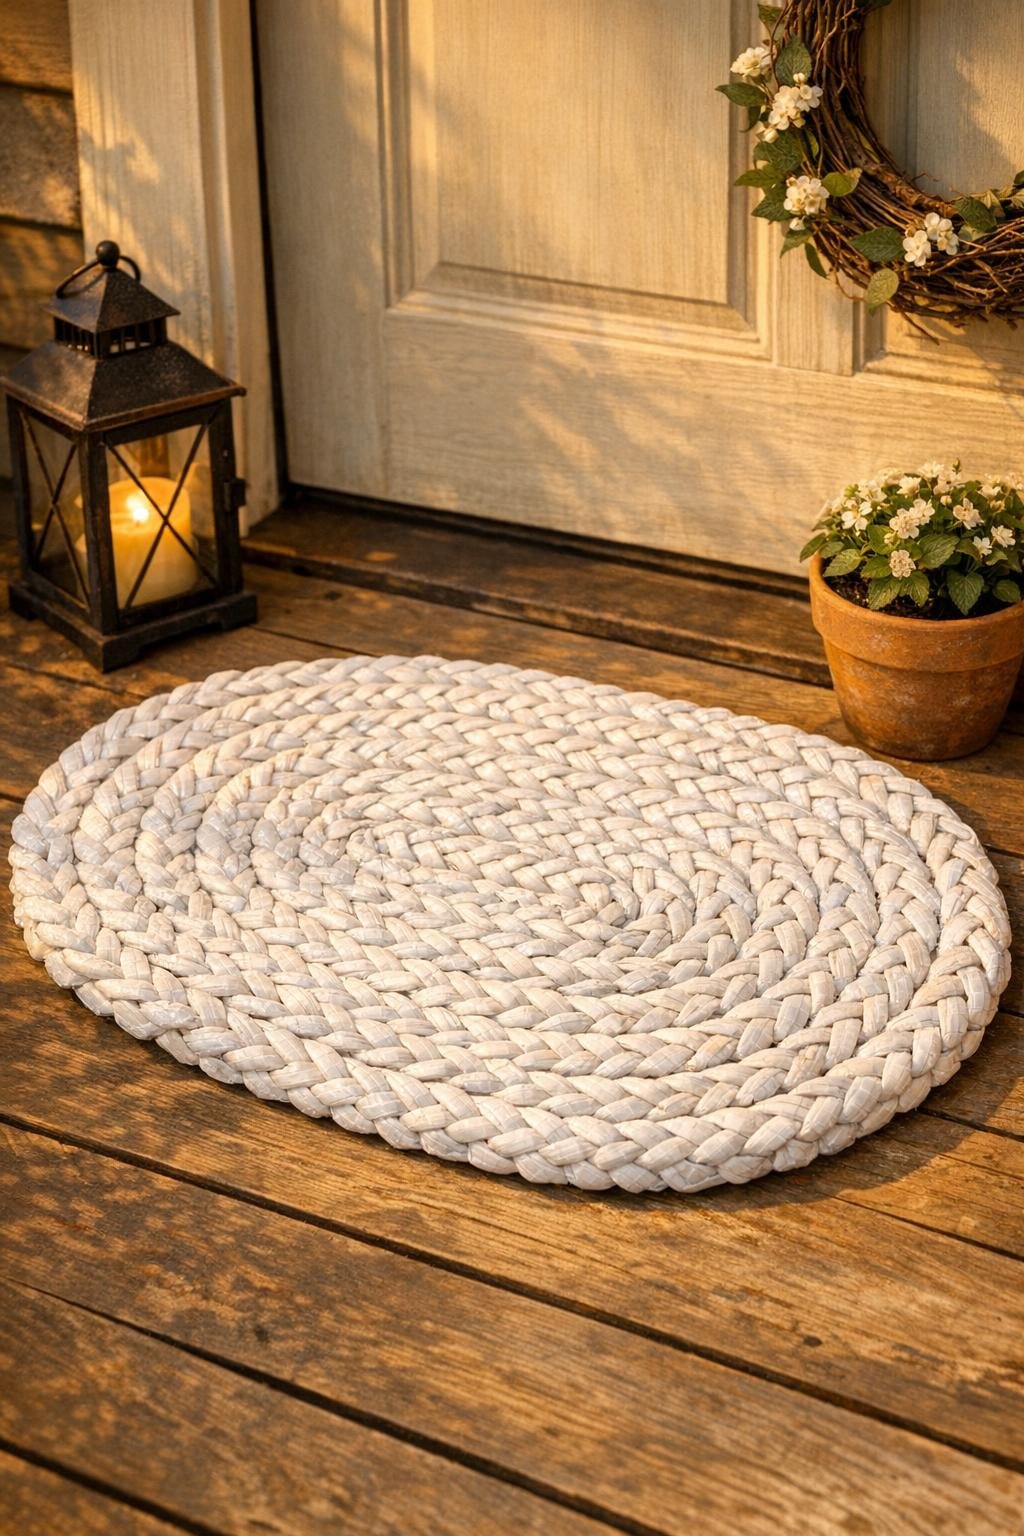
7. Coil one braided length into a tight oval or rectangle, whichever shape you prefer for your space, and stitch the touching edges together with heavy-duty thread. Sew through the sides of the braid rather than straight across the top so the stitches hide and the mat stays flexible.
8. Keep wrapping the braid around the shape and stitching each new round to the one before it. Adjust the curve as you go so the mat lays flat instead of cupping in the middle.
9. When you need more length, overlap the end of one braid with the beginning of the next by 2 inches and stitch them together tightly before continuing the coil. Tuck any stray plastic ends into the braid and secure them with a few extra stitches.
10. Finish the last end by folding it under neatly and sewing it down with several strong stitches. Press the mat flat with your hands and check the edges, adding extra stitches anywhere that feels loose.
Variations & Tips
For a larger mat: Use 45 to 60 bags instead of 30 and keep making braided lengths until you reach the size you want. I like a generous mat at the door because it looks finished and catches more drips from wet shoes.
For a striped look: Sort bags by color and make separate braided sections from each color group. Even a few store-logo bags mixed with plain white ones can create soft, casual striping.
Braid tightly: This is the biggest tip of the whole project. If the braid is loose, the finished piece can shift and start to unravel, but a firm braid makes it surprisingly tough.
Keep the shape flat: If your coil starts to ripple, your braid may be too tight for the turn; ease it gently as you sew. If it starts to bowl up, loosen the curve and add a few more stitches along the outer edge.
For wetter spots: This works well near a porch door, mudroom entry, or garage step because the plastic is naturally water-resistant. I still like to let it dry fully now and then, especially after a rainy week.
For easier sewing: Thread a long length of heavy-duty thread, then double it for extra strength before stitching the braid together. Shorter lengths tangle less, so I usually work with about 24 inches at a time.
Kid-helpful job: If you have older kids around the table, they can help flatten bags, sort loops, or hand you pieces while you braid. It turns the whole thing into one of those nice busy-hands kitchen table projects that feels cozy and useful.