
I love a project that looks unexpectedly high-end but starts with the kind of odds and ends most of us already have tucked in a kitchen drawer. This one uses saved bread twist ties and a small piece of chicken wire to create a richly textured porch accent with loads of dimension, and it comes together fast enough to squeeze into a busy weeknight.
If you’ve ever wanted a budget-friendly outdoor DIY that feels a little creative without turning into a whole weekend commitment, this is exactly that. The process is simple: shape first, weave in the texture, then finish everything with spray paint so the surface reads as one cohesive piece instead of a pile of mismatched ties and wire.
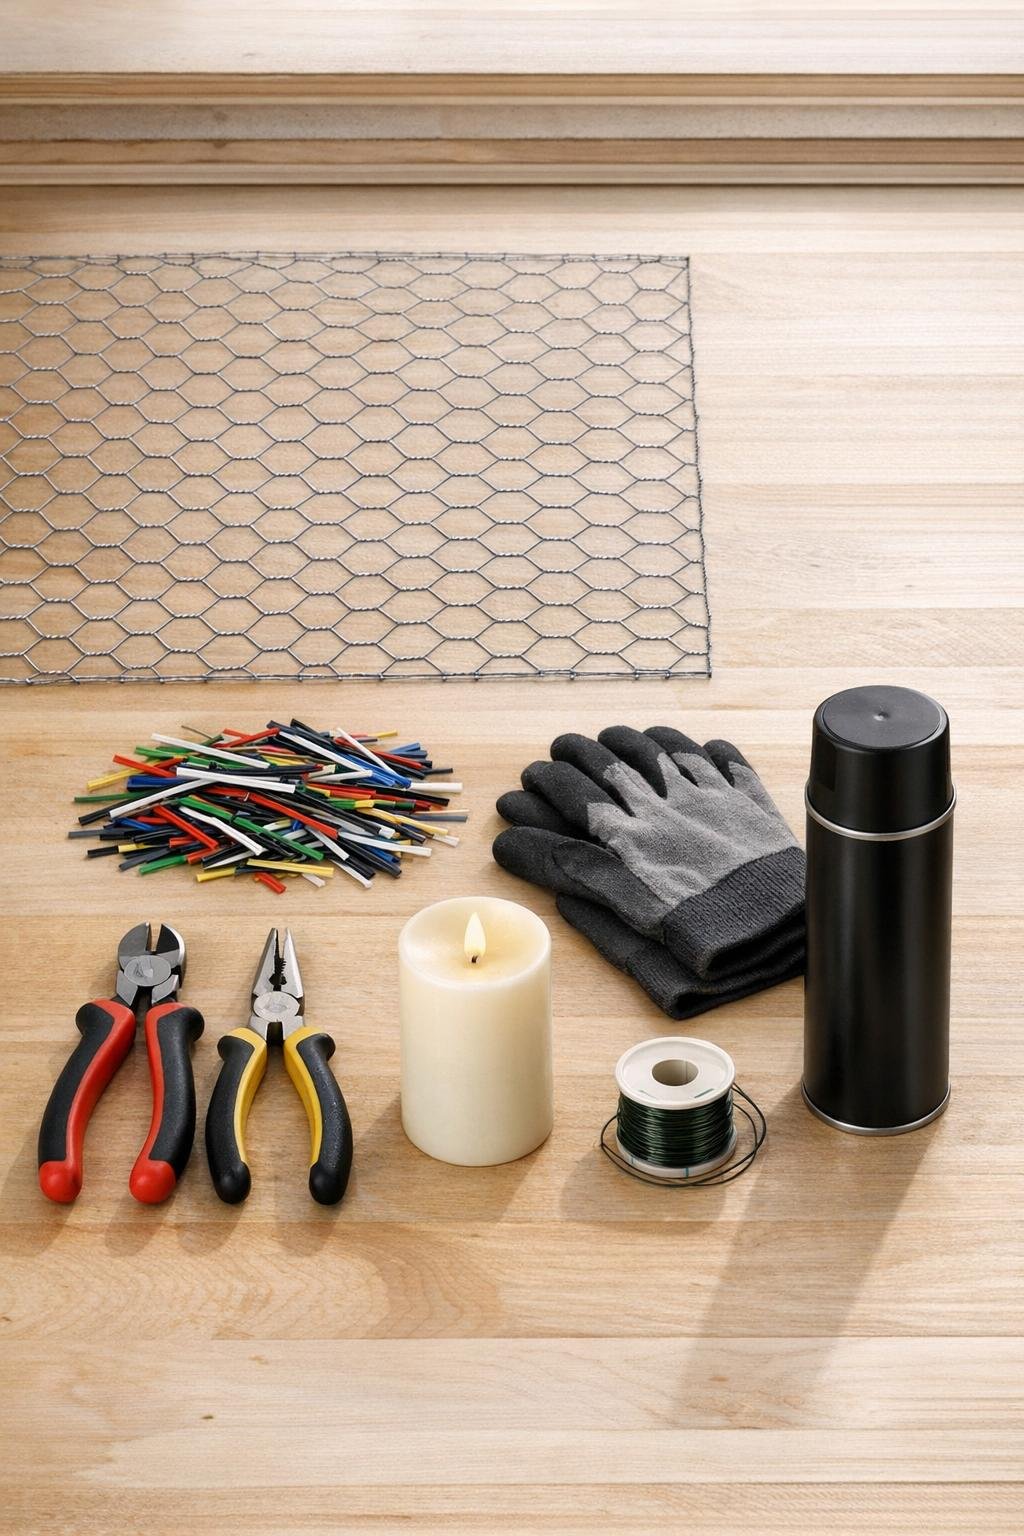
Materials
1 piece chicken wire, 24 inches x 18 inches
Instructions
1. Put on work gloves, then cut the chicken wire to a 24 x 18 inch rectangle if it is not already trimmed to size. Snip away any extra sharp points so the edges are easier to handle.
2. Roll the chicken wire into a cylinder about 6 inches across, overlapping the short ends by 1 to 2 inches. This size gives you enough room for the LED pillar candle while keeping the lantern nicely substantial for a porch display.
3. Use the 24-inch length of paddle wire to stitch the overlapped seam together from top to bottom, twisting every few inches with pliers so the cylinder holds its shape firmly. Press the cylinder lightly with your hands until the round shape looks even.
4. Start weaving twist ties through the openings, wrapping each one around a strand of the chicken wire and twisting it closed so it stays put. Scatter the colors and directions randomly to build a dense, nubby texture instead of neat rows.
5. Keep adding twist ties all the way around the cylinder, filling the middle first and then working toward the top and bottom edges. Use all 80 ties so the surface looks generously covered and visually full from every angle.
6. Bend down or retwist any ends that stick out too far so the texture looks intentional and compact rather than spiky. If one side looks sparse, move a few ties or add extra wraps in that area for balanced coverage.
7. Take the cylinder outdoors or to a well-ventilated area and spray on a light first coat of matte black paint, turning the piece as you go. Let it dry for a few minutes, then add a second coat to unify the chicken wire and twist ties into one textured metal finish.
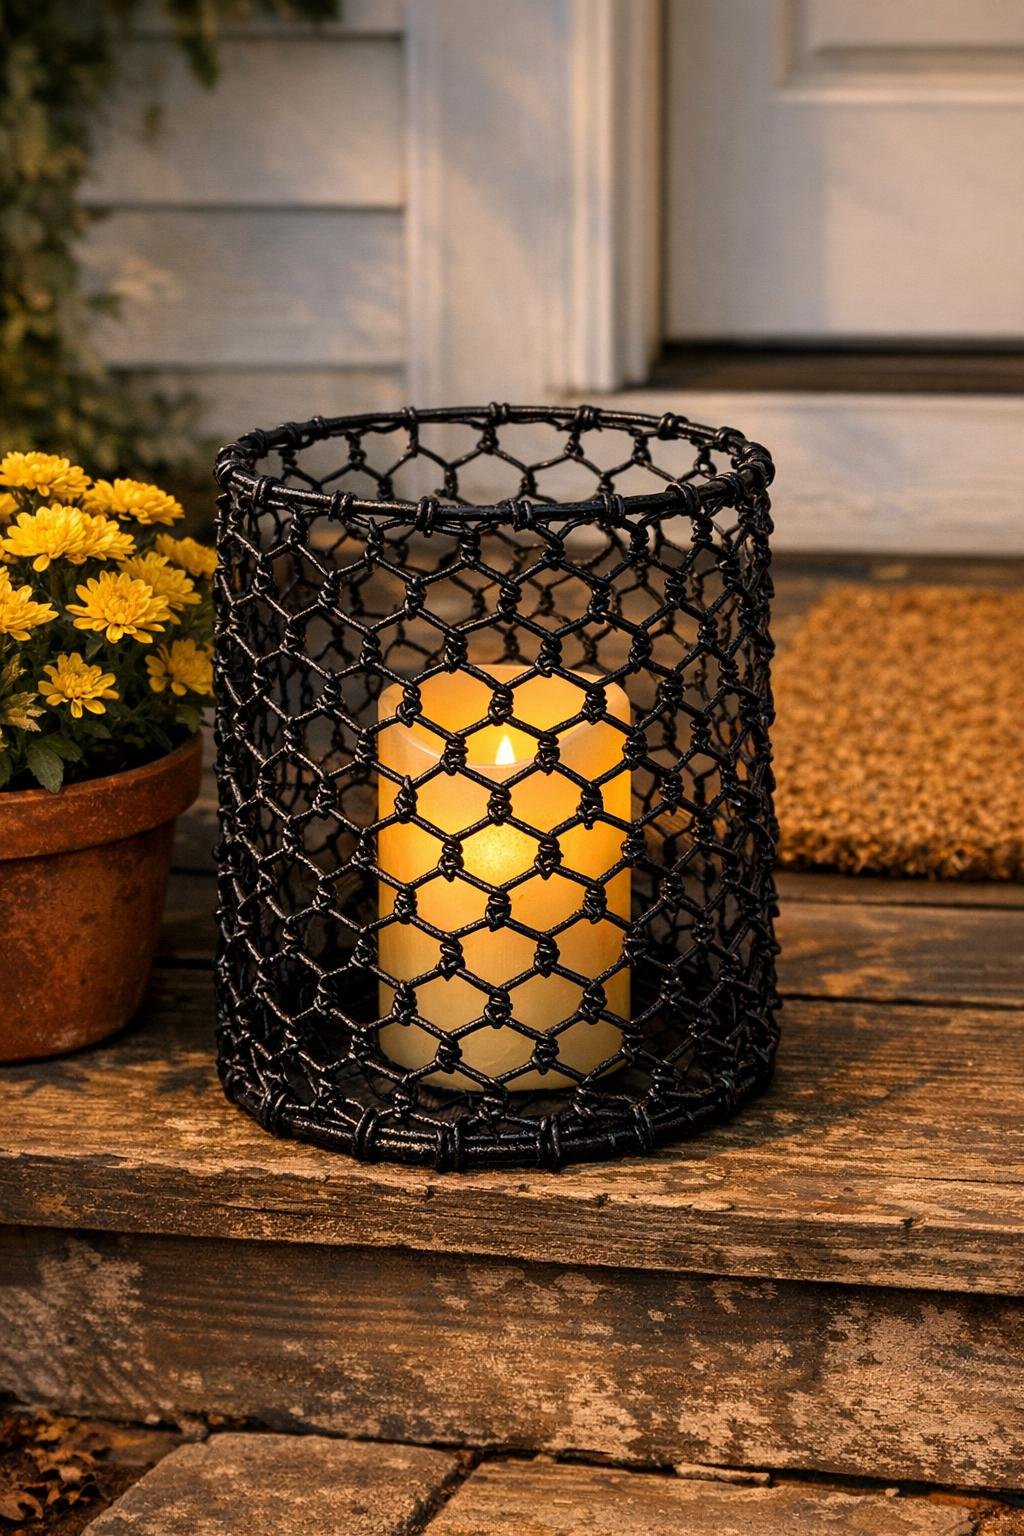
8. Once the paint is fully dry, set the lantern upright and place the LED pillar candle in the center. Nestle the finished piece on your porch where the open wire texture can catch the light, and only use an LED candle for safety.
Variations & Tips
Make a pair: I think these look best with company, so if you have enough saved ties, make two cylinders at slightly different heights for a more layered porch setup.
Try a different finish: Matte black gives the most classic metal look, but oil-rubbed bronze or dark hammered spray paint also works beautifully if you want a warmer finish.
Use more ties for heavier texture: If your chicken wire openings are larger or you want an even chunkier surface, bump up to 100 twist ties and cluster them more tightly around the middle third.
Keep the top open: Leaving the cylinder open at the top makes it much easier to place and remove the LED candle, especially if you like to bring porch decor in during bad weather.
Stabilize for windy spots: If your porch gets breezy like mine does in the fall, set the LED candle on a small inverted ramekin or flat stone inside the lantern so it sits a little higher and steadier.
Safety first: Chicken wire edges can be sharp, so gloves really help, and this project should only ever be used with battery-operated LED candles, never a real flame.