
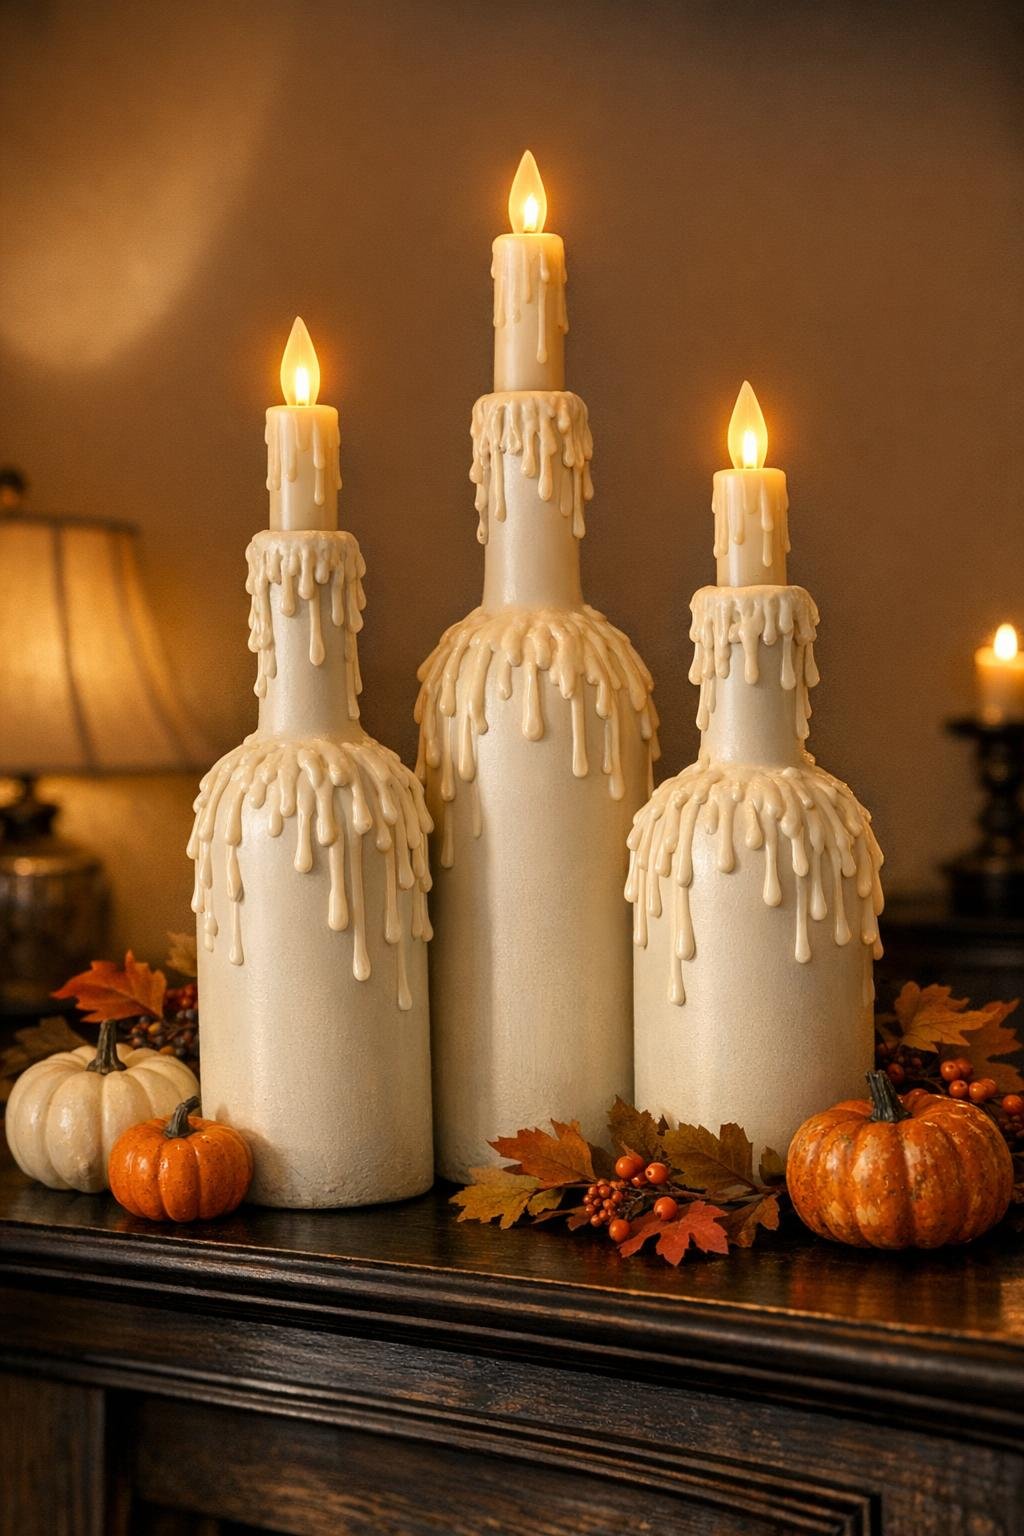
There are a lot of spooky DIYs that look great in photos but feel fussy once you actually start making them. These haunted drip candle bottles are the opposite. You’re taking plain empty wine bottles, building up heavy hot-glue drips so they look like old melted wax, and then painting everything one soft ivory shade so the glass disappears into a believable oversized candle shape.
I love this project because it gives you a big Halloween payoff for very little money, and it fits nicely into a busy afternoon. The technique is simple enough for beginners, but the finished bottles look dramatic on a mantel, entry table, or covered porch at night once the LED tapers are glowing. The main secret is patience between layers so the drips stay thick and dimensional instead of turning into a flat mess.
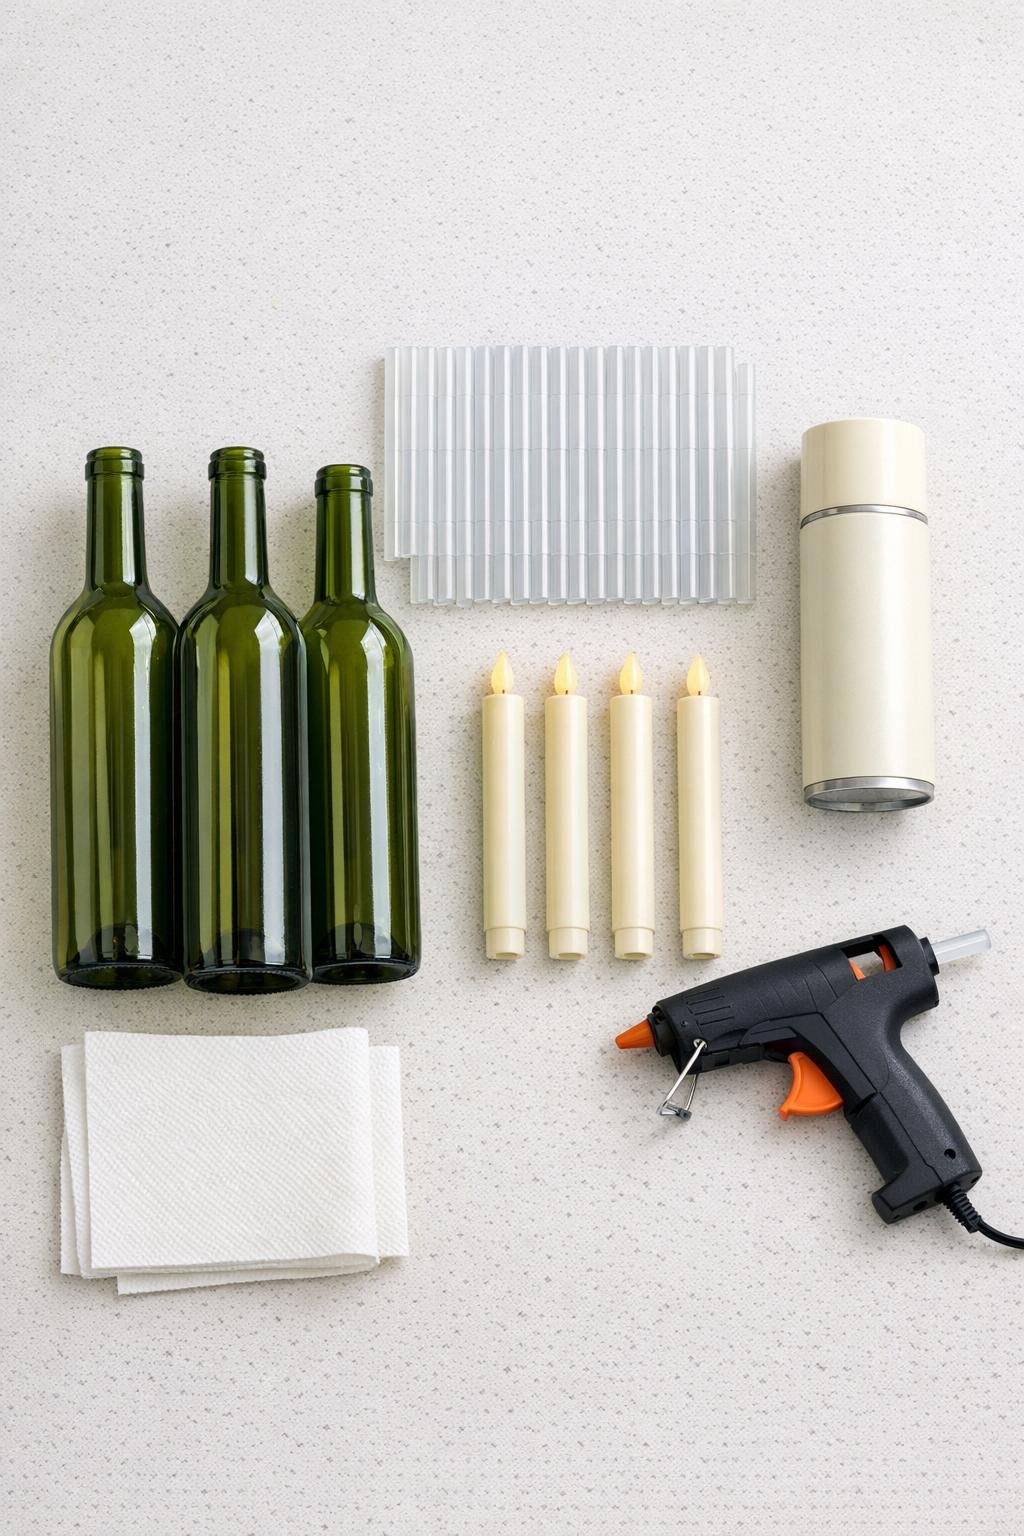
Materials
3 empty wine bottles, cleaned and fully dry
Instructions
1. Wash the wine bottles, remove any labels, and let them dry completely inside and out so the glue and paint stick evenly.
2. Plug in the glue gun, insert several glue sticks, and set one bottle upright on a protected counter where you can rotate it easily without laying it down.
3. Start at the bottle lip and squeeze short bursts of hot glue around the rim, letting each bead spill over naturally so gravity pulls it down the neck like real candle wax.
4. Rotate the bottle and keep adding drips of different lengths, aiming for some that stop near the shoulder and some that run several inches lower for a layered, natural look.
5. Let that first round cool for about 1 minute, then add a second round around the lip and over a few earlier drips so the wax effect looks thick and built up instead of thin.
6. Continue layering glue in short rounds until the top third to half of the bottle has dense drips and a chunky melted edge at the opening; use about 12 to 14 glue sticks per bottle for a full, dramatic result.
7. Repeat the same process on the other two bottles, varying the drip patterns slightly so the finished trio looks collected over time rather than identical.
8. Once all the glue is completely cool, pull away any thin glue strings by hand and wipe each bottle lightly with the paper towel to remove dust.
9. Move the bottles to a well-ventilated spray area and apply a light first coat of matte ivory or white spray paint, covering both the glass and glue so they begin to blend together.
10. Let the first coat dry according to the can directions, then add one or two more light coats until the bottles are evenly covered and the drips look like solid wax candles.
11. After the paint has dried fully, press one battery LED taper candle into each bottle opening and adjust them so they stand straight.
12. Style the finished bottles together in a cluster, with the tallest in back if your bottles vary, and switch on the LED tapers at night for the full haunted glow.
Variations & Tips
Color choice: Matte ivory gives the most realistic old-candle look, but matte white feels a little crisper and slightly more gothic if that matches the rest of your Halloween decor.
For heavier drips: Build the glue in several short sessions instead of trying to force one long run. I’ve found that stacked drips look much more like real wax and stay nicely dimensional after painting.
Bottle pairing: Use three bottles with slightly different heights if you can. That small variation makes the final display feel fuller and more styled without any extra work.
Where to display them: These look especially good grouped on a mantel, entry console, bookshelf, or covered porch table. I like placing them near a mirror or dark backdrop so the LED glow stands out more at night.
Keep it safe: Use battery LED taper candles only. Real flames can soften the glue and damage the painted finish, so this is one project where faux candles are absolutely the better choice.
Clean finish tip: Those wispy glue strings are normal. Let everything cool completely, then pick them off before painting so the final candles look polished instead of cobwebby.